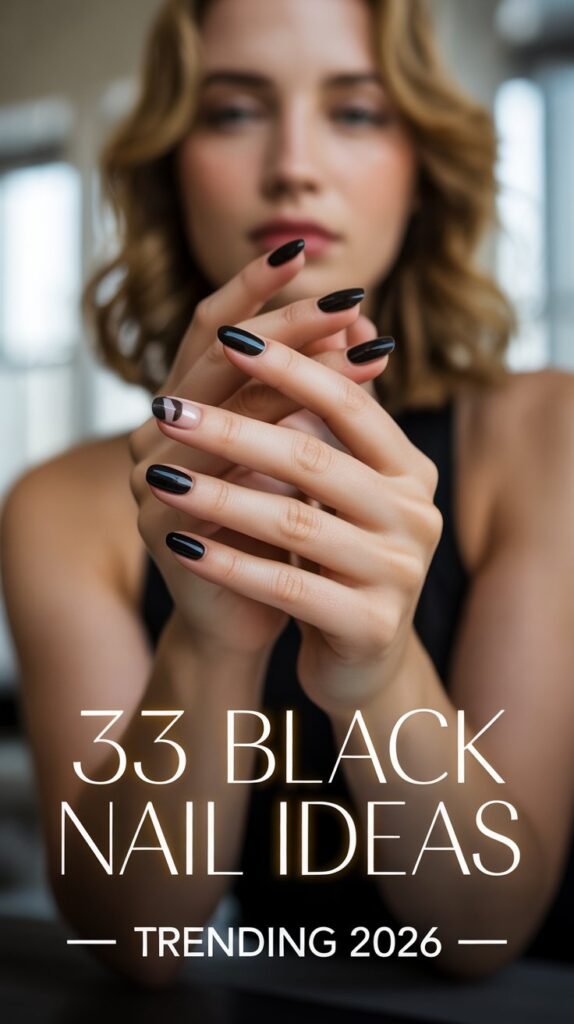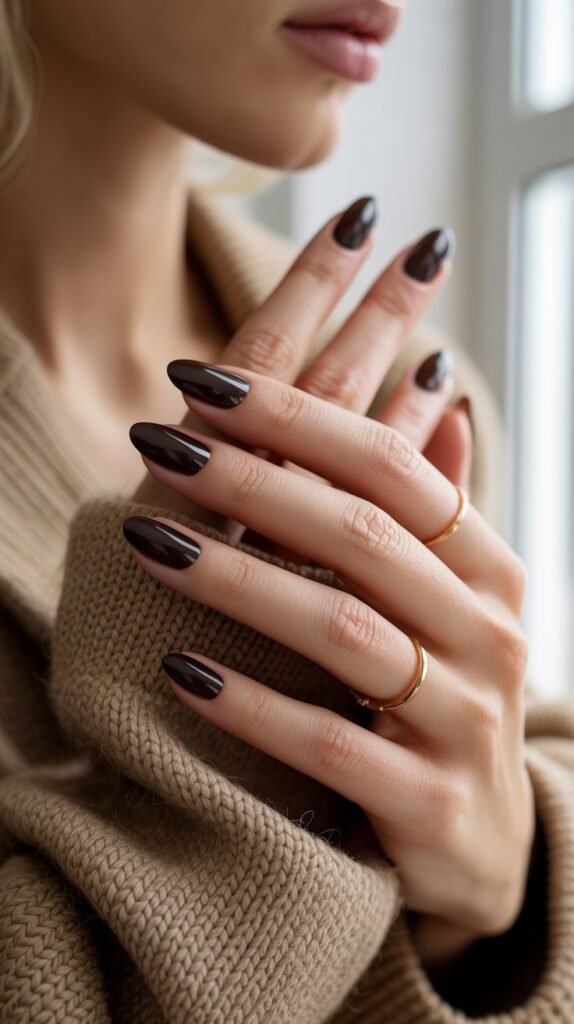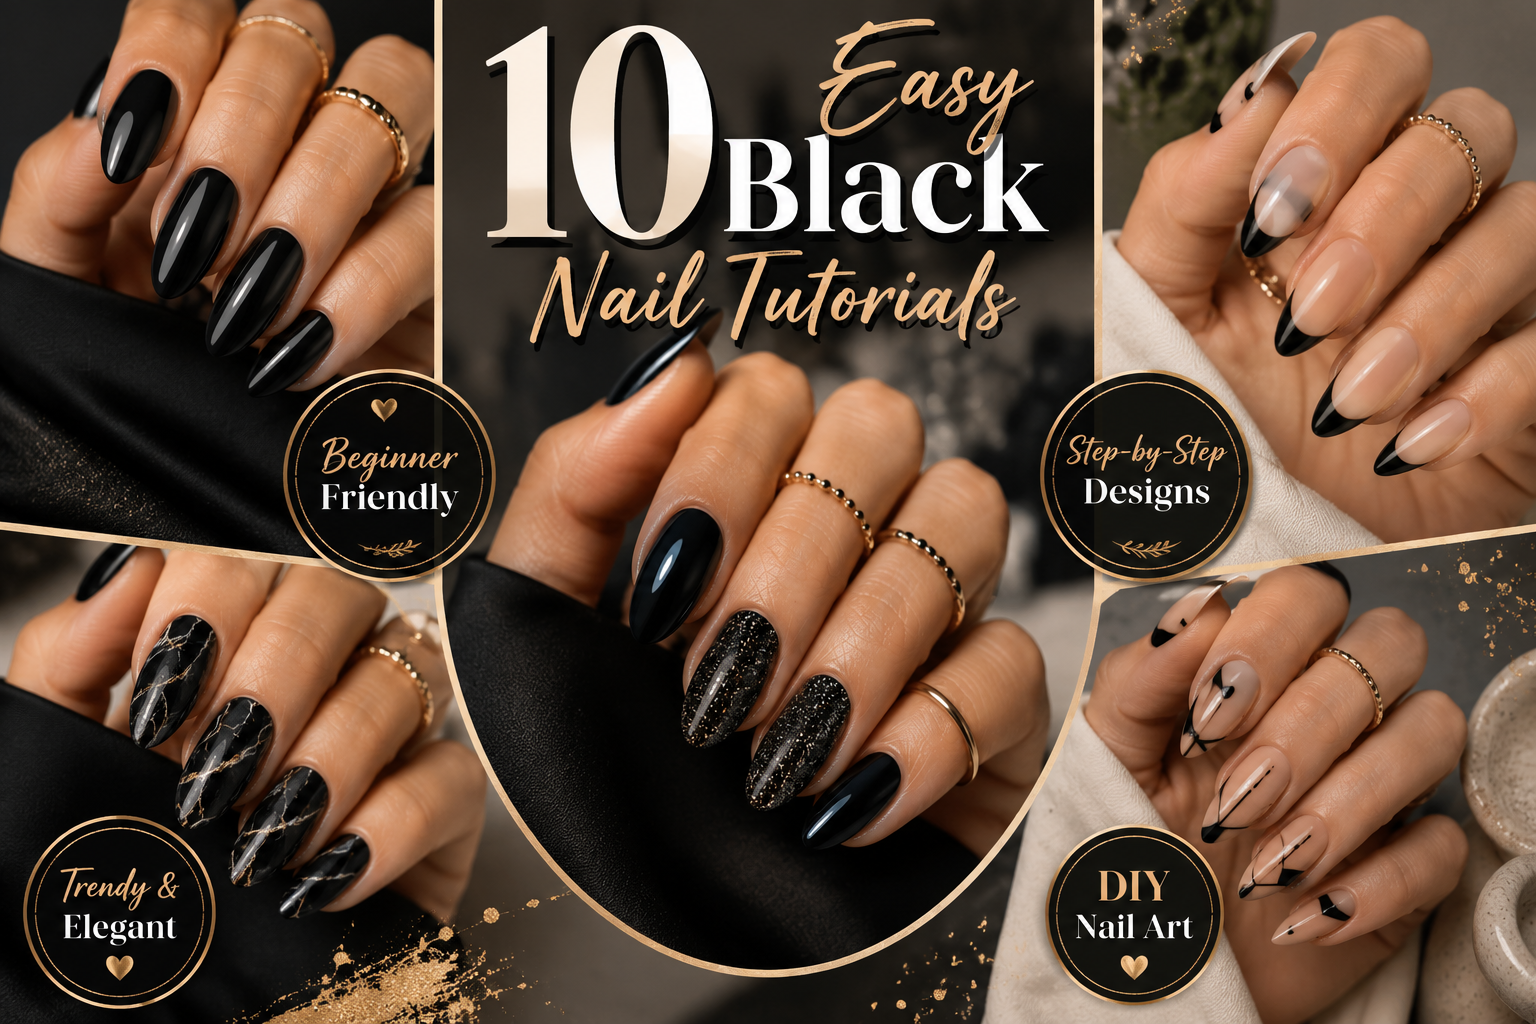
Black nails never go out of style. They are bold, elegant, and surprisingly versatile, making them one of the easiest nail colors to experiment with at home. Whether you love a sleek glossy manicure, trendy minimalist art, or eye-catching patterns, black polish can instantly transform even the simplest design into something sophisticated. The best part is that you don’t need professional tools or years of nail art experience to create beautiful black nail designs.
Easy Black Nail Tutorials for Complete Beginners
For beginners, black nail tutorials are a great starting point because the color naturally creates strong contrast and helps designs stand out. From delicate hearts and stars to modern French tips and geometric patterns, there are countless ways to customize your manicure while keeping the process simple and fun. Many of these designs require only a few basic tools, making them perfect for anyone looking to practice nail art at home without spending a fortune at the salon.
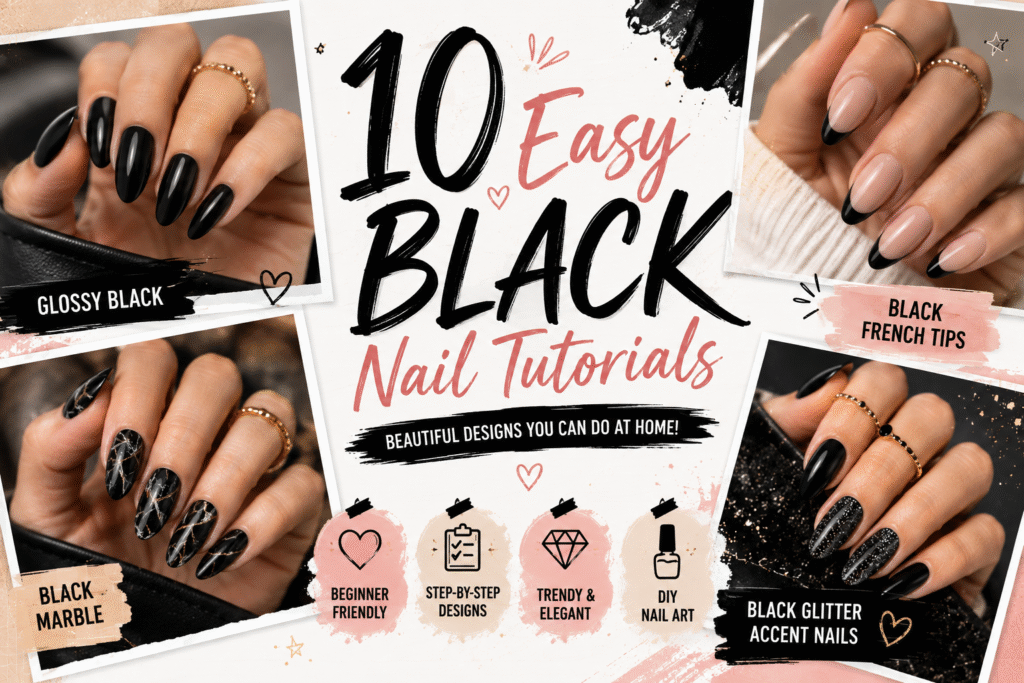
In this guide, you’ll discover easy black nail tutorials that are both stylish and beginner-friendly. Each design includes simple step-by-step inspiration that can help you create a polished look with minimal effort. Whether you’re preparing for a special event, updating your everyday style, or simply enjoying a relaxing DIY beauty session, these black nail ideas will give you plenty of creative inspiration for your next manicure.
1: Classic Glossy Black Nails
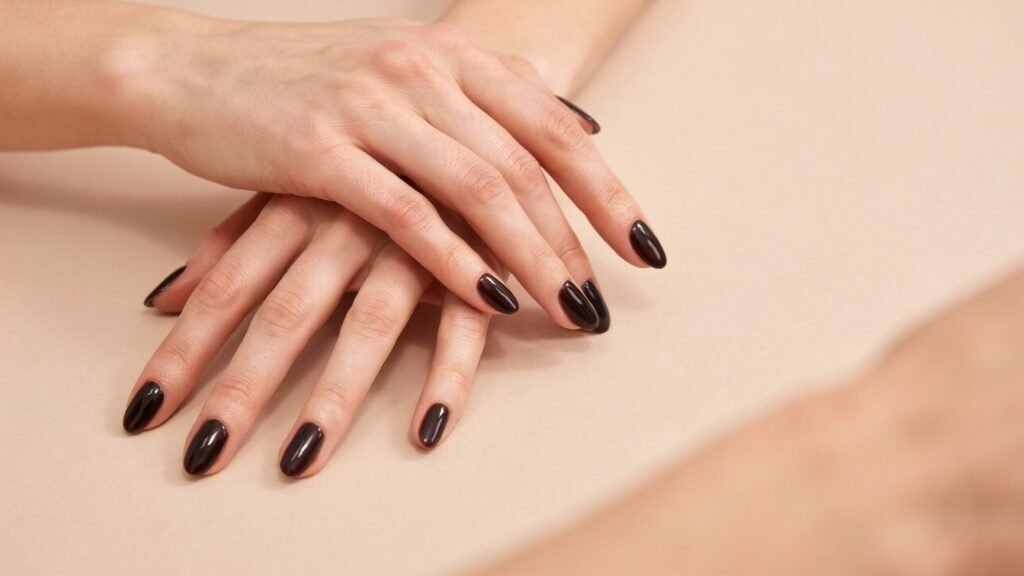
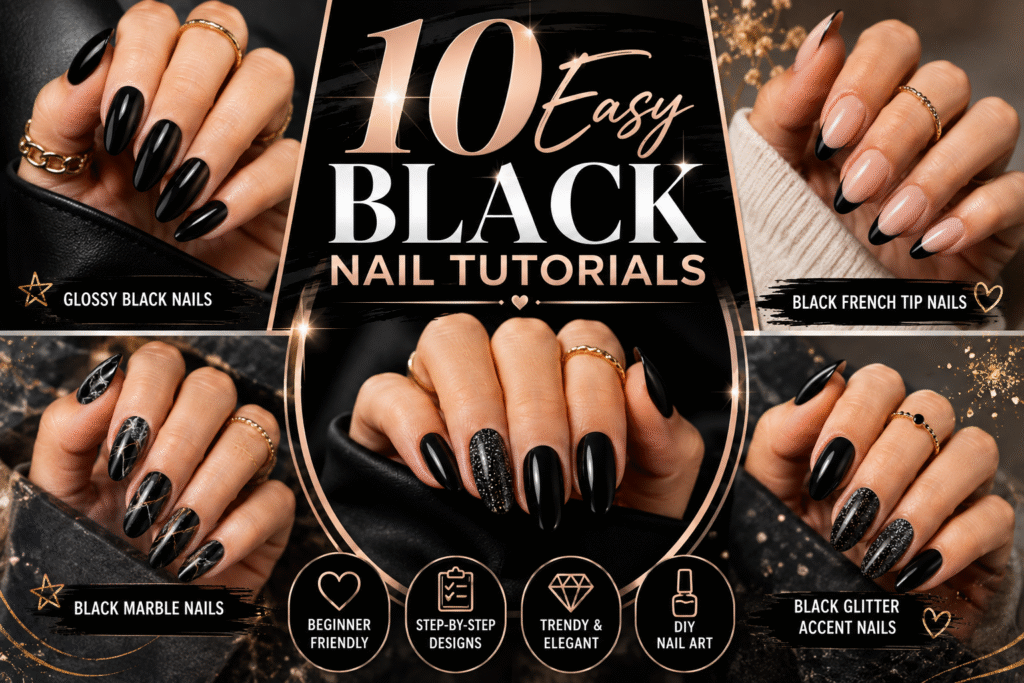
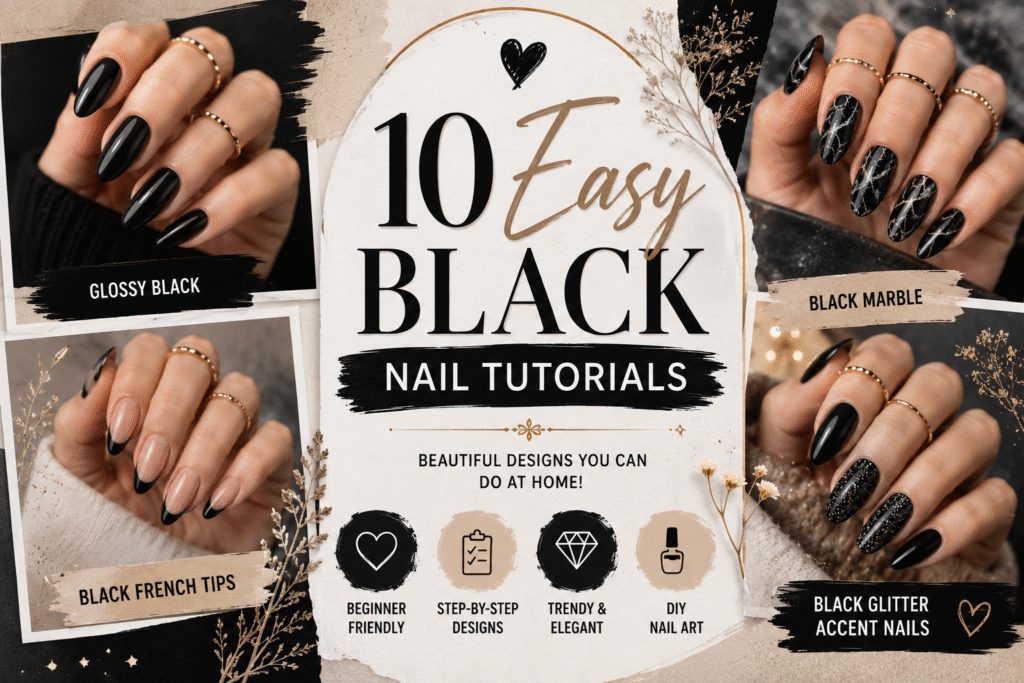
A classic glossy black manicure is the perfect starting point for beginners. This timeless style looks clean, sophisticated, and works for every season. The high-shine finish gives your nails a salon-quality appearance without requiring advanced nail art skills.
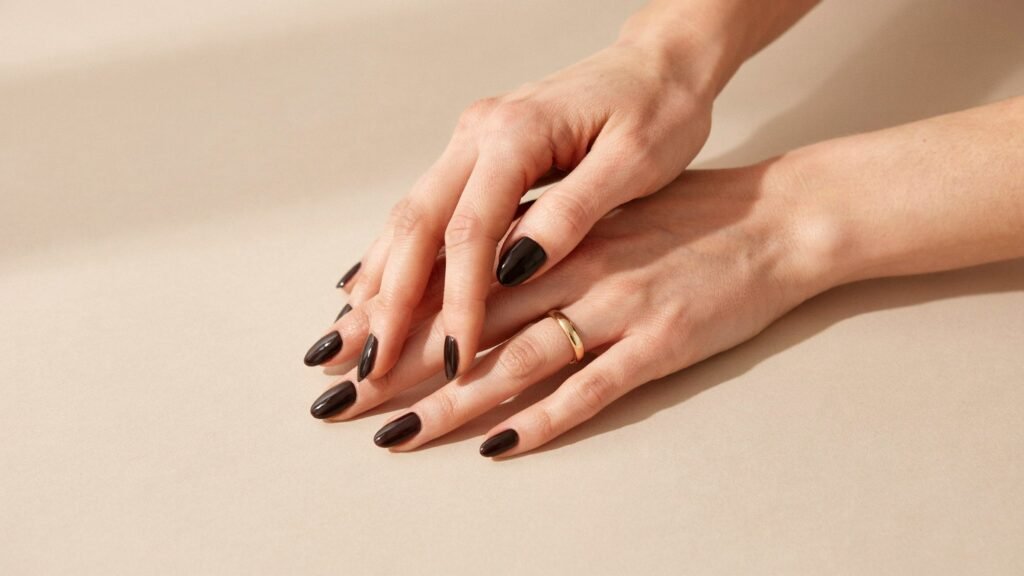
The beauty of this design lies in its simplicity. A smooth coat of black polish paired with a glossy top coat creates an effortlessly chic look. It’s ideal for everyday wear, work, parties, or special occasions.
If you’re new to DIY manicures, this design helps you practice polish application and achieve neat, even coverage. Once mastered, you’ll have a strong foundation for more detailed nail art designs.
Quick Steps
• Shape and buff your nails for a smooth base.
• Apply a clear base coat and let it dry.
• Paint two thin coats of black nail polish.
• Finish with a high-gloss top coat for extra shine.
2: Black French Tip Nails
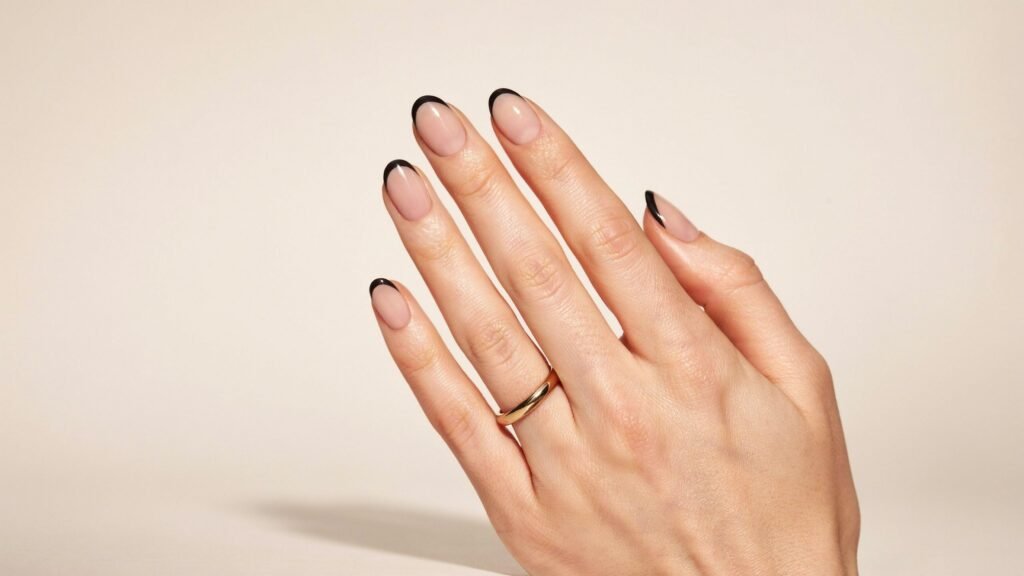
Black French tips give a modern twist to a timeless manicure. Instead of traditional white tips, sleek black edges create a bold and fashionable look. This design feels elegant while still being simple enough for beginners.
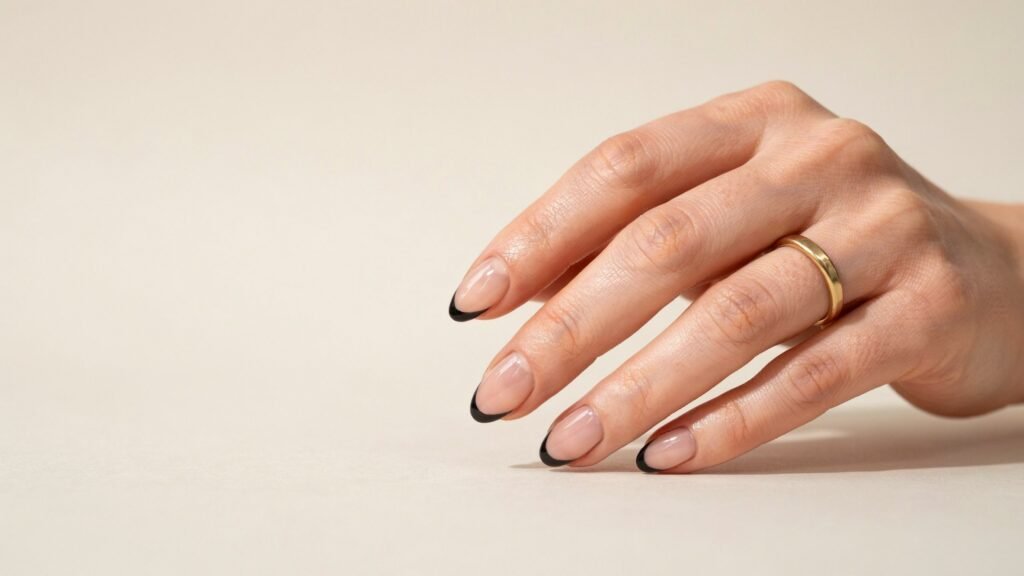
The contrast between the natural nail base and black tips makes the manicure stand out beautifully. It works well on short and long nails alike, making it a versatile choice for any style preference.
If drawing perfect curves feels intimidating, nail guides or tape can help create crisp lines. With a little patience, you’ll achieve a clean and professional-looking result.
Quick Steps
• Apply a nude or clear base color.
• Let the base dry completely.
• Paint thin black tips across each nail.
• Seal the design with a glossy top coat.
3: Black Heart Accent Nails
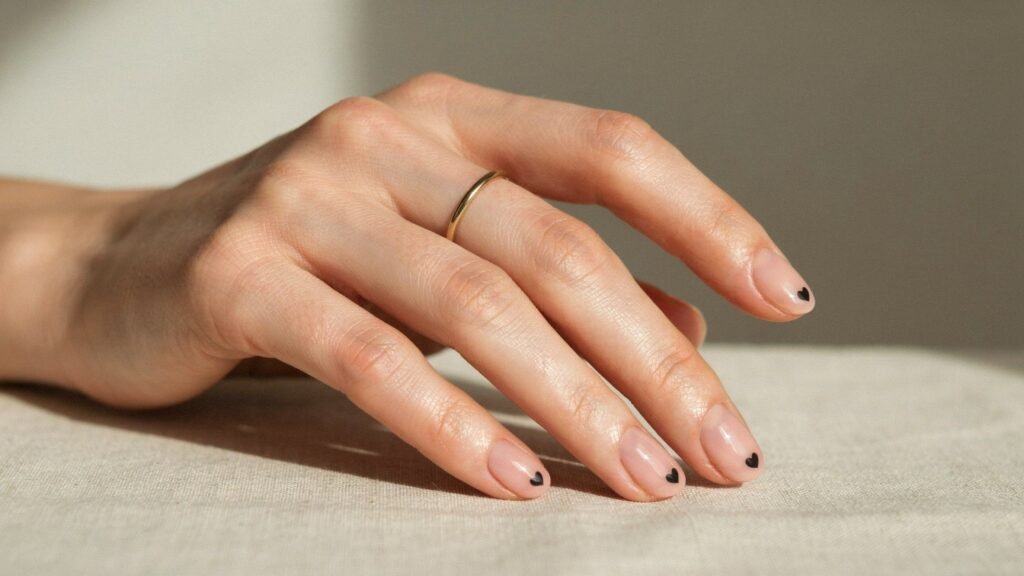
Black heart nails are cute, trendy, and surprisingly easy to create. A small heart accent adds personality while keeping the overall manicure simple and wearable. It’s perfect for beginners who want to try nail art without complicated designs.
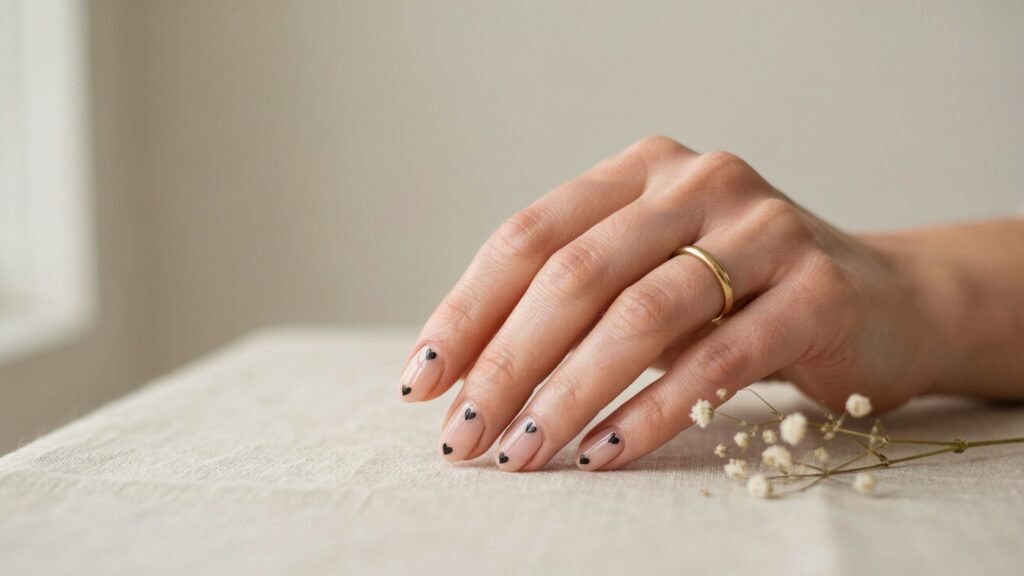
You can place the heart in the center of the nail, near the cuticle, or on a single accent nail. The minimalist approach keeps the look stylish and modern.
This design pairs beautifully with nude, pink, or clear bases, allowing the black heart detail to become the main focal point.
Quick Steps
• Apply a nude or sheer pink base coat.
• Use a dotting tool to create two small dots.
• Connect the dots into a heart shape.
• Finish with a protective top coat.
4: Black and Gold Foil Nails
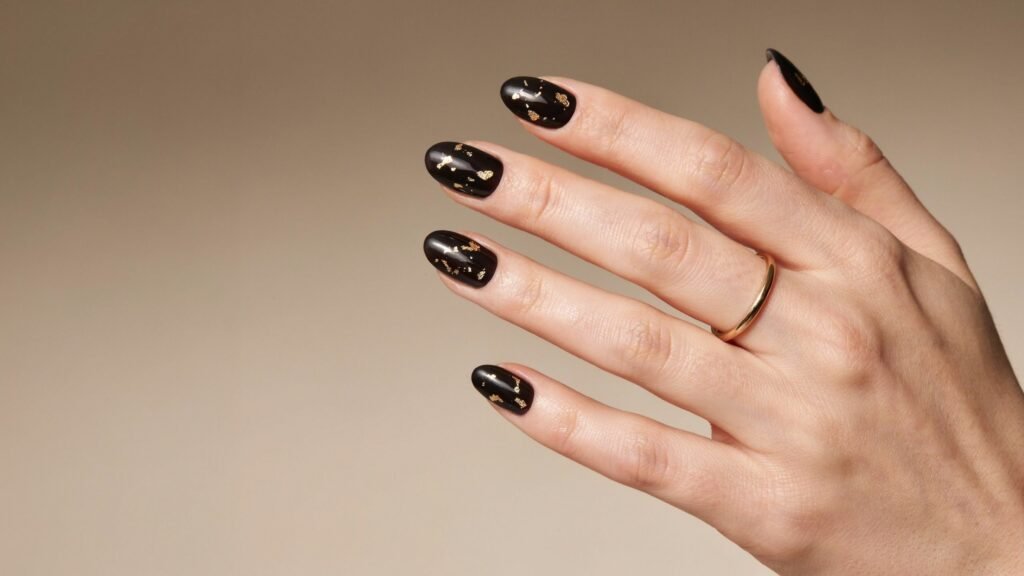
Black and gold foil nails create a luxurious look with very little effort. The rich black base paired with metallic gold accents gives your manicure an expensive, salon-inspired finish. It’s a great design for parties, holidays, or special occasions.
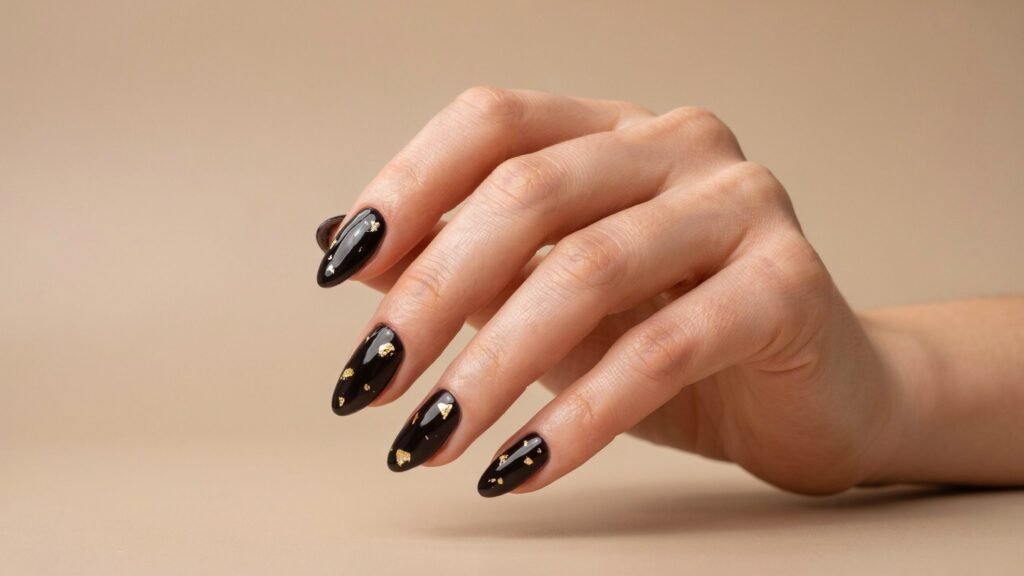
The random foil pattern means there is no need for perfection. Each nail ends up looking unique, which makes this design especially beginner-friendly and fun to create.
A glossy top coat enhances the metallic shine and helps the gold foil stand out against the dark background. The result is bold, elegant, and eye-catching.
Quick Steps
• Apply two coats of black nail polish.
• Add small pieces of gold foil while polish is tacky.
• Gently press the foil onto the nail surface.
• Seal everything with a glossy top coat.
5: Minimalist Black Dot Nails
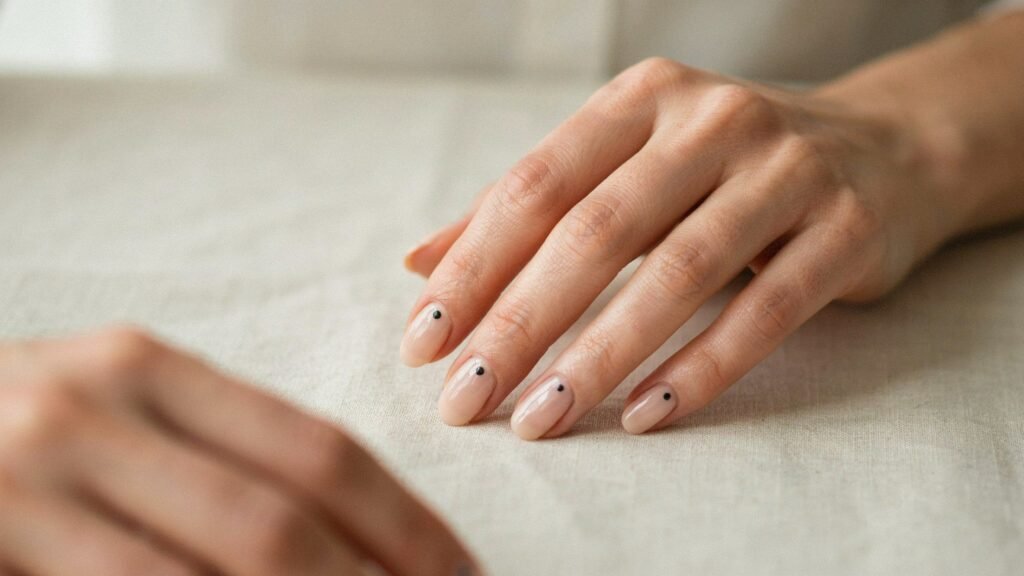
Minimalist black dot nails prove that simple designs can make a big impact. Tiny black dots placed strategically on each nail create a clean and modern appearance that works with any outfit.
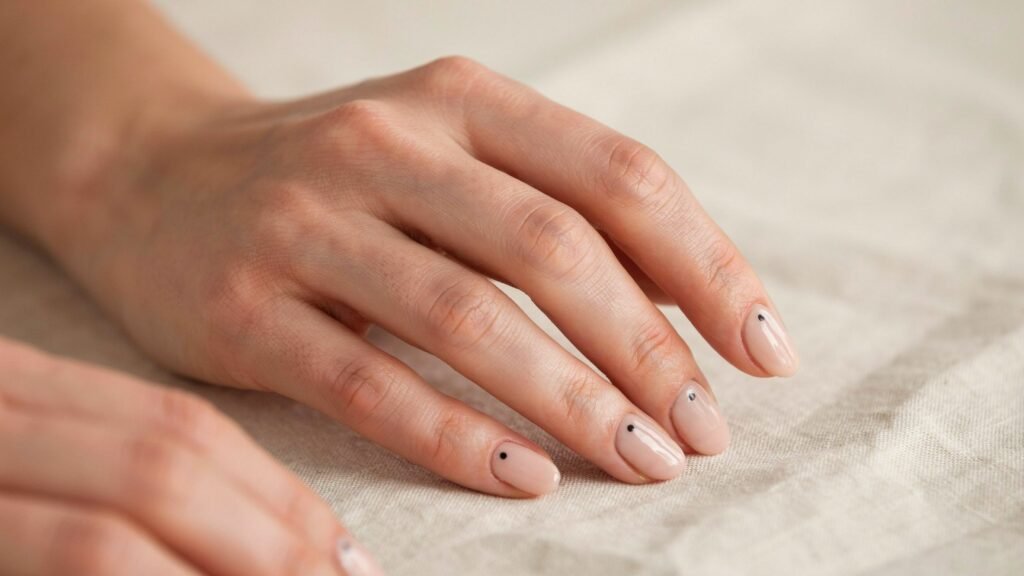
This design is ideal for beginners because it requires only a dotting tool or the tip of a bobby pin. The small details look stylish while keeping the manicure easy to recreate.
Whether you choose a single dot or a few evenly spaced accents, the result feels trendy, sophisticated, and effortlessly chic.
Quick Steps
• Apply a nude or clear base coat.
• Let the base color dry completely.
• Create small black dots using a dotting tool.
• Finish with a shiny top coat.
6: Black Star Nail Art
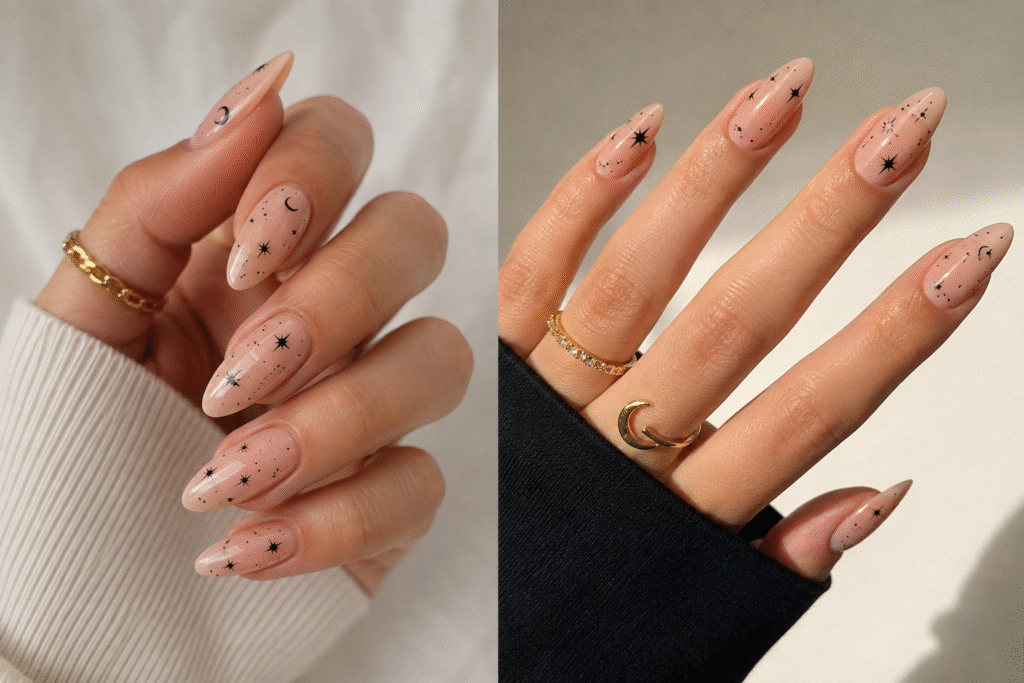
Black star nails add a playful touch while keeping your manicure stylish and trendy. Tiny stars scattered across a nude or sheer base create a celestial-inspired look that feels both modern and creative.
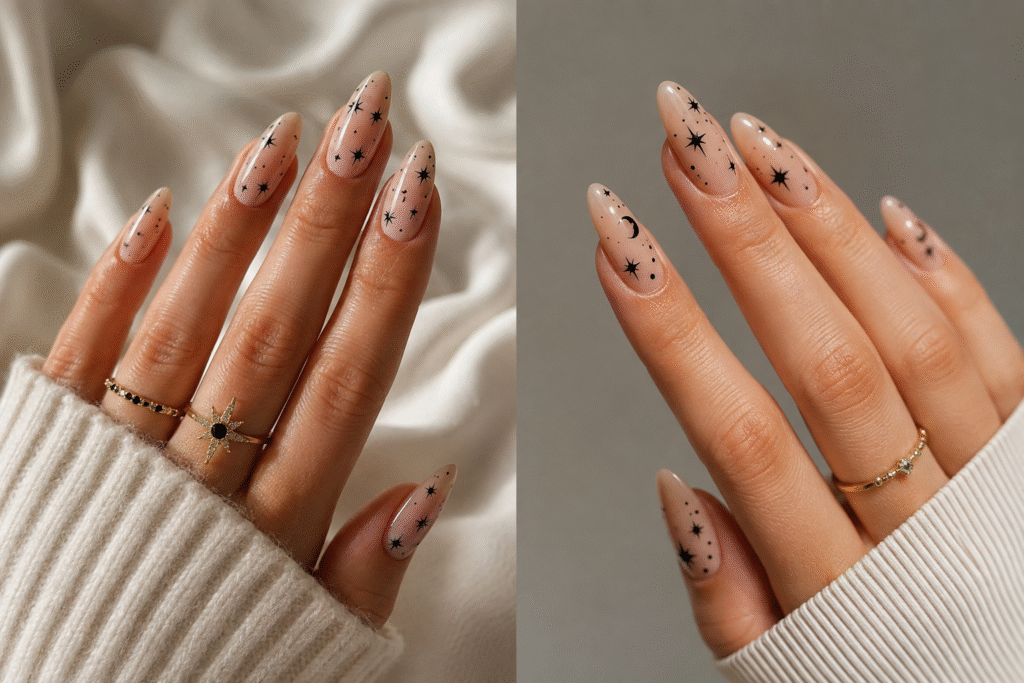
This design is perfect for beginners because you can use nail stickers, stamps, or simple star decals instead of drawing each star by hand. The result looks detailed without requiring advanced skills.
Whether you choose one accent nail or decorate every finger, black stars instantly make your manicure stand out in a subtle and fashionable way.
Quick Steps
• Apply a nude or sheer base color.
• Let the polish dry completely.
• Add black star stickers or decals.
• Seal the design with a glossy top coat.
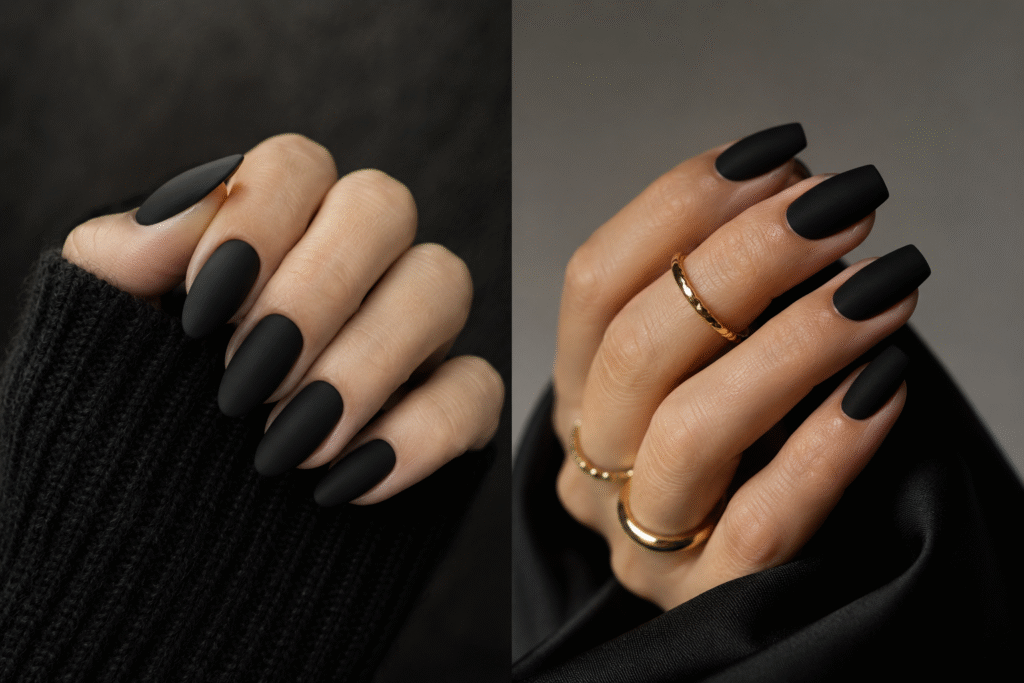
7: Matte Black Nails
Matte black nails are bold, sophisticated, and effortlessly cool. Unlike glossy finishes, the velvety matte texture gives the manicure a modern edge that looks sleek and fashionable.
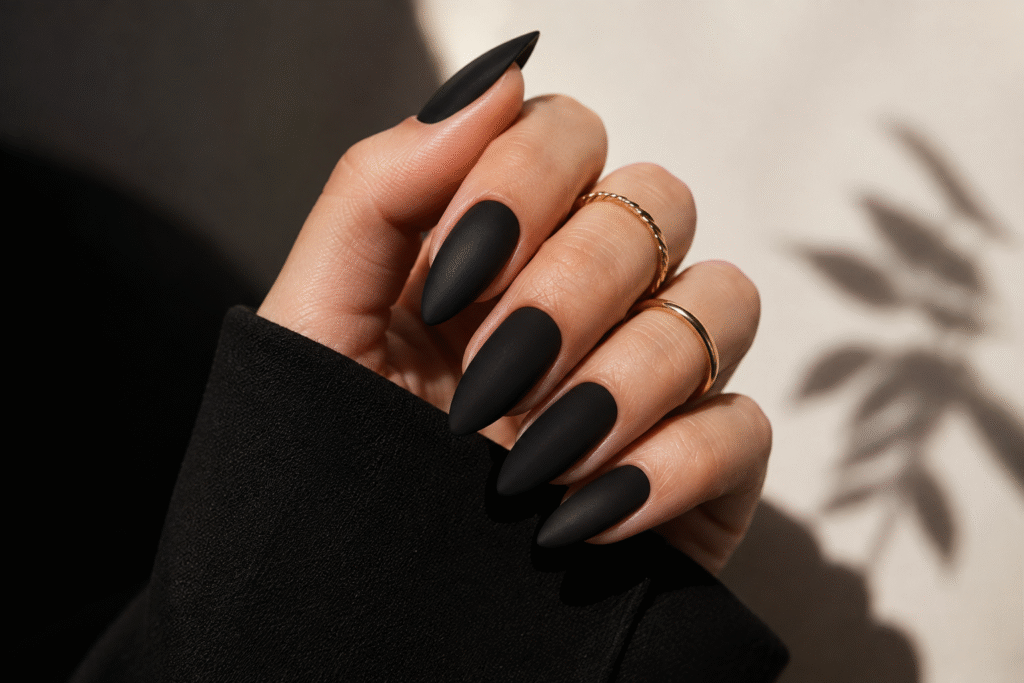
This design is one of the easiest options for beginners because it focuses on a flawless finish rather than detailed nail art. A matte top coat instantly transforms ordinary black polish into a chic statement look.
The simplicity of matte black nails makes them suitable for everyday wear, while their dramatic appearance ensures they never look boring.
Quick Steps
• Apply two thin coats of black nail polish.
• Allow the polish to dry thoroughly.
• Apply a matte top coat evenly.
• Let the nails fully set before touching anything.
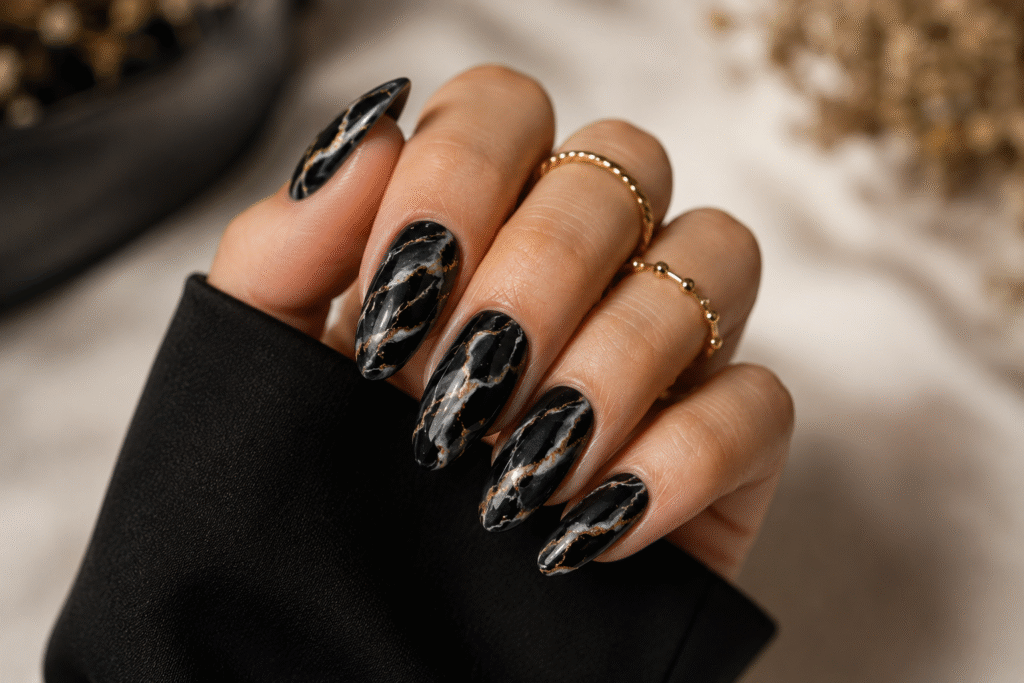
8: Black Marble Nails
Black marble nails bring a luxurious stone-inspired effect to your manicure. The soft swirls and delicate veins create an expensive-looking design that is surprisingly easy for beginners to recreate.
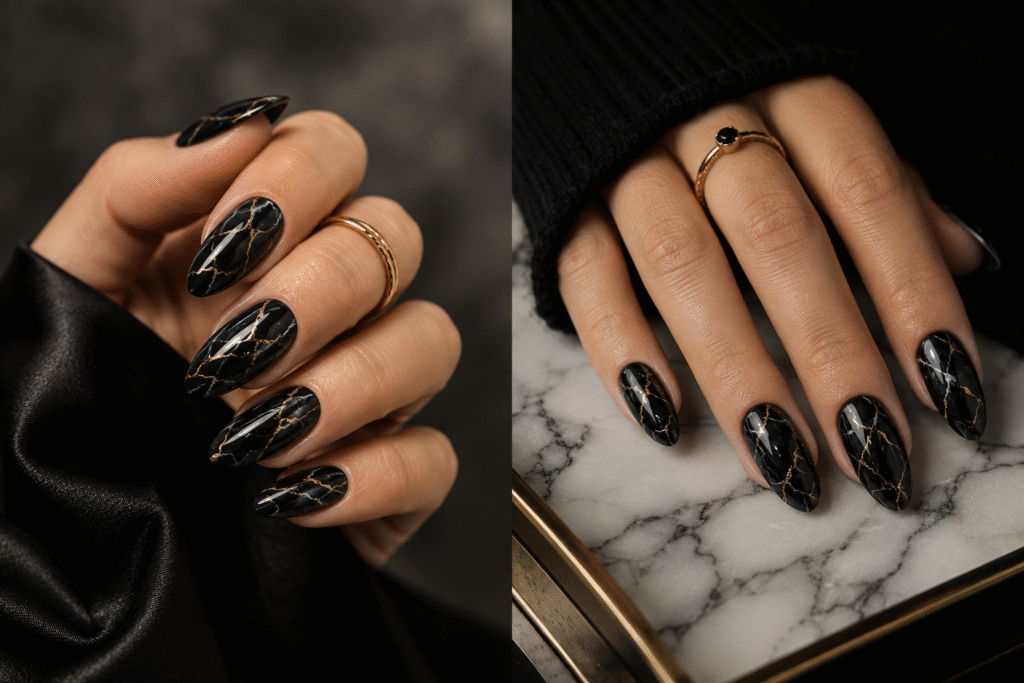
The beauty of marble nails is that no two nails look exactly alike. Small imperfections actually enhance the natural marble effect, making this a forgiving design for first-time nail artists.
Pairing black marble details with a white, nude, or gray base creates a stunning contrast that feels elegant and trendy at the same time.
Quick Steps
• Apply a light-colored base coat.
• Add thin black lines with a nail brush.
• Gently blur some lines for a marble effect.
• Seal with a glossy top coat.
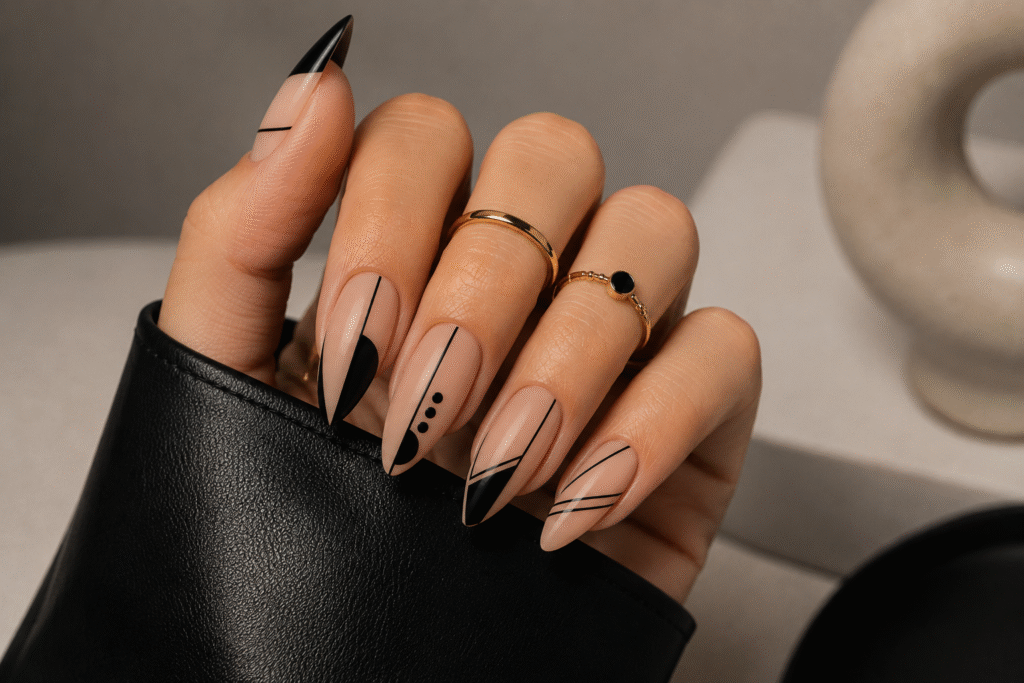
9: Black Geometric Nail Design
Geometric nail art combines clean lines and modern patterns for a stylish contemporary look. Black shapes and stripes instantly create a professional design while remaining beginner-friendly.
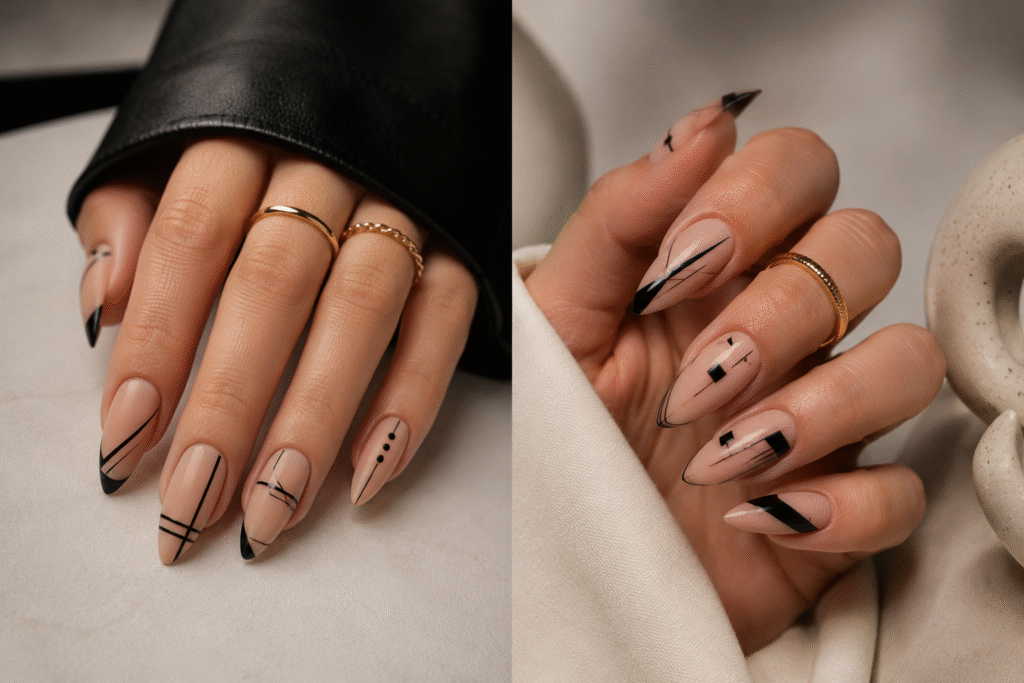
Using striping tape helps achieve sharp edges and precise patterns without advanced drawing skills. Even simple triangles or diagonal lines can make a big visual impact.
This manicure works beautifully with nude or clear bases, allowing the black geometric details to remain the center of attention.
Quick Steps
• Apply a nude or clear base color.
• Place striping tape to create patterns.
• Paint black polish over selected sections.
• Remove tape and finish with a top coat.
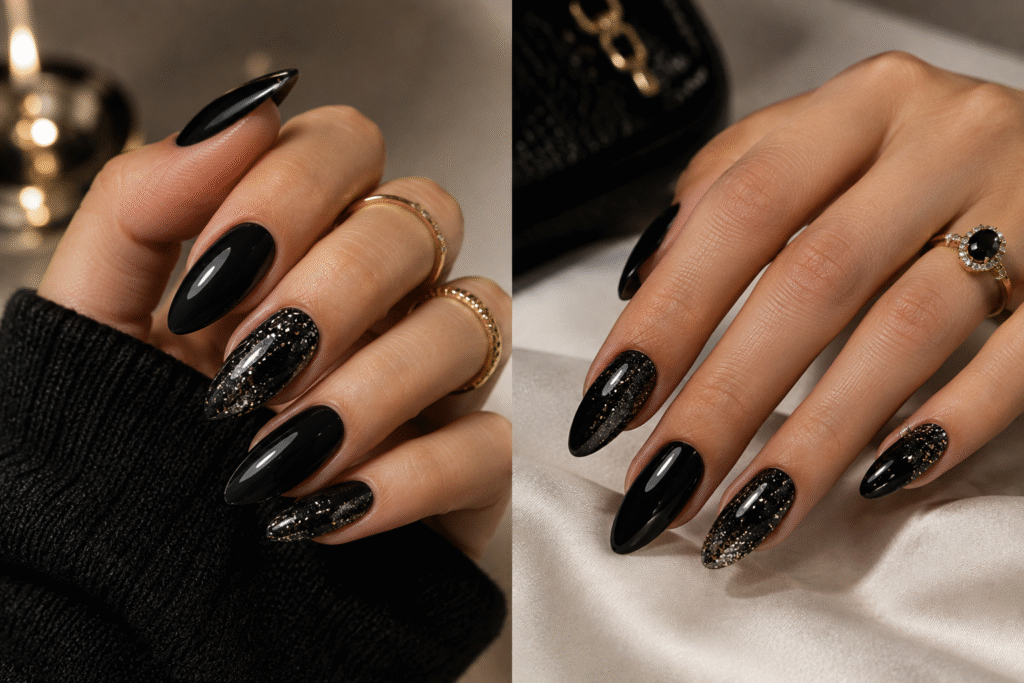
10: Black Glitter Accent Nails
Black glitter accent nails are perfect for adding sparkle without overwhelming the entire manicure. A touch of glitter on one or two nails creates a glamorous look while keeping the design simple.
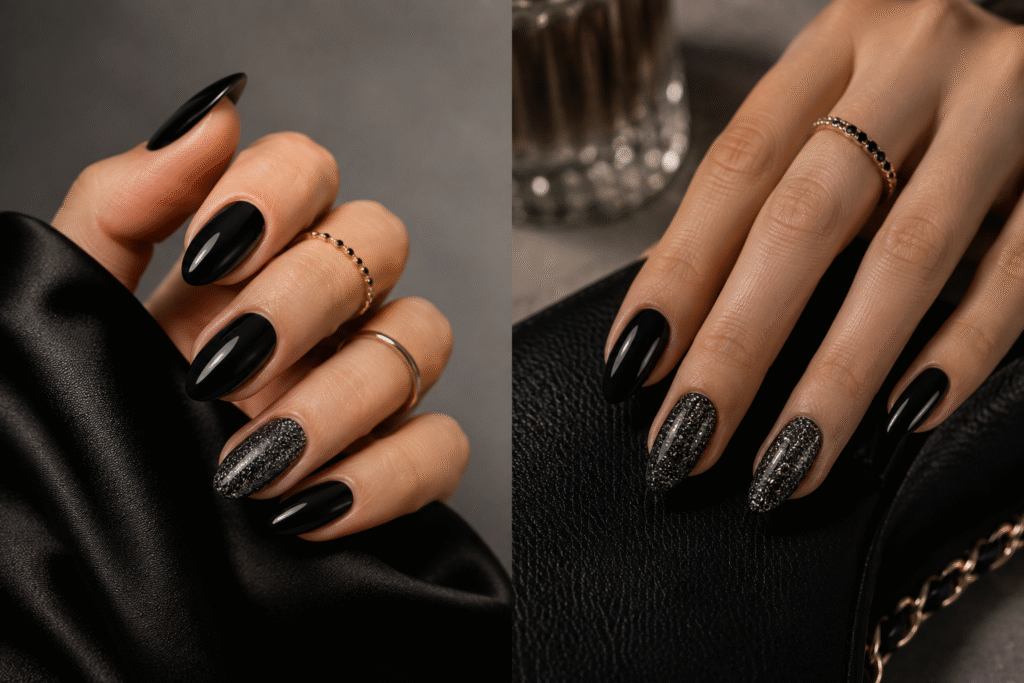
This style is especially popular for parties, celebrations, and holiday events. The combination of dark polish and shimmering glitter creates a beautiful contrast that catches the light.
Beginners love this design because it requires minimal effort while delivering maximum visual impact. A little sparkle goes a long way.
Quick Steps
• Apply two coats of black nail polish.
• Add glitter polish to one or two accent nails.
• Allow the design to dry completely.
• Finish with a glossy top coat for extra shine.
Looking for more beginner-friendly nail inspiration? Explore our latest nail design ideas.
Final Thoughts
Black nail designs prove that you don’t need complicated techniques to create a beautiful manicure. From timeless glossy finishes and chic French tips to trendy stars, marble effects, and glitter accents, there are countless ways to experiment with black polish while keeping the process beginner-friendly.
The best part about black nail art is its versatility. It can look elegant, edgy, minimalist, or glamorous depending on the design you choose. Whether you prefer subtle details or statement-making patterns, black nails provide the perfect canvas for creativity and self-expression.
As you practice these easy tutorials, don’t be afraid to add your own personal touch. Mix different styles, play with finishes, and experiment with accent nails to create looks that reflect your personality. With a little patience and creativity, you’ll be able to achieve stylish salon-inspired black nail designs right from home.