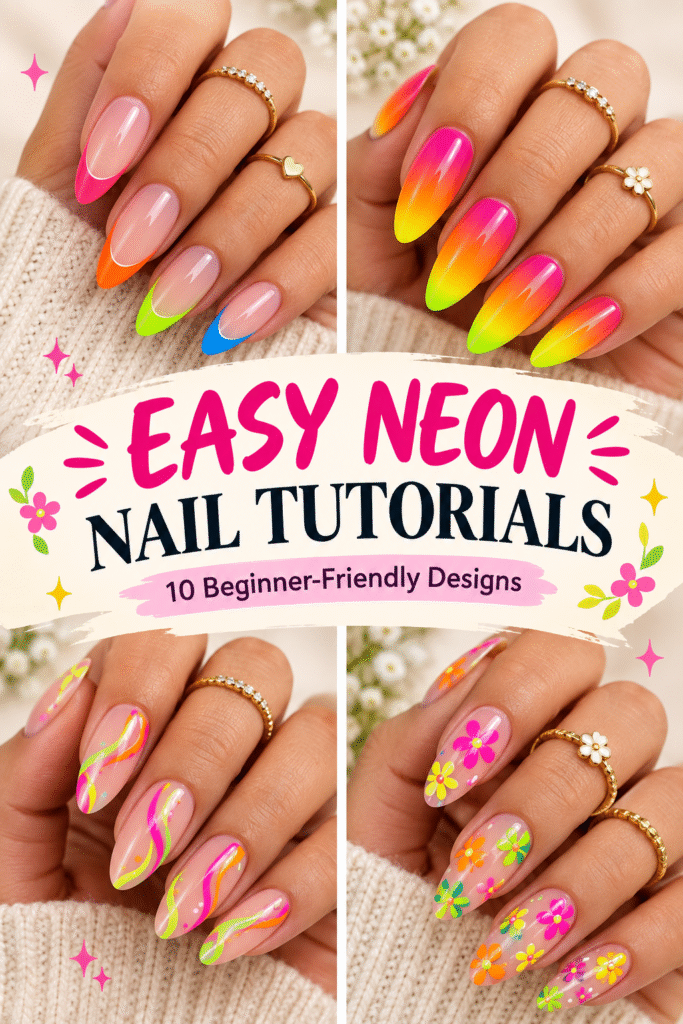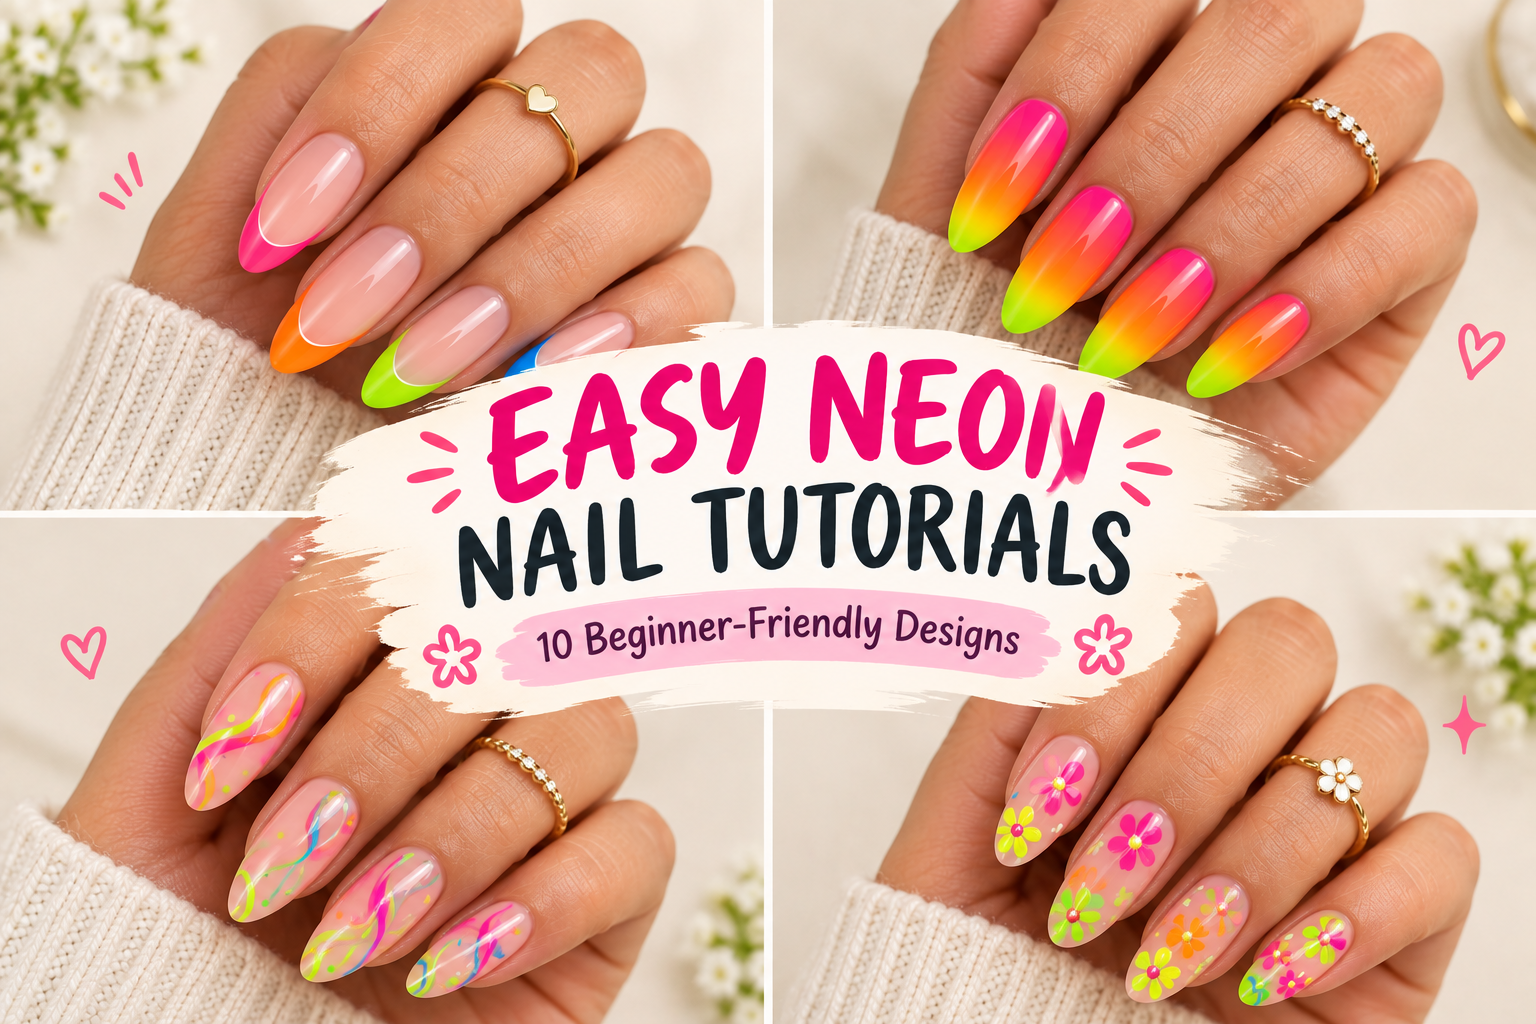
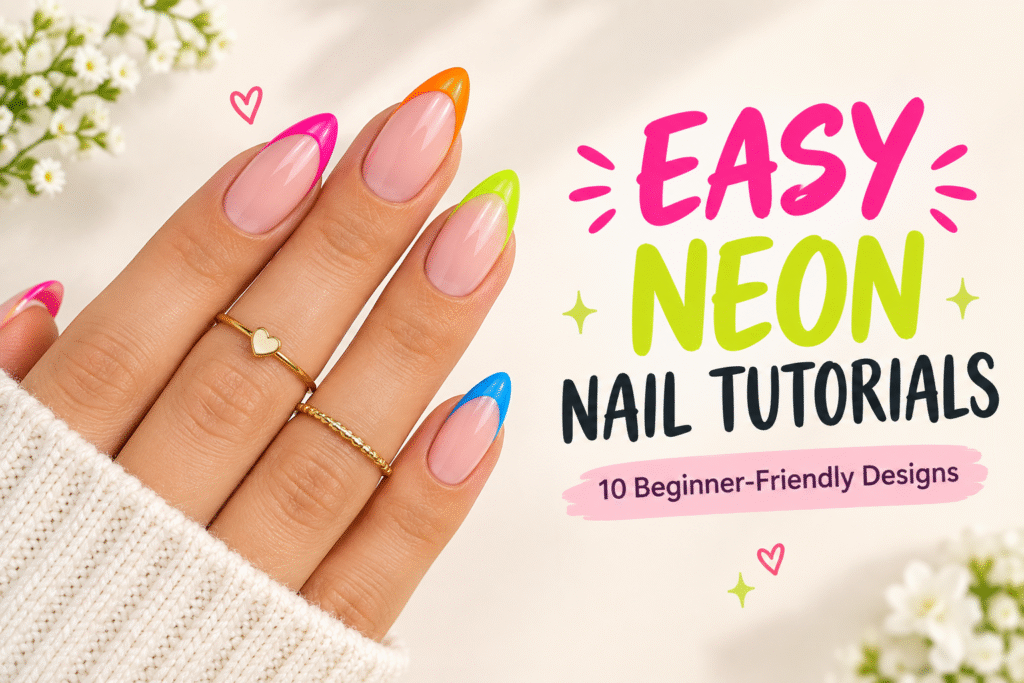
Easy Neon Nail Tutorials are a fun way to add a little extra color to your look without needing complicated nail-art skills. From bright pink and electric blue to lime green and sunny orange, these shades instantly make your manicure feel fresh, playful, and eye-catching. The best part is that many neon designs are surprisingly easy to recreate at home.
Easy Neon French Tip Nails for Beginners

If you’re new to nail art, you don’t need fancy tools or professional experience to get started. A few bright polishes, a simple nail brush or dotting tool, and a little patience can help you create beautiful designs. These beginner-friendly neon nail tutorials focus on simple techniques that are easy to follow and customize.
In this guide, you’ll find 10 easy neon nail designs with step-by-step ideas, from colorful French tips and simple dots to neon ombré and playful swirls. Whether you want something bold for a party or a fun everyday manicure, there’s a bright look here to try.
1. Bright Neon French Tips
Start with a clean nude or milky base so the neon tips really stand out. This design is simple enough for beginners but still gives your nails that fun, colorful finish. Choose two or three neon shades that look good together.
- Apply a thin base coat first.
- Add your favorite neon color to the tips.
- Let each layer dry before adding another coat.
- Finish with a glossy top coat for extra shine.

For an easier application, use thin nail-art tape to create a neat French-tip line. You can make every nail the same color or switch between bright pink, orange, green, and blue for a playful rainbow effect.

This look works especially well on short or medium-length nails because the bright tips add color without making the manicure feel too busy. Keep the base soft and neutral for a clean contrast.
2. Easy Neon Dot Nails
Neon dots are one of the easiest designs to try when you’re just starting with nail art. Begin with a soft nude, white, or pale pink base so the bright dots stand out beautifully.
- Apply two thin coats of your base color.
- Use a dotting tool or bobby pin for the dots.
- Mix different neon shades for a playful look.
- Seal everything with a glossy top coat.
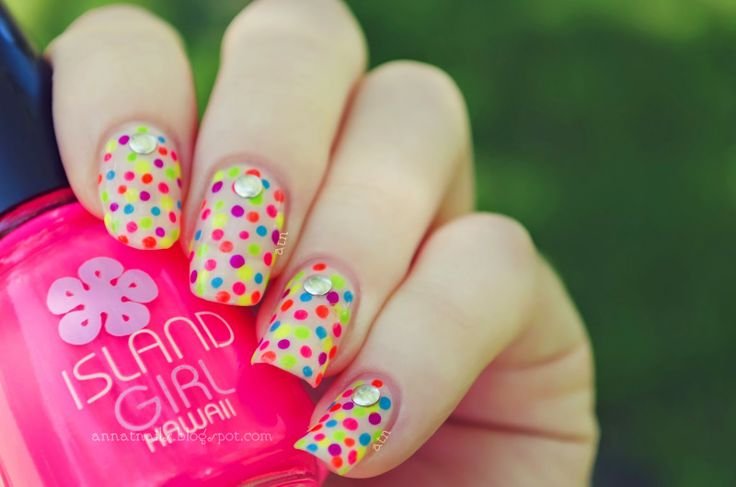
Place small dots near the cuticle and gradually make them larger toward the center of the nail. You don’t need every dot to be perfectly even the slightly playful finish is what makes this design feel cute and effortless.

For a softer manicure, use just one or two neon colors instead of covering every nail with different shades. You can also create tiny flower shapes by placing several dots around one smaller dot.
3. Simple Neon Ombre Nails
Neon ombré nails look more complicated than they actually are. The trick is to blend two bright shades while the polish is still slightly wet, creating a smooth transition from one color to another.
- Start with a light nude or white base.
- Choose two matching neon shades.
- Blend the colors gently with a small sponge.
- Add a glossy top coat to smooth the finish.
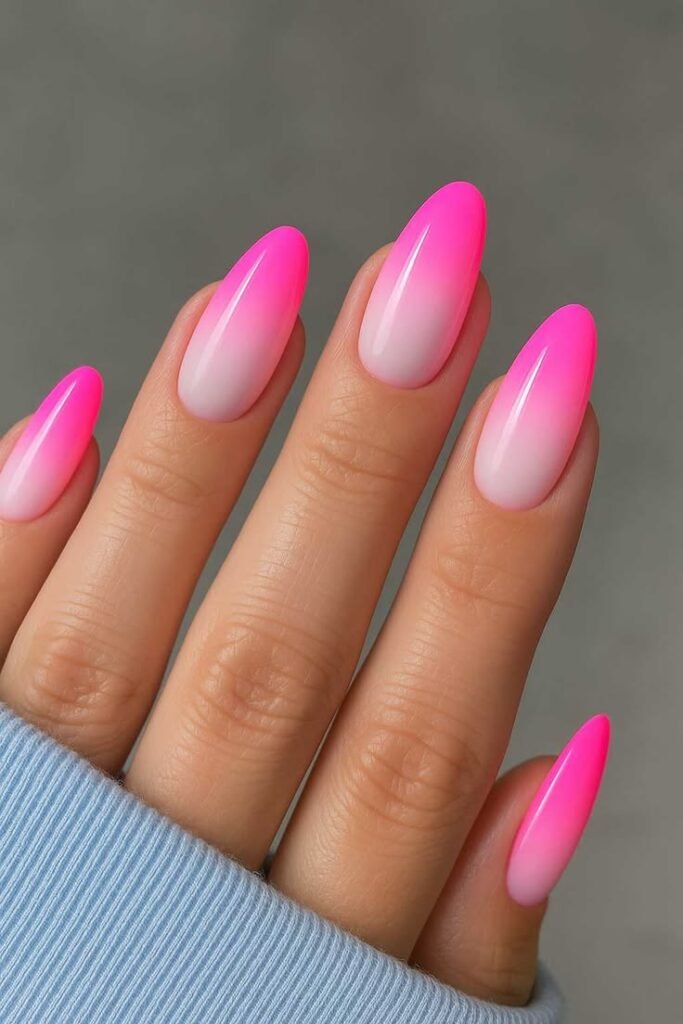
Try combinations like hot pink with orange, blue with purple, or lime green with yellow. These color pairings give your manicure plenty of energy while keeping the overall design smooth and wearable.

If you’re doing this for the first time, don’t worry if the first layer looks a little uneven. Two or three thin layers usually create a much softer gradient than trying to apply one thick layer.
4. Neon Swirl Nails
Neon swirl nails are perfect when you want something colorful without needing to cover the whole nail. A soft nude base makes the bright curved lines pop while keeping the design light and wearable.
- Apply two thin coats of nude polish.
- Pick two or three neon colors.
- Draw thin curved lines across each nail.
- Finish with a clear glossy top coat.
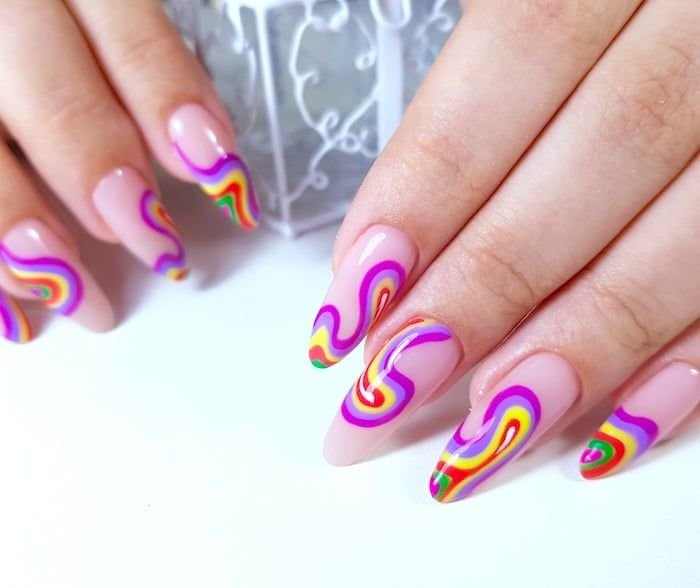
Use a fine nail-art brush to create loose, flowing swirls. Don’t worry about making every line identical slightly different curves can actually make the manicure look more natural and artistic.
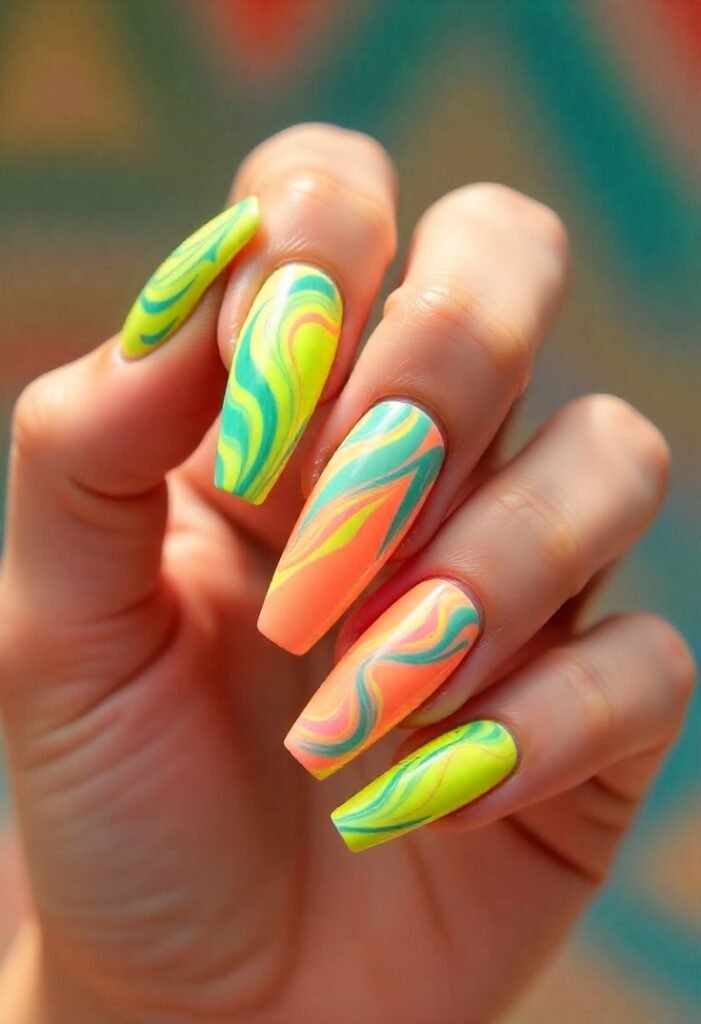
For a beginner-friendly version, keep the swirls on one side of each nail instead of covering the entire surface. Try combinations like neon pink and orange or blue, green, and yellow for a cheerful finish.
5. Neon Half-Moon Nails
Neon half-moon nails give you a colorful manicure while keeping the design simple and clean. Leave a small curved section near the cuticle natural or use a soft nude shade for a pretty contrast.
- Apply your nude or clear base coat.
- Carefully paint a curved neon shape near the cuticle.
- Use a different neon shade on each nail if you like.
- Finish with a glossy top coat.
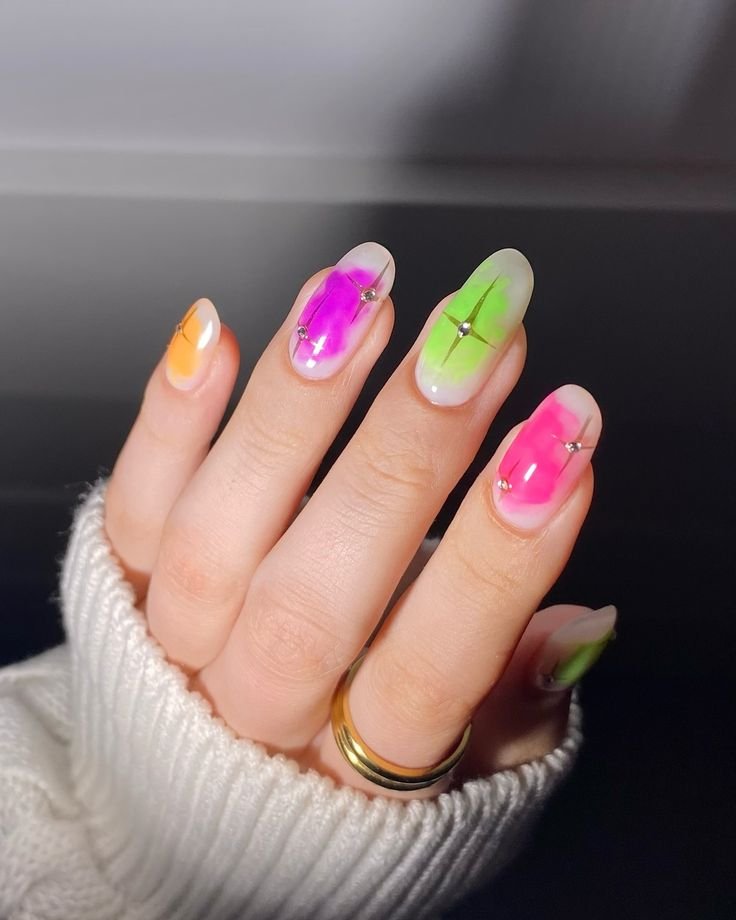
You can create the curved shape using a small nail-art brush or simple round stickers as guides. This makes the design much easier to achieve if your freehand lines aren’t perfect yet.
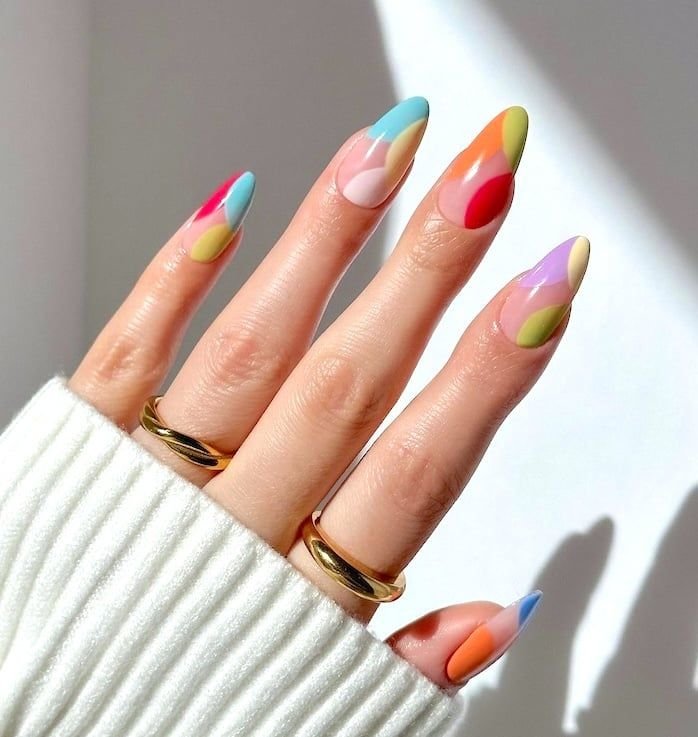
Try hot pink, bright orange, lime green, and electric blue for a fun summer-inspired manicure. Keeping the rest of the nail neutral helps the neon detail feel fresh rather than overwhelming.
6. Easy Neon Flower Nails
Neon flower nails are a cute way to make your manicure feel bright and cheerful without needing advanced nail-art skills. A soft nude or pale pink base gives the colorful flowers plenty of space to stand out.
- Apply two thin coats of a light base color.
- Make five small neon dots around a center dot.
- Repeat the flowers on a few nails.
- Add a glossy top coat when everything is dry.
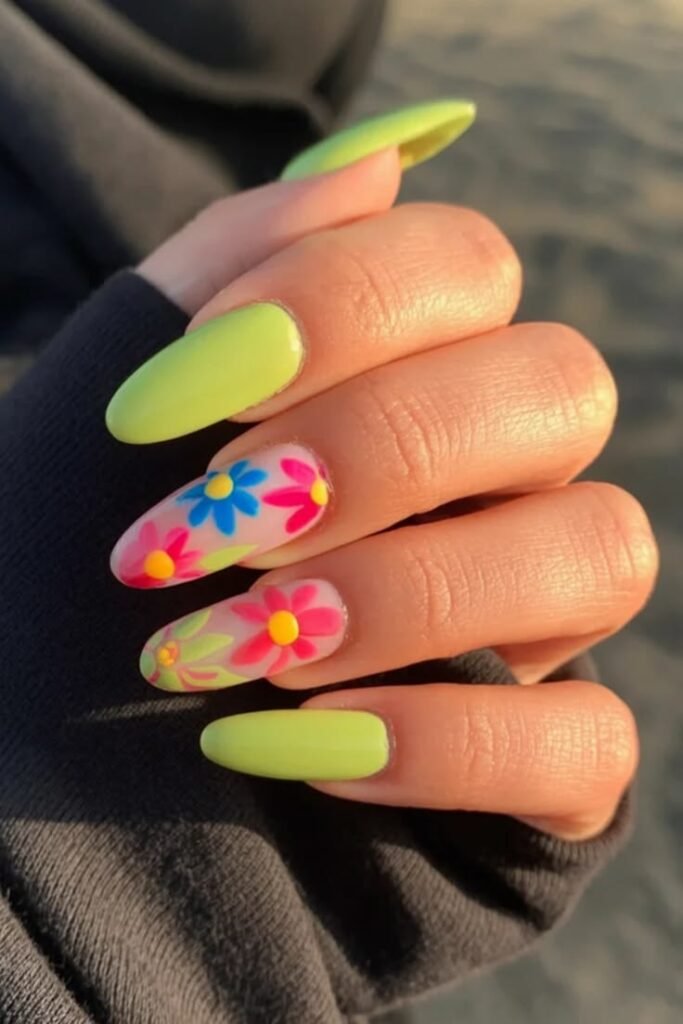
You can use a dotting tool, toothpick, or the rounded end of a bobby pin to create the petals. Mix shades such as hot pink, yellow, orange, and lime green for a playful floral combination.
For a more subtle look, decorate only two or three accent nails and leave the others plain. This keeps the manicure beginner-friendly while giving it a cute little pop of color.
7. Neon Glitter Accent Nails
If you love sparkle but want an easy design, neon glitter accent nails are a great choice. Keep most of the manicure simple and let one or two bright glitter nails become the main focus.
- Apply a nude or soft pink base to all nails.
- Choose one or two neon glitter shades.
- Cover one or two accent nails completely.
- Finish every nail with a glossy top coat.
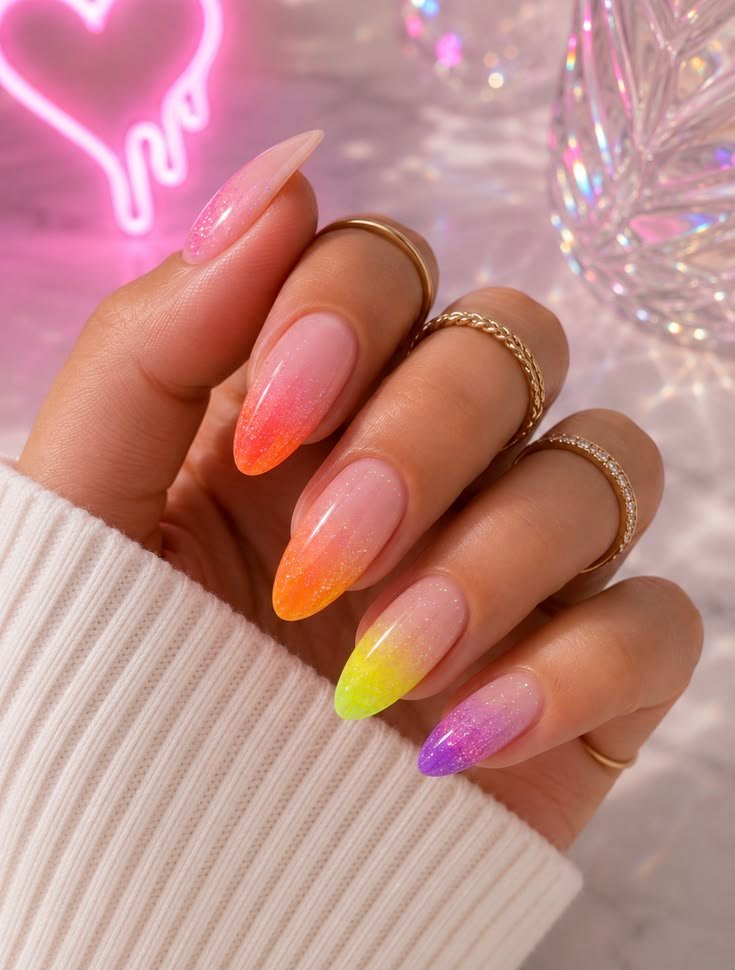
For the other nails, add a tiny neon French tip or a few glitter dots to tie the whole manicure together. This gives you a coordinated look without making the design too busy.
Hot pink, neon orange, and electric blue glitter work especially well against a soft neutral base. If you prefer a more elegant finish, choose fine shimmer instead of chunky glitter.
8. Easy Neon Checkerboard Nails
Checkerboard nails can look detailed, but you can make a beginner-friendly version using small blocks instead of trying to create a perfect grid. A neutral base also helps keep the bright colors balanced.
- Start with a smooth nude or white base.
- Use a thin brush to create tiny square blocks.
- Alternate two neon colors across each nail.
- Seal the design with a glossy top coat.
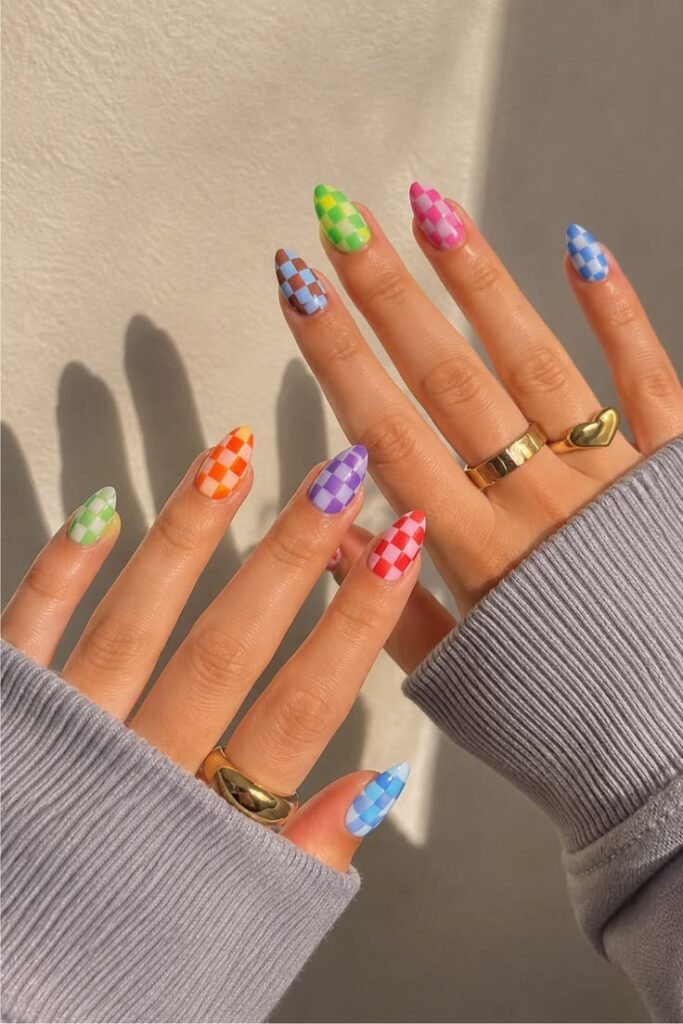
If freehand squares feel difficult, use thin nail-art tape to create clean sections. You can also decorate just one or two accent nails and keep the rest in a simple neon shade.
Try pink and orange for a warm combination or blue and lime green for something cooler. Keeping the squares small gives this playful design a more polished and modern appearance.
9. Neon French Tip With Tiny Dots
This design combines two beginner-friendly techniques: colorful French tips and tiny dots. The result feels playful and detailed without requiring complicated nail-art skills.
Love neon nails? Try these vibrant nail designs.
- Start with a soft nude or milky base.
- Paint a thin neon French tip on each nail.
- Add a few tiny contrasting dots underneath.
- Finish with a clear glossy top coat.
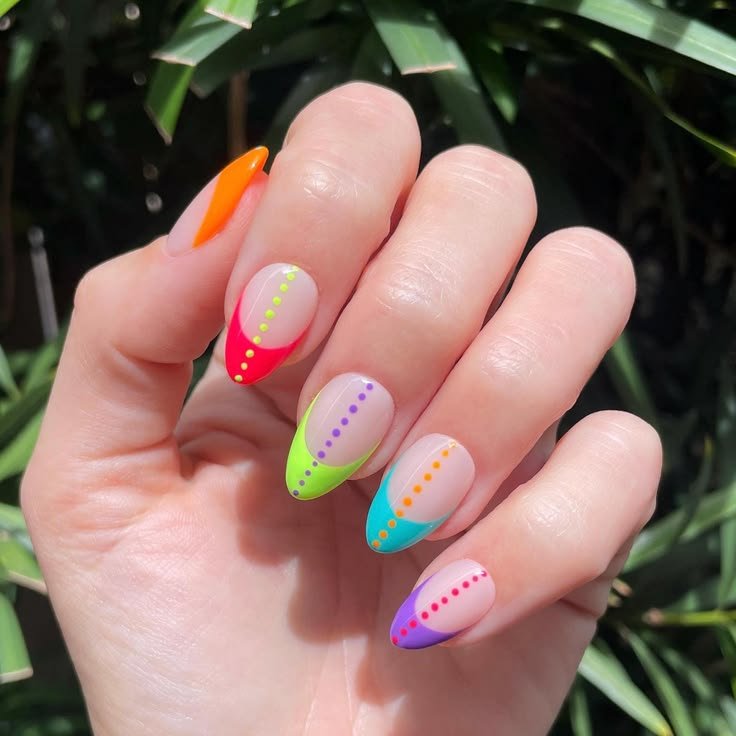
Choose different neon colors for each nail to create a fun rainbow effect. Keep the dots small and spaced out so the manicure still looks clean and elegant.
For an easier version, use the same neon shade for every tip and add dots in just one accent color. It’s a simple way to make a basic French manicure feel much more exciting.
10. Simple Neon Accent Lines
If you want one final design that looks stylish without taking much time, try simple neon accent lines. Thin colorful lines over a neutral base create a modern manicure that beginners can easily customize.
- Apply a nude or milky base to every nail.
- Choose two or three bright neon shades.
- Draw one or two thin lines on each nail.
- Add a glossy top coat for a smooth finish.
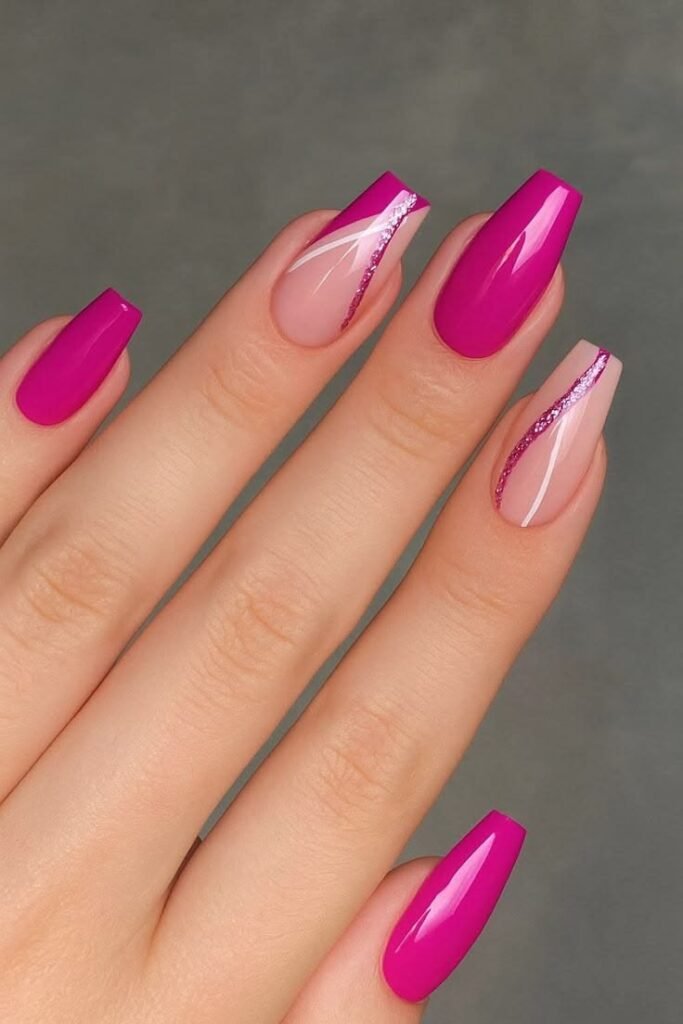
Keep the lines straight, slightly curved, or diagonal depending on the look you want. You can also place them along one side of the nail instead of across the center for a more minimal style.
For an extra colorful finish, use a different neon shade on each nail. The simple design lets the bright colors stand out while keeping the overall manicure neat, fresh, and easy to recreate at home.
Final Thoughts
Neon nails don’t have to be difficult or complicated to look amazing. With simple techniques like French tips, dots, swirls, flowers, and accent lines, beginners can create bright manicures at home without needing professional tools.
Start with one design that feels comfortable and practice the technique slowly. Once you get the hang of it, experiment with different neon color combinations, finishes, and nail shapes to make each look your own.
The best thing about neon nail art is that there are no strict rules. Whether you prefer a subtle pop of color or a bold rainbow manicure, these easy ideas give you plenty of ways to have fun with your nails.