Fall is the perfect time to try warm, cozy nail colors and simple designs that make your manicure feel special. From rich chocolate brown and burnt orange to soft beige, burgundy, and golden yellow, autumn shades look beautiful on every nail shape. The best part? You don’t need professional nail art skills or expensive tools to create a pretty fall manicure at home.
Easy Fall Nail Tutorials for Beginners
If you’re new to nail art, these easy fall nail tutorials will help you create stylish autumn designs one step at a time. You’ll discover simple pumpkin accents, cozy sweater-inspired patterns, classic fall French tips, tiny autumn leaves, and other beginner-friendly ideas that are easy to recreate with a little patience. Most designs can be made with basic nail polish, a thin nail art brush, a dotting tool, or even a toothpick.
Whether you prefer minimal nude nails with delicate autumn details or colorful seasonal manicures that stand out on Pinterest, there’s something here for you. Grab your favorite fall nail polishes, set aside a little time for yourself, and get ready to create beautiful autumn nails at home without making things complicated.
1: Easy Burnt Orange Fall Nails
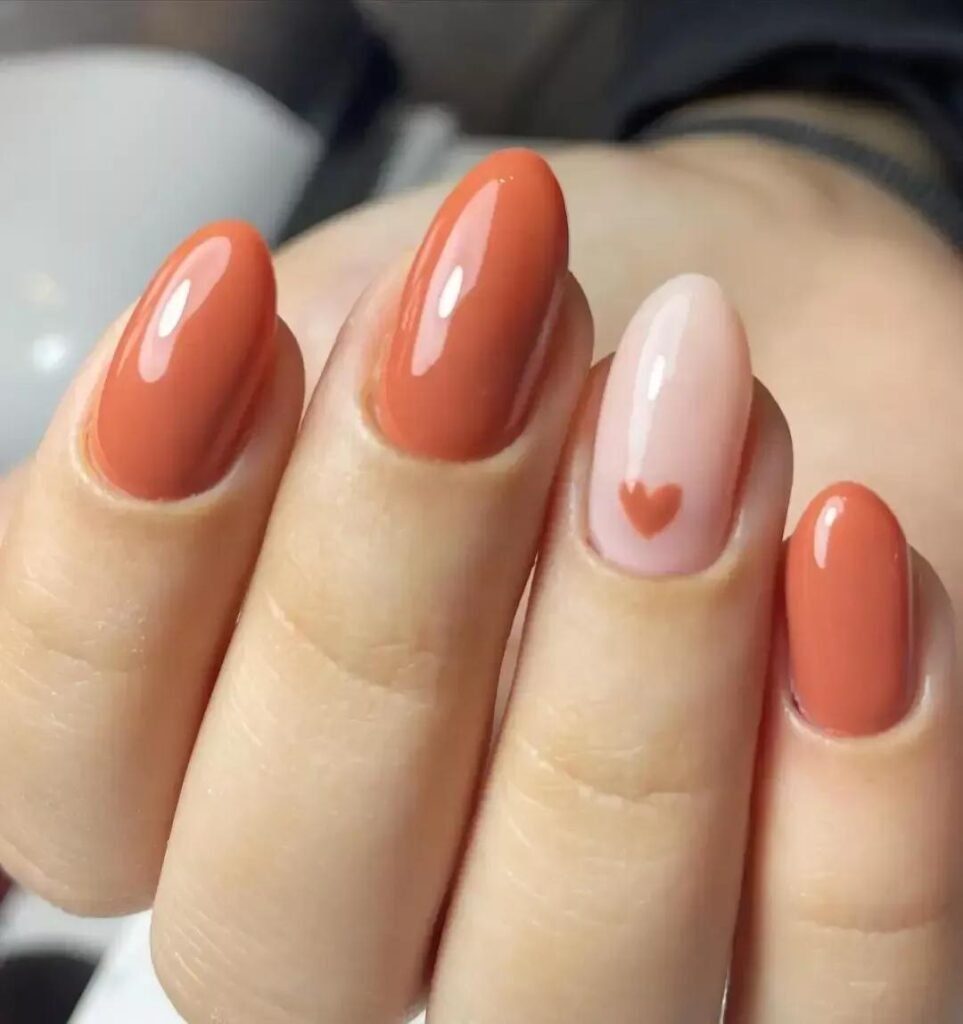
Burnt orange nails are a beautiful choice for autumn, especially if you want a seasonal manicure that looks stylish without being difficult to create. This warm, earthy shade pairs perfectly with cozy sweaters, neutral outfits, and the changing colors of fall leaves. For beginners, a simple burnt orange manicure is an easy place to start because it looks lovely on its own, even without detailed nail art.
What you’ll need: Burnt orange nail polish, a clear base coat, a glossy top coat, and a small cleanup brush.
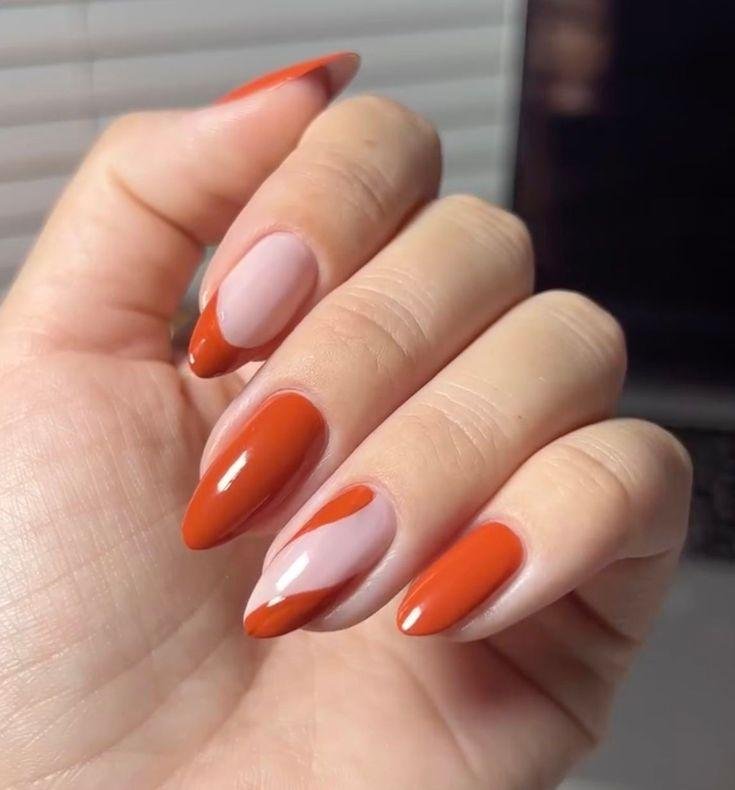
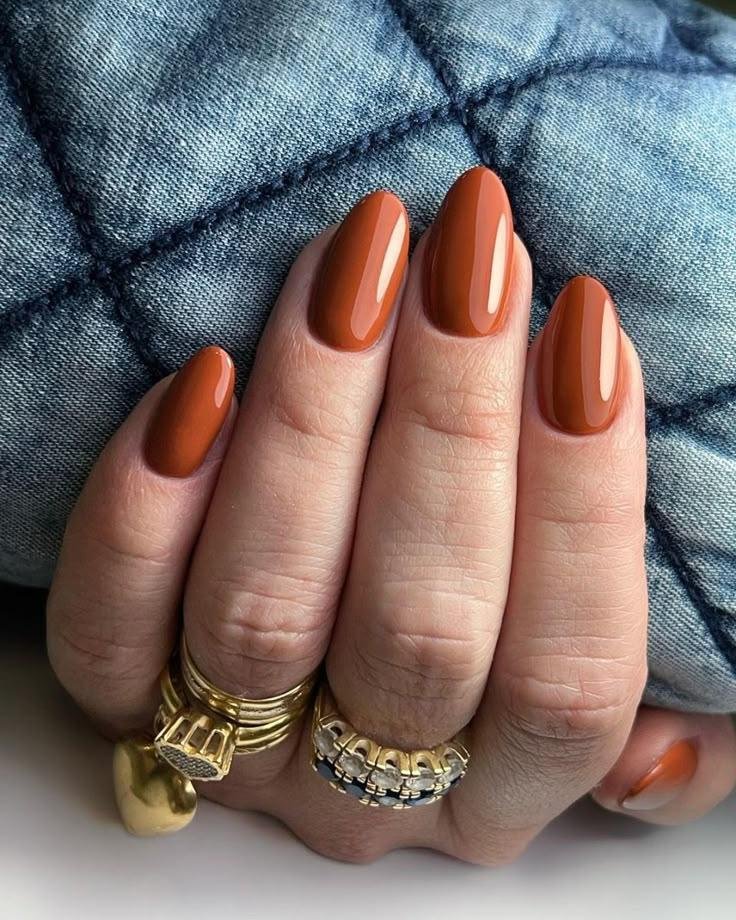
Step-by-step tutorial:
- Start with clean, dry nails and gently shape them using a nail file.
- Apply a thin layer of base coat and let it dry completely.
- Paint your nails with one thin coat of burnt orange polish.
- Add a second coat for a richer, more even color, allowing the first coat to dry before applying it.
- Finish with a glossy top coat to give your manicure a smooth, salon-like shine.
- Clean up any polish around the edges with a small brush for a neat finish.
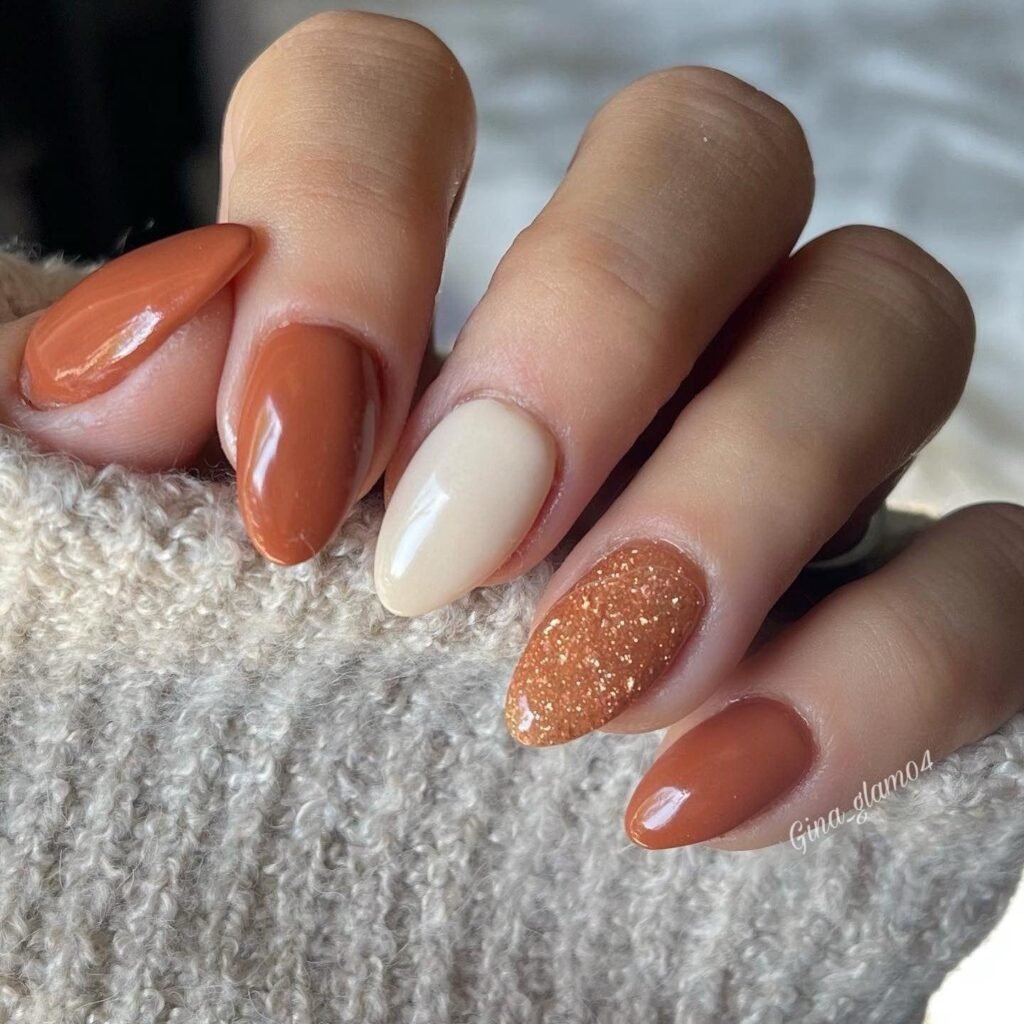
Beginner tip: If you want a slightly more detailed look, leave one nail nude and add a tiny burnt orange leaf using a fine nail art brush. Keep the rest of the nails simple so the design feels balanced and easy to wear.
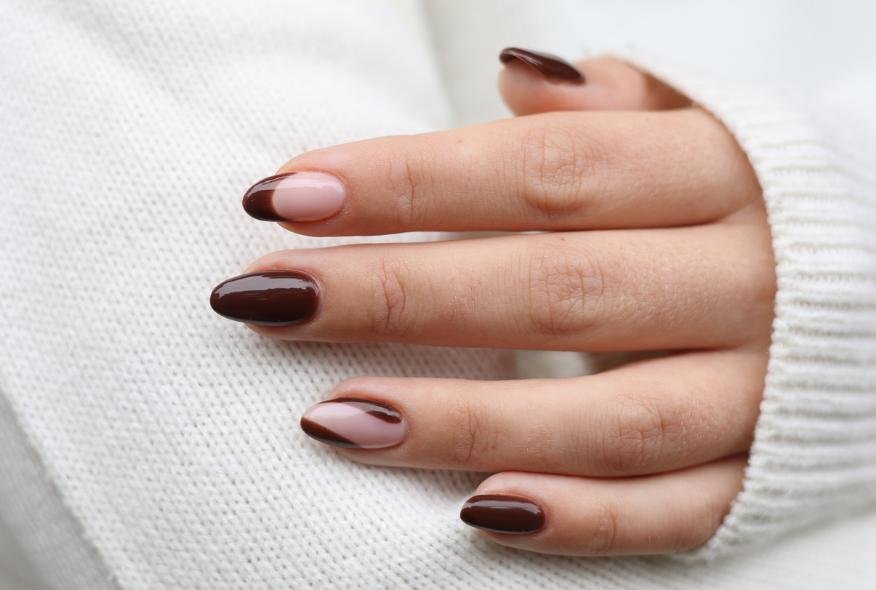
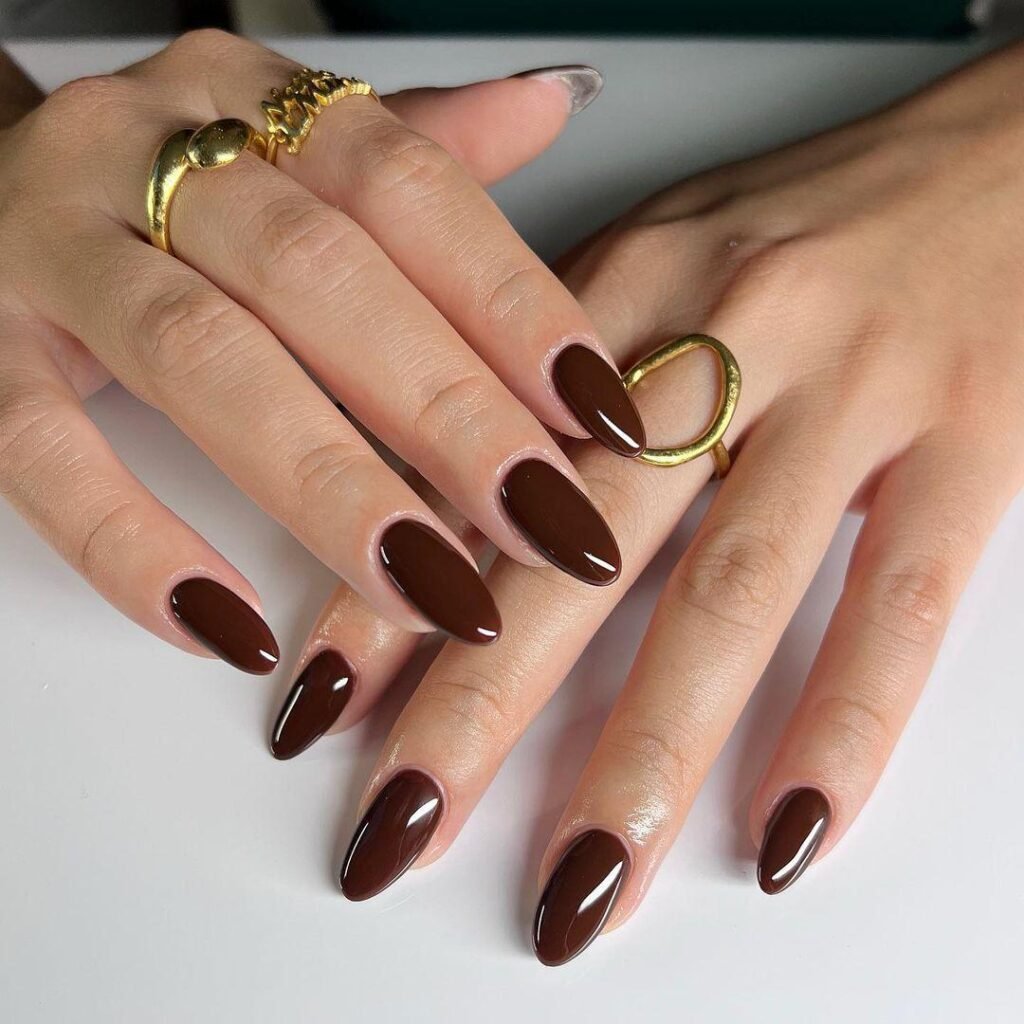
2: Simple Chocolate Brown Fall Nails
Chocolate brown nails are a timeless autumn favorite, especially if you love a manicure that looks elegant without requiring complicated designs. This rich, warm shade works beautifully with cream sweaters, denim, and neutral fall outfits. Whether you prefer short natural nails or a soft almond shape, chocolate brown polish creates a polished look that feels perfect for the season.
What you’ll need: Chocolate brown nail polish, a base coat, a glossy top coat, a nail file, and a small cleanup brush.
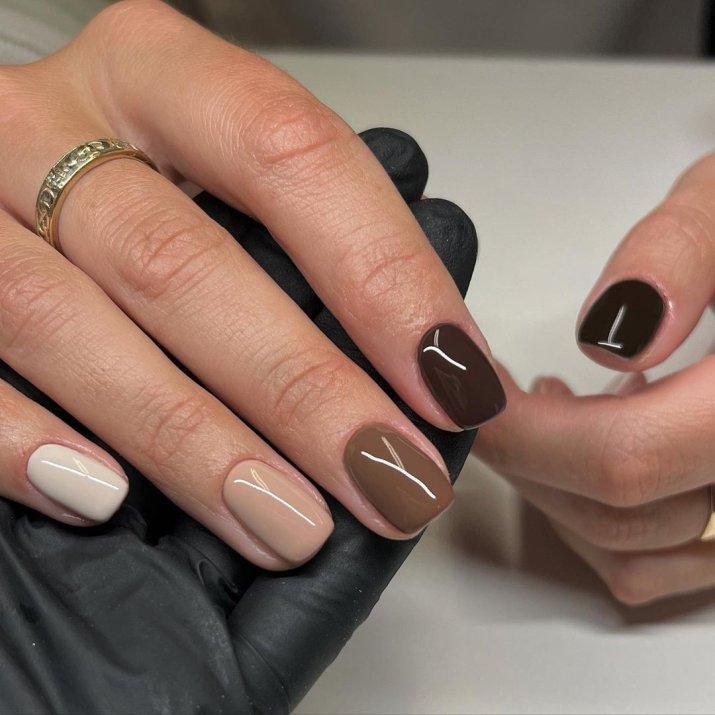
Step-by-step tutorial:
- Shape your nails into your preferred style and gently clean the nail surface.
- Apply a thin base coat to help protect your nails and create a smooth surface.
- Paint the first thin layer of chocolate brown polish and allow it to dry.
- Add a second coat to achieve a deep, even brown color.
- Seal the manicure with a glossy top coat for a smooth, reflective finish.
- For a simple variation, paint one accent nail in a creamy beige shade to create a soft contrast.
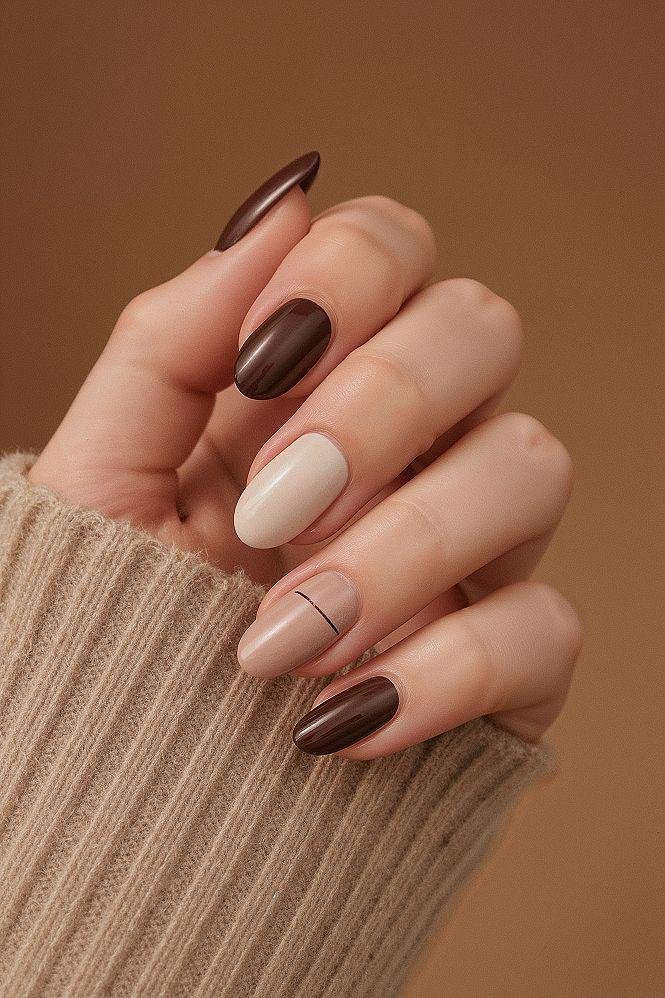
Beginner tip: Choose a brown polish that complements your skin tone and apply thin layers rather than one thick coat. This helps the polish dry more evenly and gives your manicure a cleaner finish.
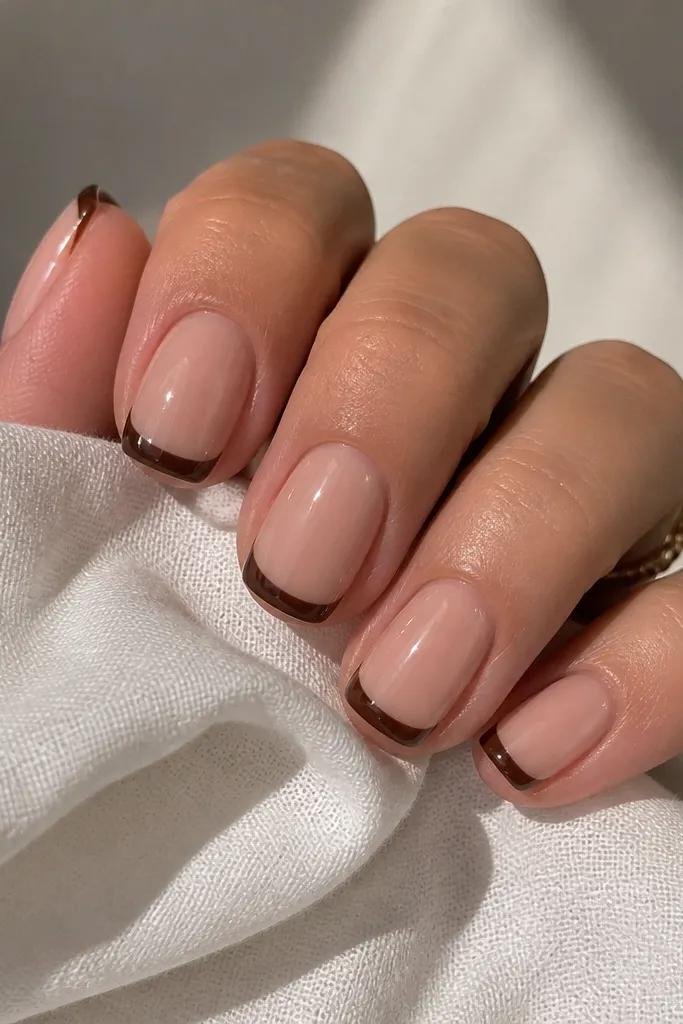
3: Easy Fall French Tip Nails
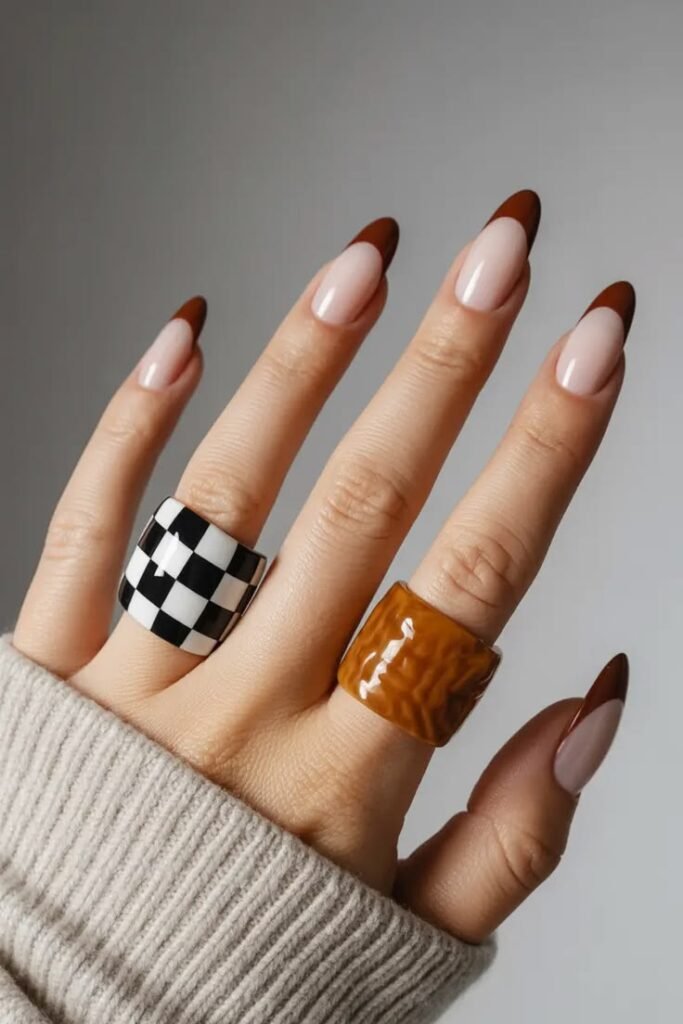
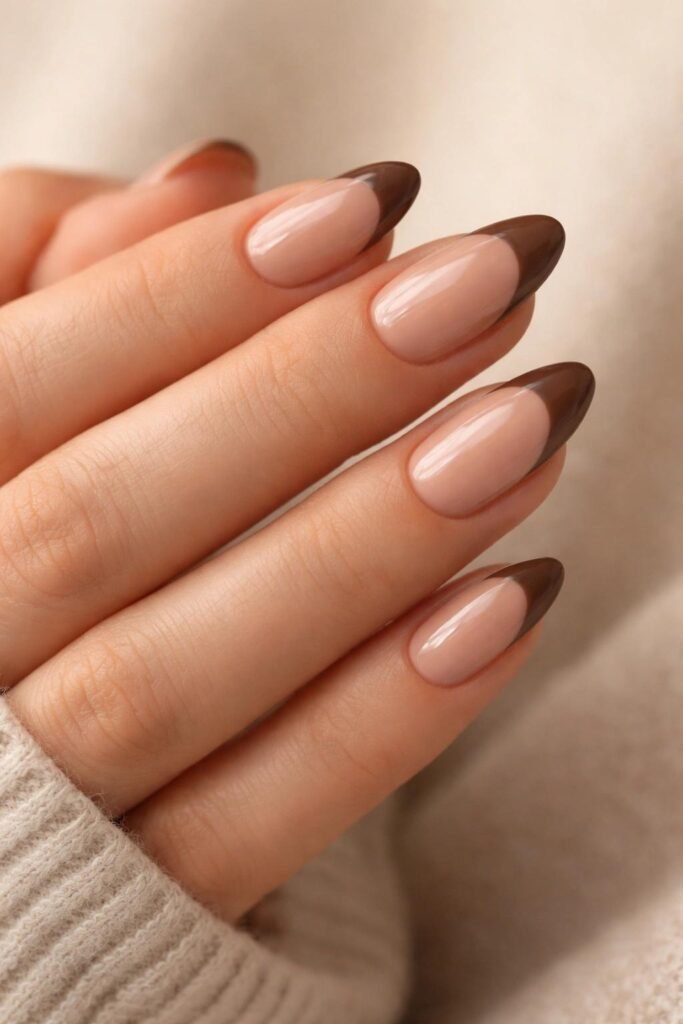
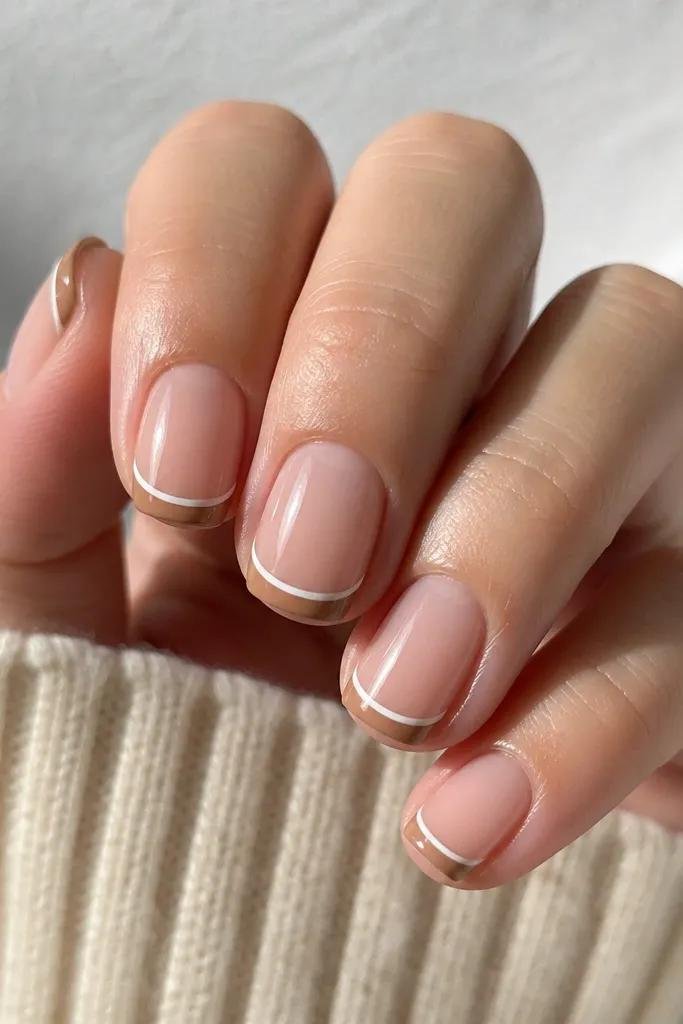
French tip nails get a cozy autumn makeover when you swap traditional white tips for warm fall shades. Think burnt orange, caramel, chocolate brown, or deep burgundy over a sheer nude base. This design looks delicate and modern while still being simple enough for beginners to try at home. You can keep every nail the same or use a different autumn shade on each tip for a more playful seasonal manicure.
What you’ll need: A nude or sheer pink nail polish, your favorite autumn-colored polish, a base coat, a top coat, and a thin nail art brush.
Step-by-step tutorial:
- File your nails into a soft almond or rounded shape and apply a base coat.
- Paint one or two thin layers of nude polish and allow them to dry.
- Use a thin nail art brush to draw a curved line across the tip of each nail with burnt orange or chocolate brown polish.
- Fill in the tips carefully, following the natural curve of your nails.
- Let the colored tips dry before applying a clear top coat.
- Finish with a glossy top coat to smooth the design and give it a fresh, polished appearance.
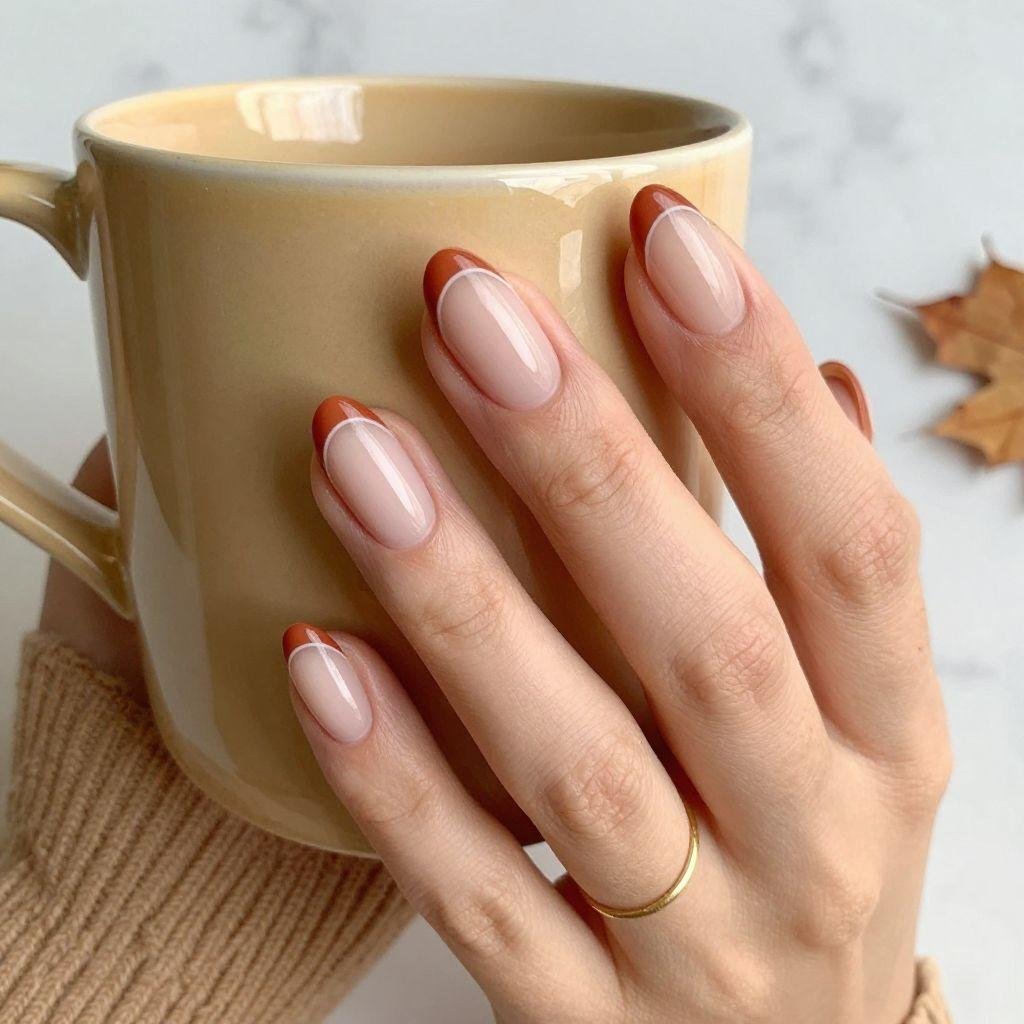
Beginner tip: If drawing curved lines feels difficult, use French tip nail guides or small pieces of nail tape. Make sure the base polish is completely dry before applying them to avoid smudges.
4: Cute Pumpkin Accent Nails
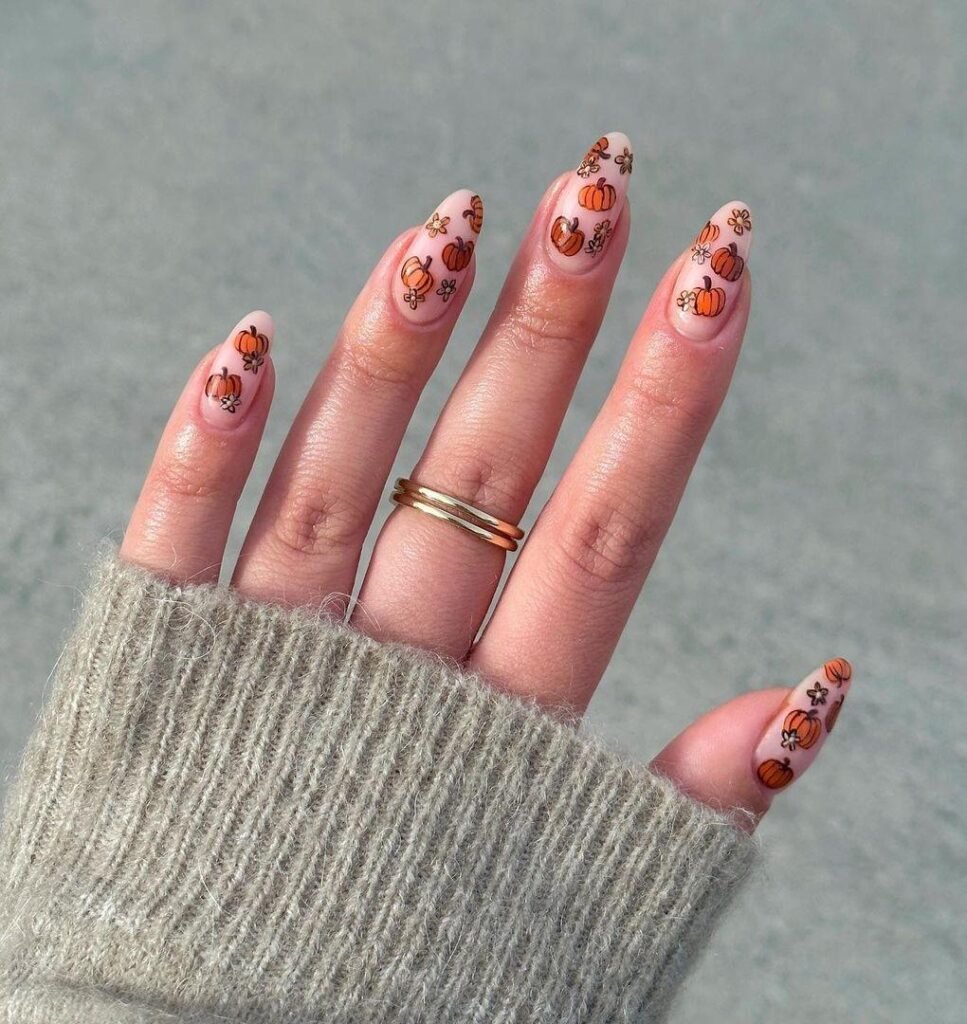
Nothing says autumn quite like little pumpkins, and adding one to your manicure is an easy way to celebrate the season. Pumpkin accent nails look especially pretty over a nude, cream, or soft beige base, with a bright orange pumpkin adding just the right amount of color. You don’t need to decorate every nail, either. One tiny pumpkin on each accent nail keeps the look cute, balanced, and beginner-friendly.
What you’ll need: Nude or cream nail polish, orange polish, green polish, a thin nail art brush or toothpick, and a clear top coat.
Step-by-step tutorial:
- Apply a base coat, then paint your nails with a nude or cream polish. Let them dry completely.
- Use a small brush or dotting tool to create a round orange shape on your accent nail.
- Add two or three short curved lines inside the orange shape to give the pumpkin its familiar ridged appearance.
- Use a thin brush to add a tiny green stem at the top.
- Allow the design to dry before sealing it with a clear top coat.
- Leave the remaining nails in a simple nude shade or paint them burnt orange for a coordinated autumn look.
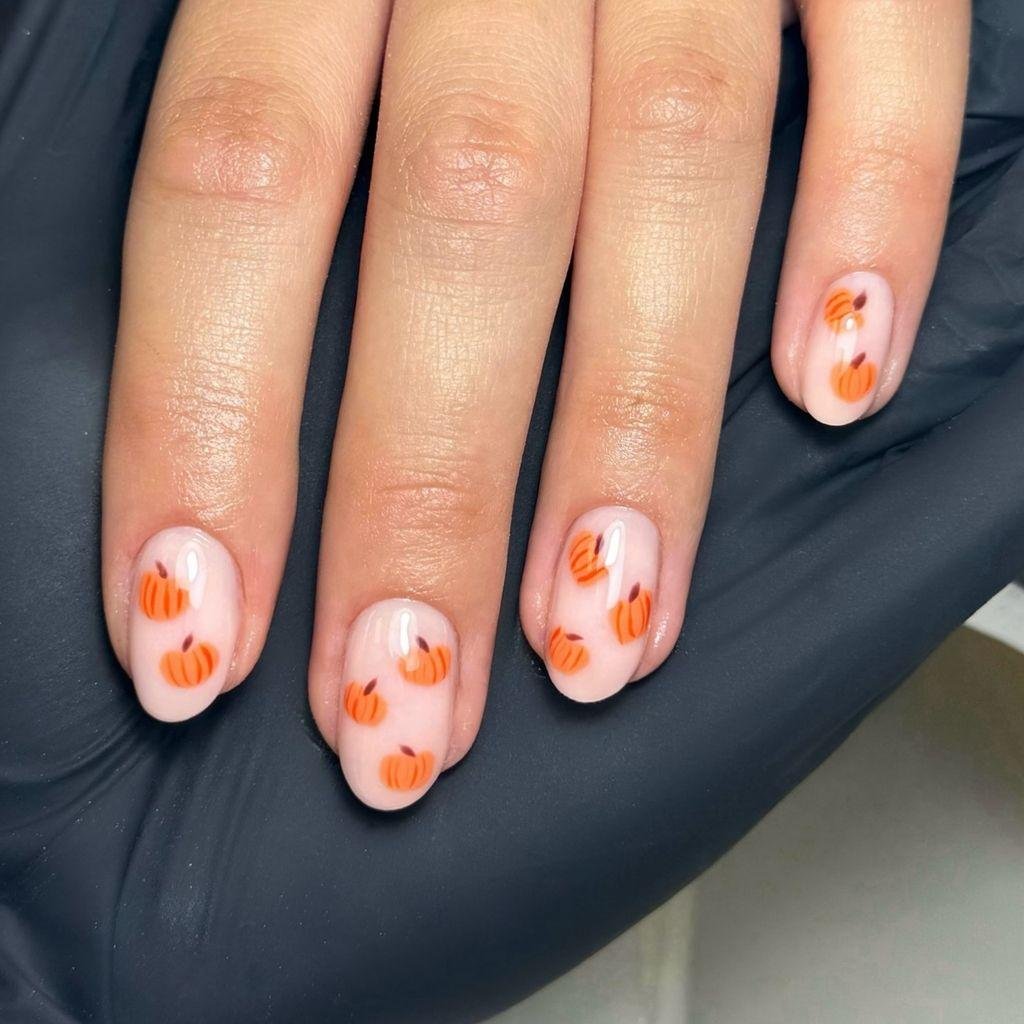
Beginner tip: Don’t worry about making the pumpkin perfectly detailed. A small orange oval with a green stem is enough to create a recognizable seasonal design.
5: Easy Autumn Leaf Nail Art
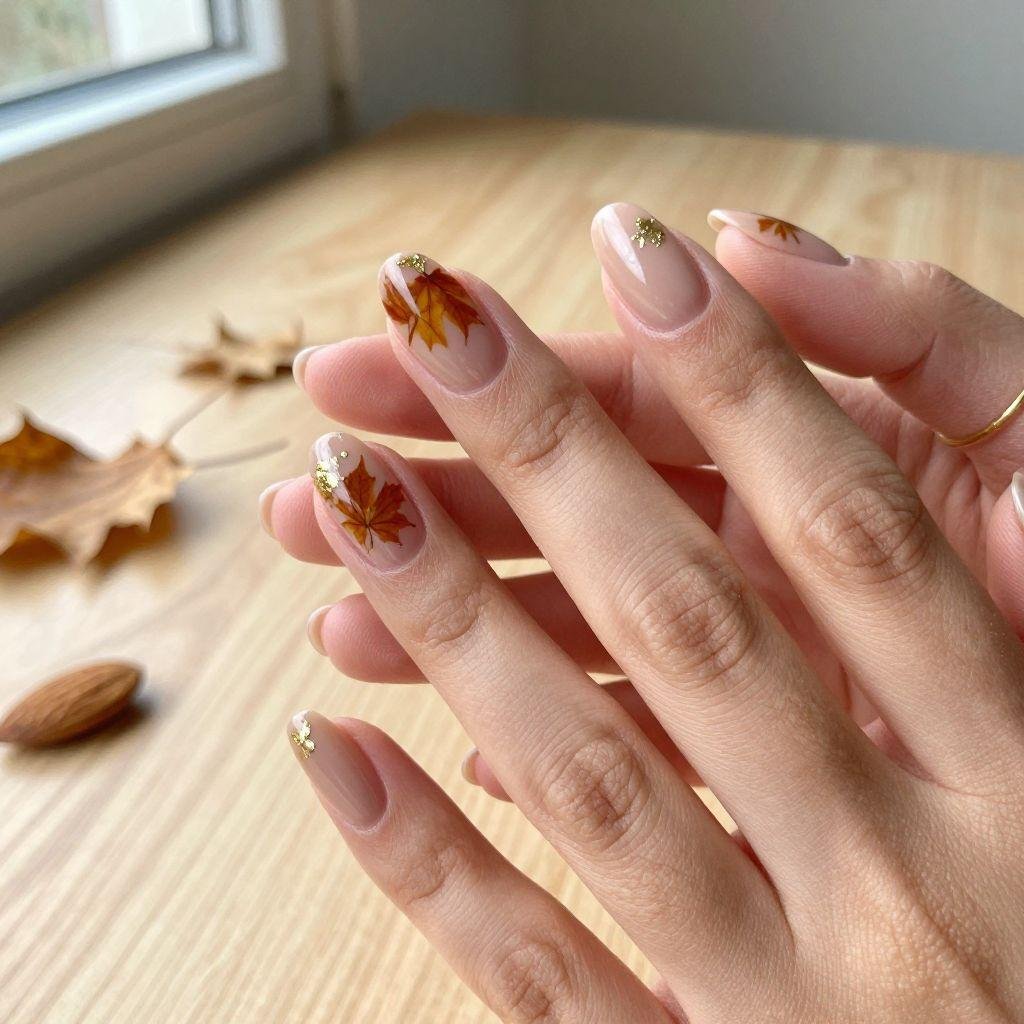
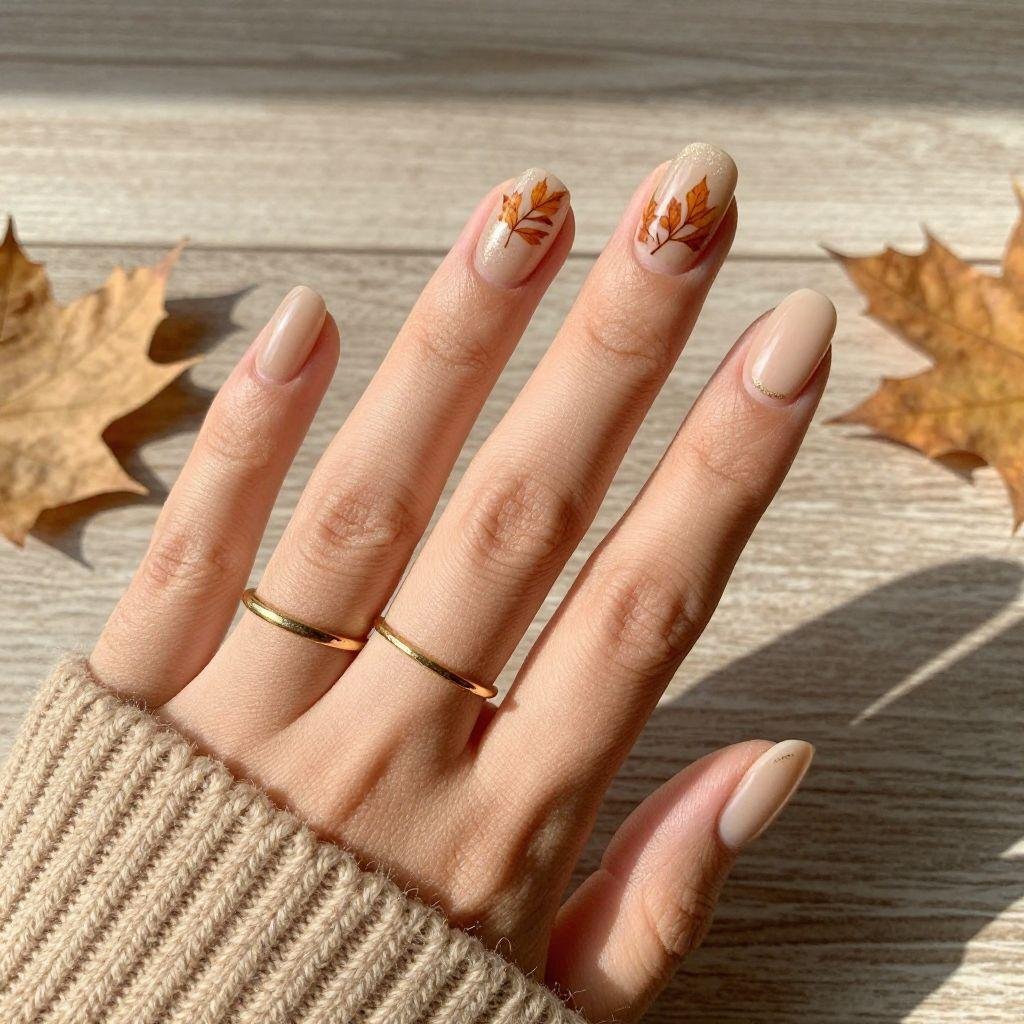
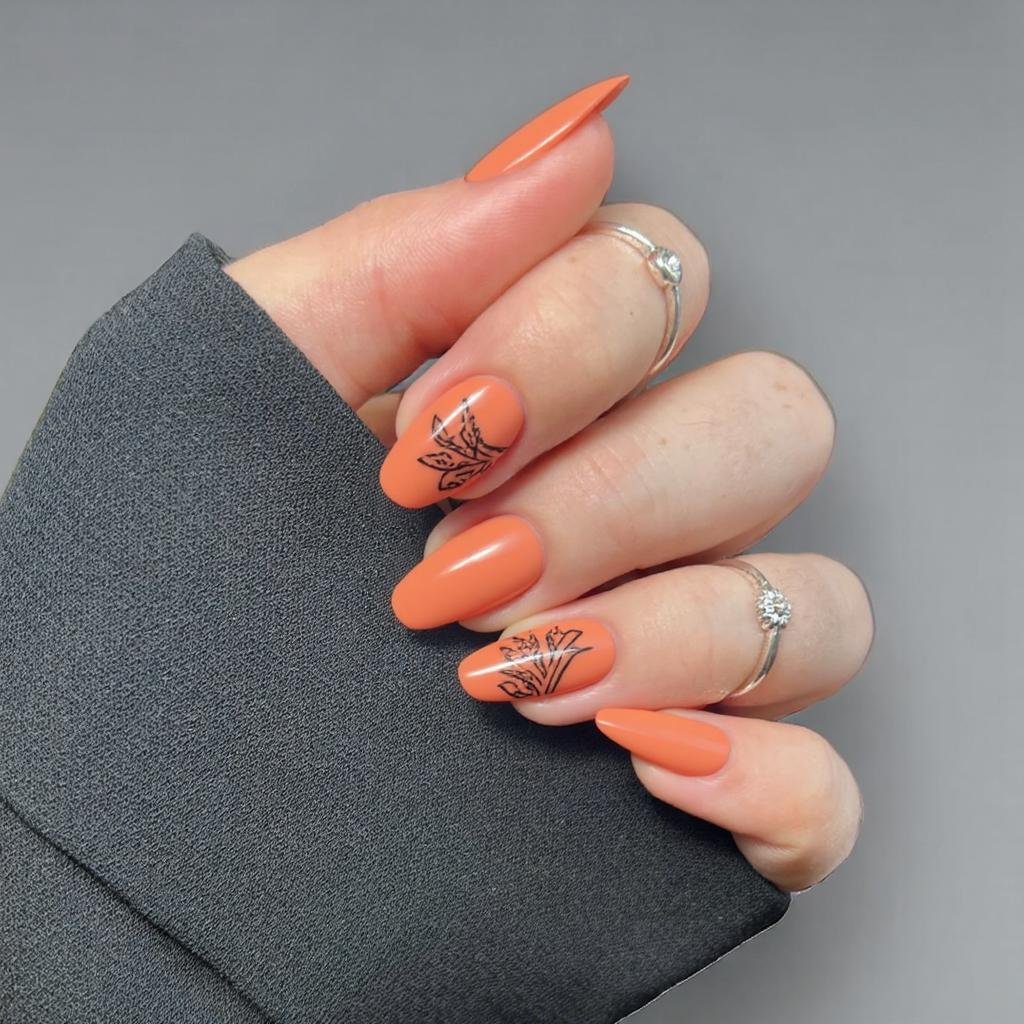
Autumn leaves make a lovely nail art design because they bring together all the warm colors of the season. Tiny leaves in burnt orange, golden yellow, and chocolate brown look beautiful against a soft nude or milky beige base. This design feels delicate and natural, making it a great choice if you want something more creative than a plain manicure without spending hours on detailed artwork.
What you’ll need: Nude nail polish, burnt orange and brown polish, a touch of golden yellow polish, a thin nail art brush or toothpick, and a glossy top coat.
Step-by-step tutorial:
- Prepare your nails and apply a base coat to create a smooth surface.
- Paint each nail with one or two thin coats of nude or beige polish.
- Choose one or two accent nails for your leaf designs.
- Use a fine brush to draw a short, thin brown line for the leaf stem.
- Add tiny angled strokes in burnt orange and golden yellow along the stem to form simple leaves.
- Let the artwork dry, then seal everything with a clear top coat.

Beginner tip: Start with just three or four small leaves rather than filling the entire nail. Simple shapes and plenty of negative space make the design easier to create and keep it looking elegant.
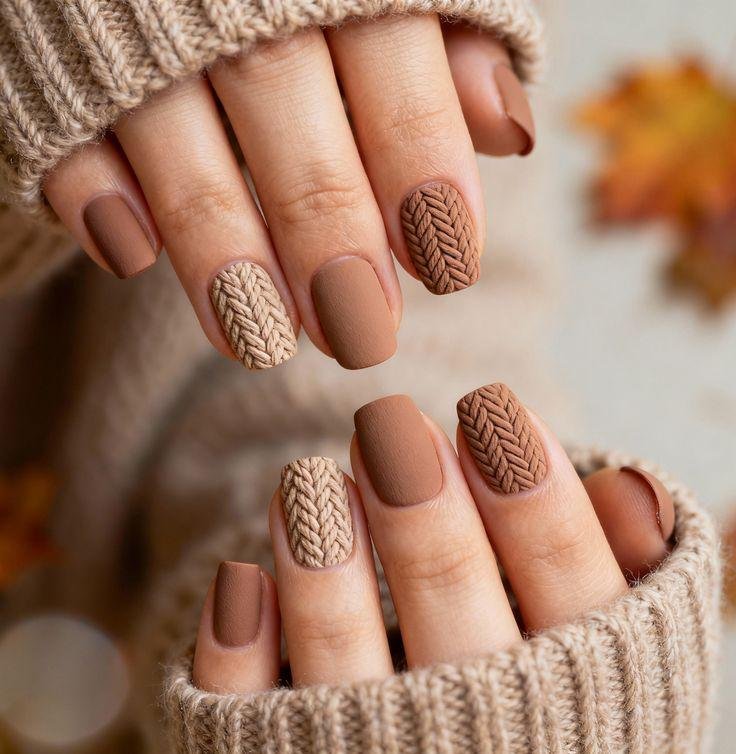
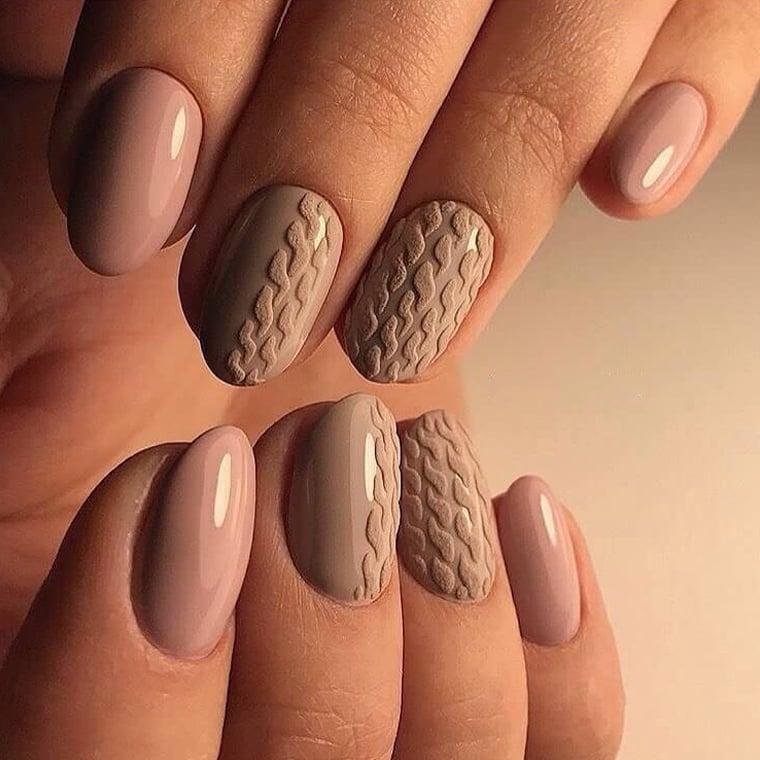
6: Cozy Sweater-Inspired Fall Nails
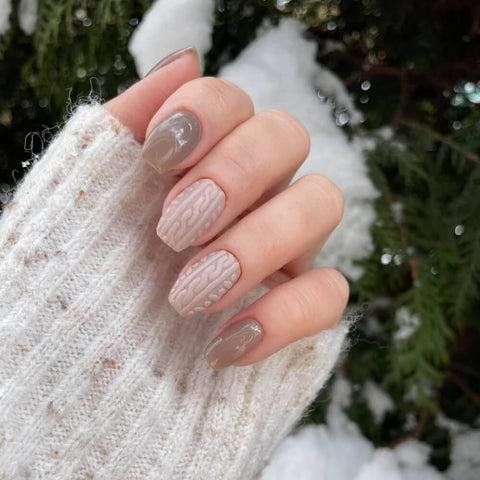
When the weather gets cooler, cozy sweater nails are a lovely way to bring that warm autumn feeling into your manicure. Inspired by soft knitted fabrics, this design uses creamy beige, caramel, and chocolate brown shades to create a comfortable, textured look. Although raised sweater patterns can take practice, beginners can achieve a similar style with simple curved lines and tiny dots painted onto a neutral base.

What you’ll need: Cream or beige nail polish, caramel or brown polish, a thin nail art brush, a dotting tool or toothpick, and a clear top coat.
Step-by-step tutorial:
- Shape your nails and apply a base coat.
- Paint your nails with a creamy beige polish and allow it to dry.
- Choose one or two accent nails for the sweater-inspired design.
- Using a thin brush, paint small curved lines, tiny dots, or simple zigzag patterns to imitate knitted stitches.
- Keep the patterns spaced evenly and use brown or caramel polish for a soft contrast.
- Let the artwork dry completely before applying a glossy top coat.
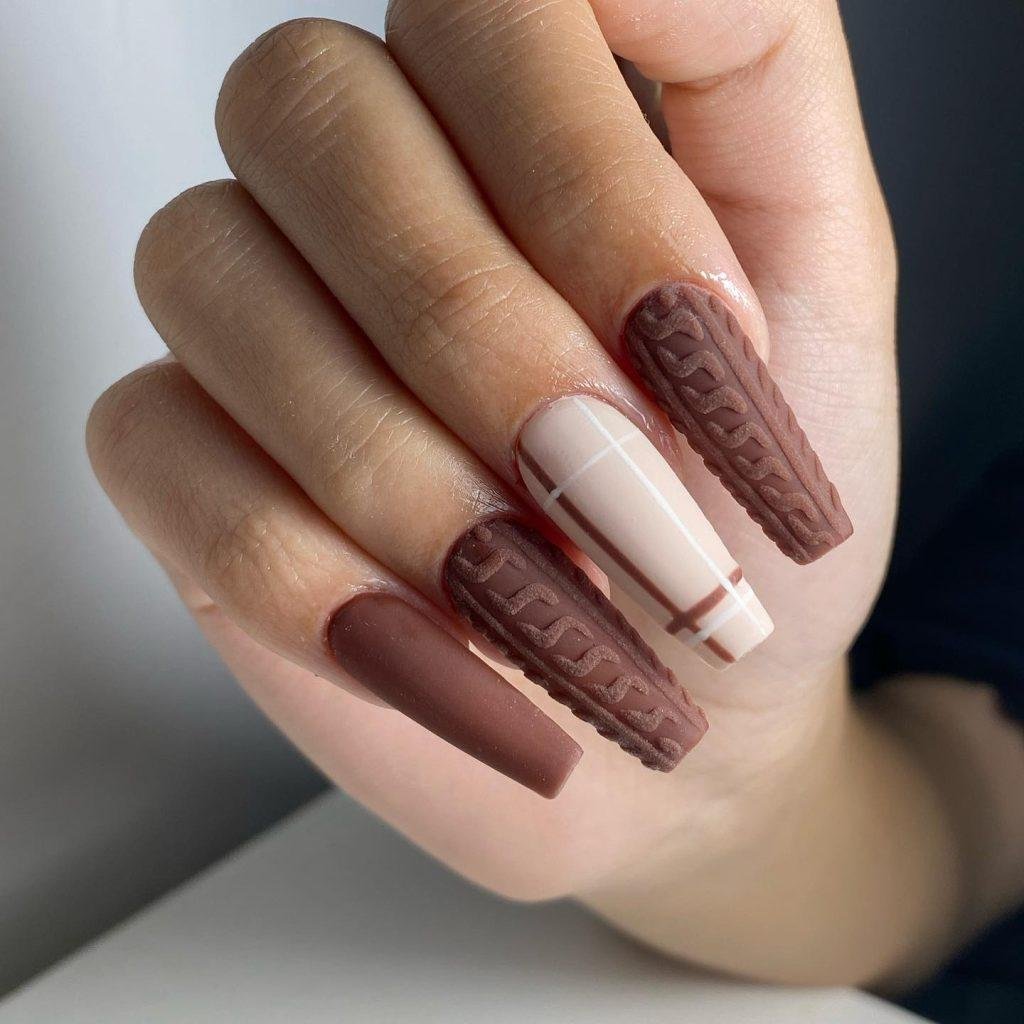
Beginner tip: If intricate patterns feel difficult, create just a few rows of dots and curved lines. You can also leave the accent nails plain cream and paint the rest of your nails chocolate brown for an equally cozy autumn look.
7: Simple Burgundy Fall Nails
Burgundy nails are perfect for autumn if you love deeper colors that feel elegant and timeless. This rich wine-red shade looks beautiful with gold jewelry, neutral sweaters, and classic fall outfits. The best thing about this manicure is that it doesn’t require any complicated nail art. A smooth burgundy polish with a glossy finish looks stunning on its own, while a nude accent nail adds a little extra interest without making the design difficult.
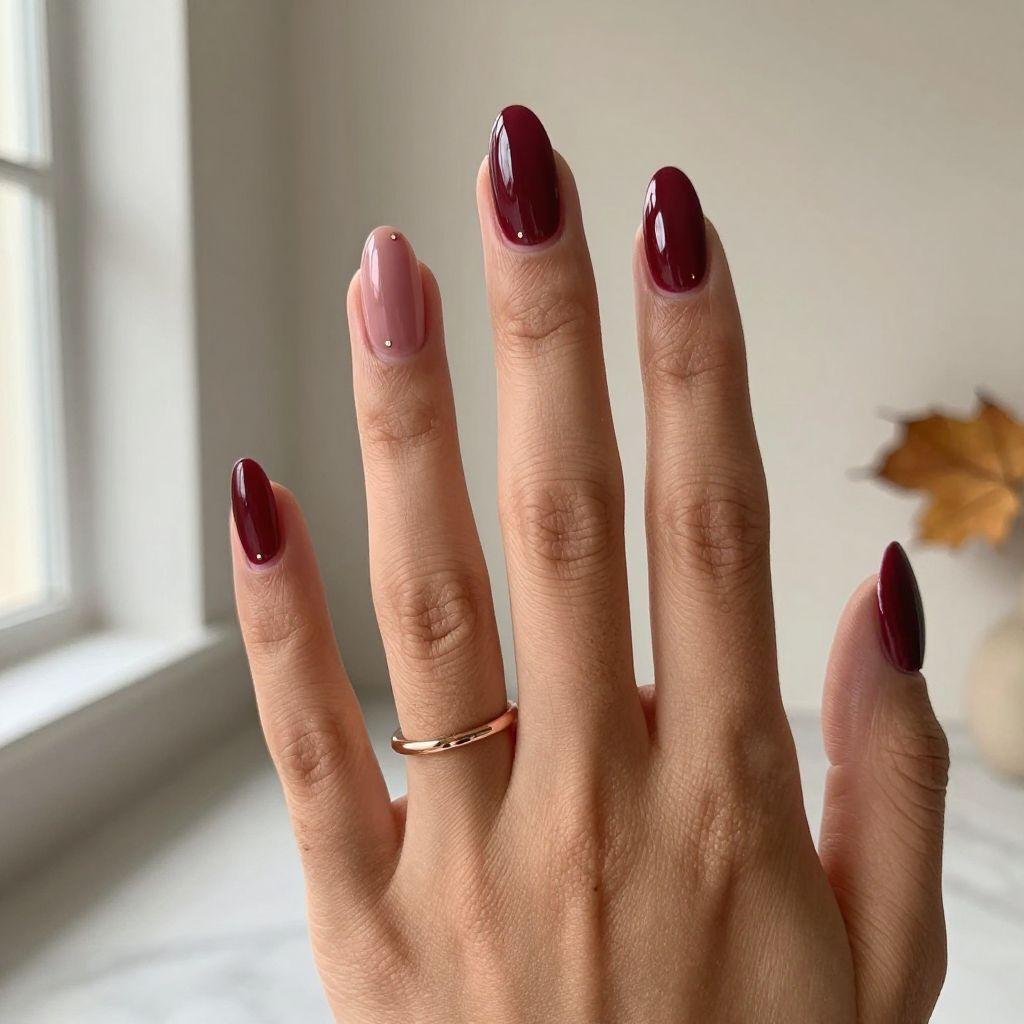
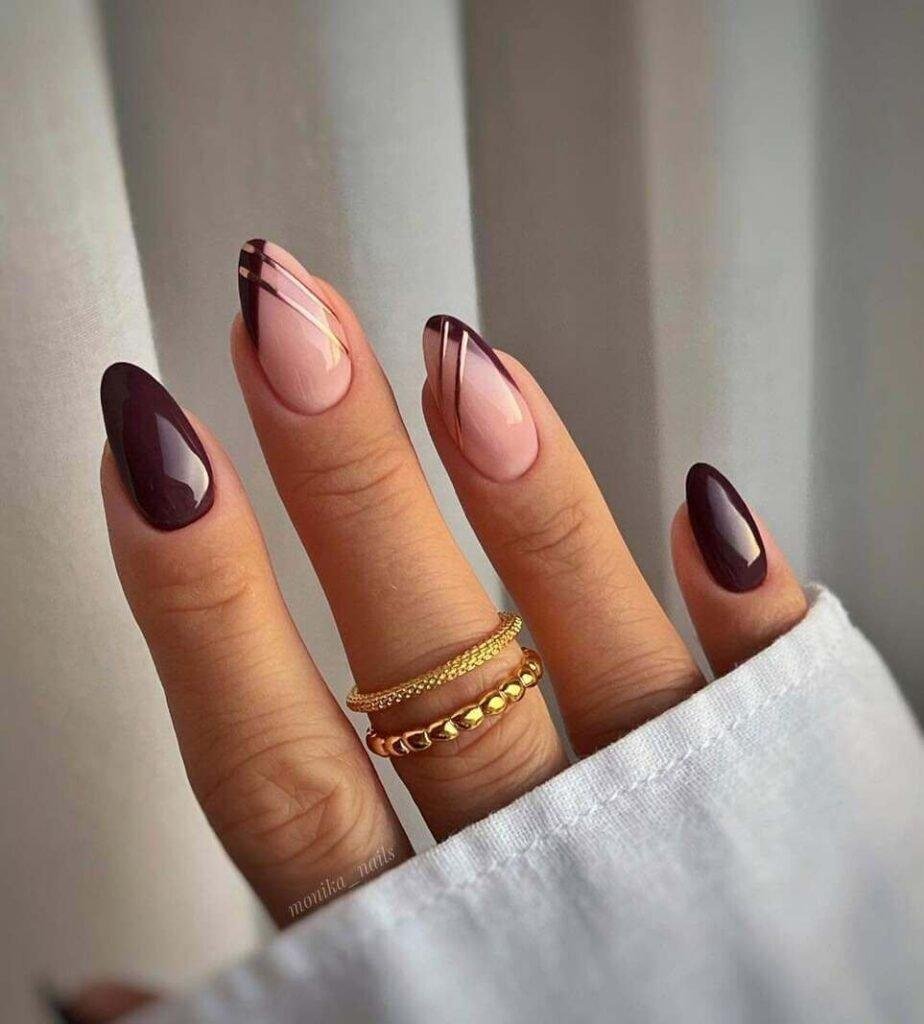
What you’ll need: Burgundy nail polish, a base coat, a glossy top coat, a nail file, and a small cleanup brush.
Step-by-step tutorial:
- Gently file your nails into a rounded or soft almond shape.
- Apply a thin base coat and let it dry.
- Paint the first thin layer of burgundy polish, keeping the brush strokes smooth and even.
- Once the first coat is dry, apply a second coat for a rich, deep color.
- For a simple variation, paint one accent nail in a sheer nude or milky pink shade.
- Finish with a glossy top coat and carefully clean any polish around your cuticles.
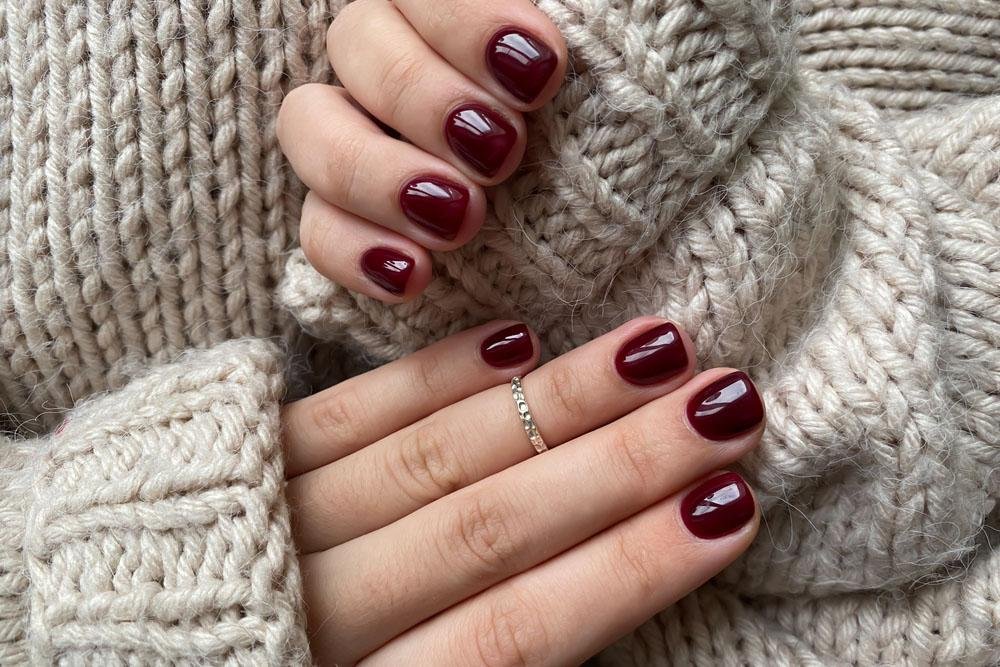
Beginner tip: Dark nail polish can show mistakes more easily, so use thin coats and avoid flooding the cuticle area. A small brush dipped in nail polish remover can help tidy the edges for a professional-looking finish.
8: Cute Golden Yellow Fall Nails
Golden yellow nails bring a little sunshine to autumn’s warm, earthy color palette. Think mustard yellow, honey gold, and soft caramel shades that look beautiful alongside brown and beige. If you want something cheerful without choosing a bright summer color, this manicure is an easy way to add warmth to your fall style. You can keep the nails one solid color or add a tiny leaf detail to make the design feel more seasonal.
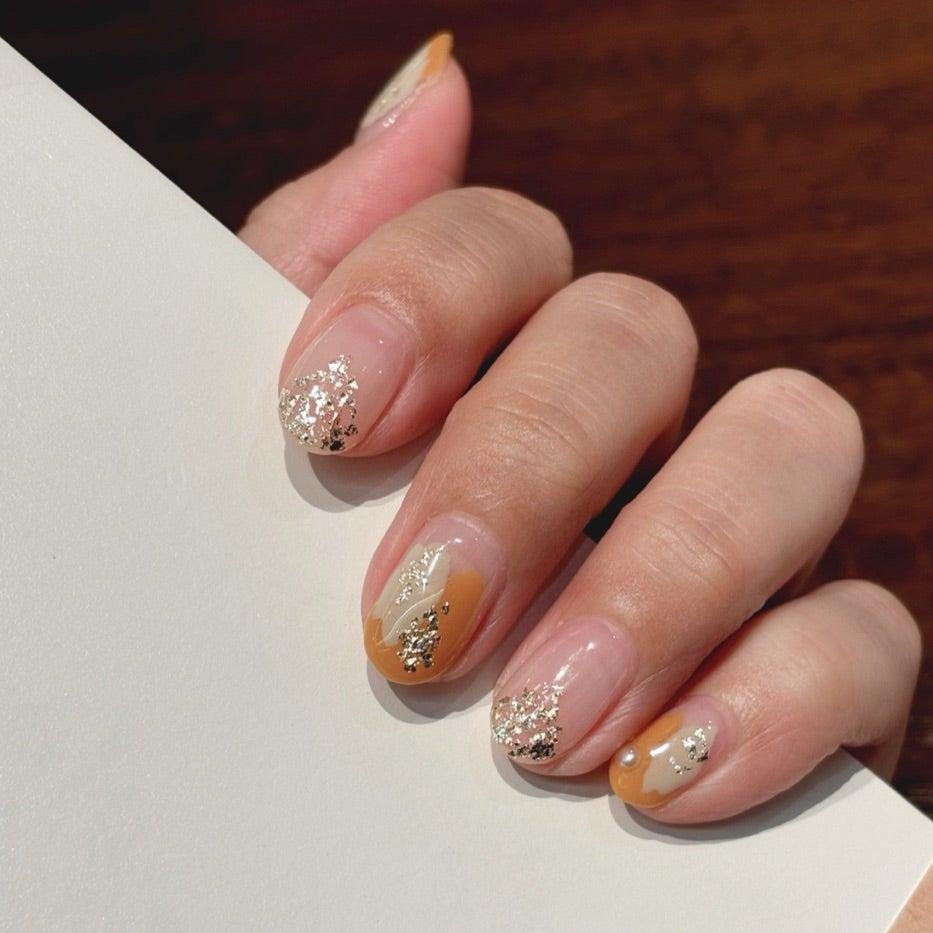
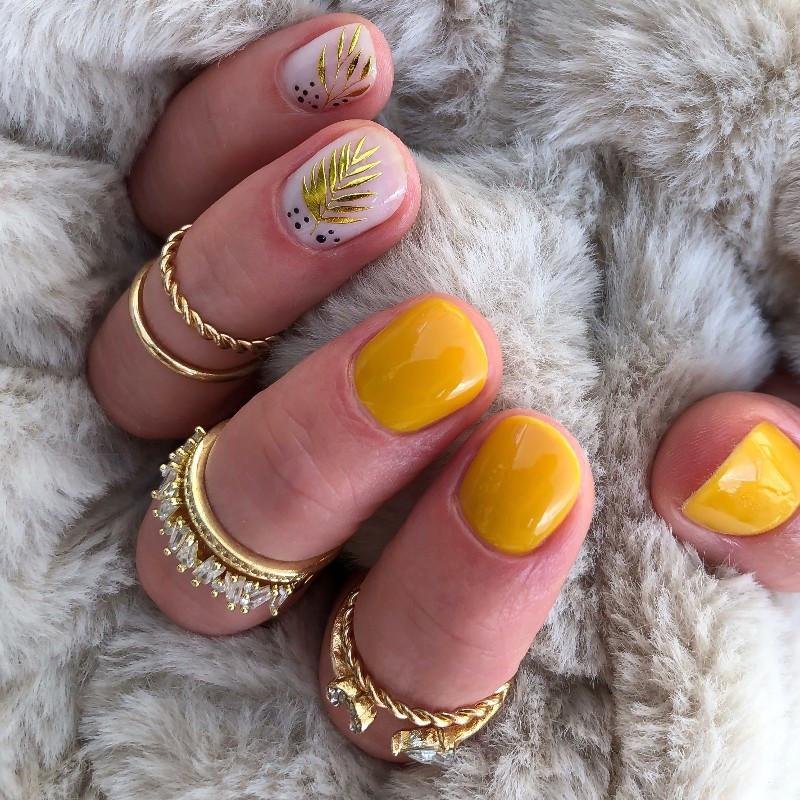
What you’ll need: Mustard yellow nail polish, nude or cream polish, a base coat, a top coat, and a thin nail art brush.
Step-by-step tutorial:
- Shape your nails and apply a thin layer of base coat.
- Paint your nails with a creamy nude or beige polish, leaving it to dry fully.
- Choose two or three nails for mustard yellow polish, applying thin layers for an even finish.
- On one nude accent nail, use a fine brush to paint a tiny golden yellow leaf or a few simple curved lines.
- Allow all the colors and details to dry completely.
- Apply a clear top coat to add shine and help protect your manicure.
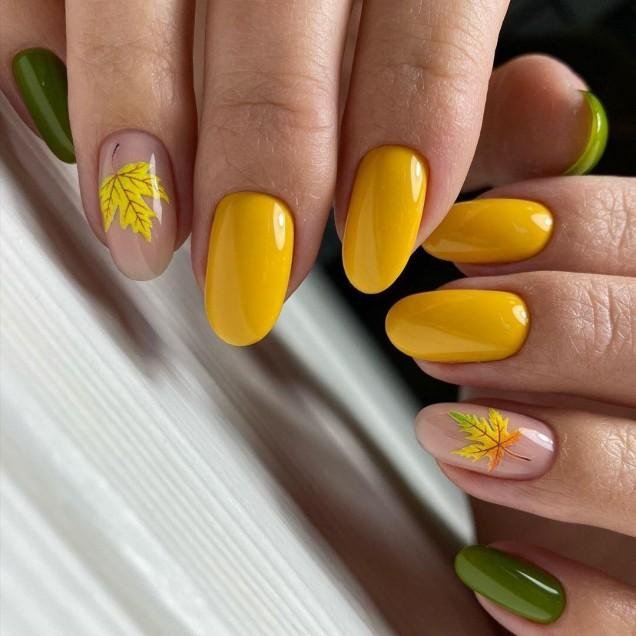
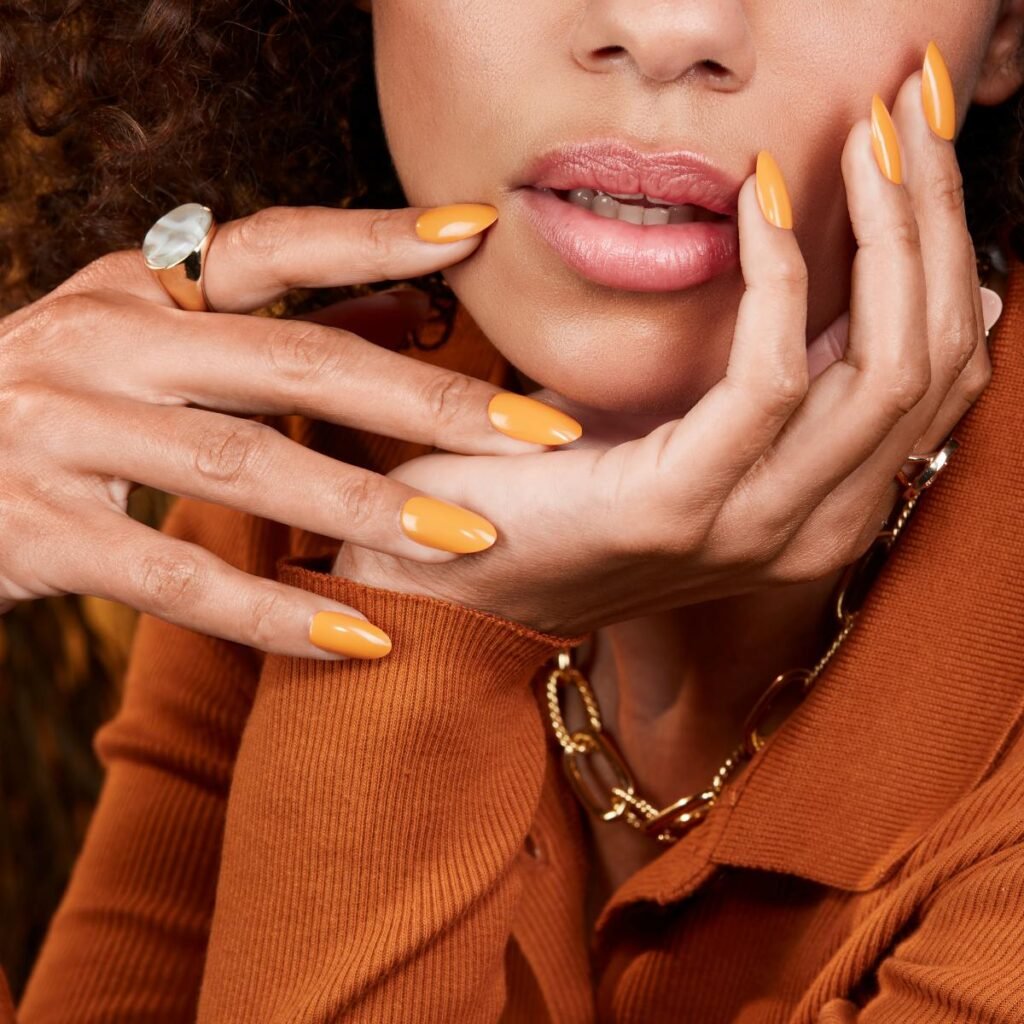
Beginner tip: If you’re unsure about painting tiny leaves, stick to alternating mustard yellow and nude nails. The combination looks stylish on its own and is much easier to achieve with a steady, simple application.
9: Easy Matte Fall Nails
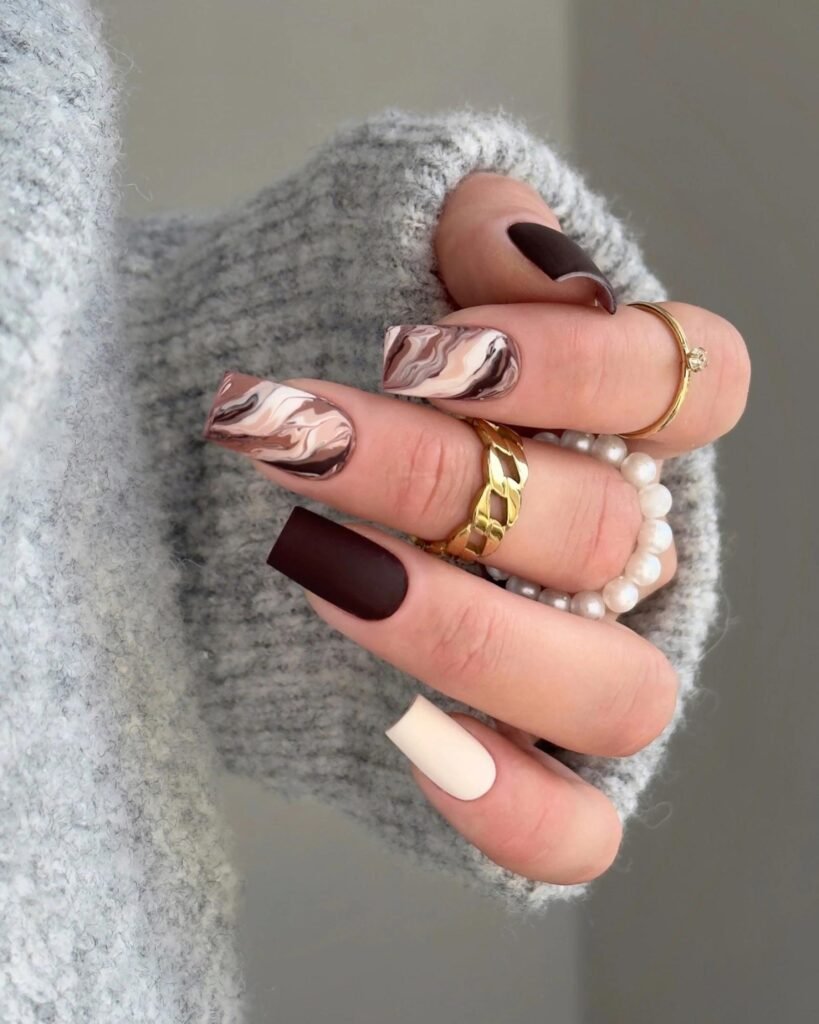
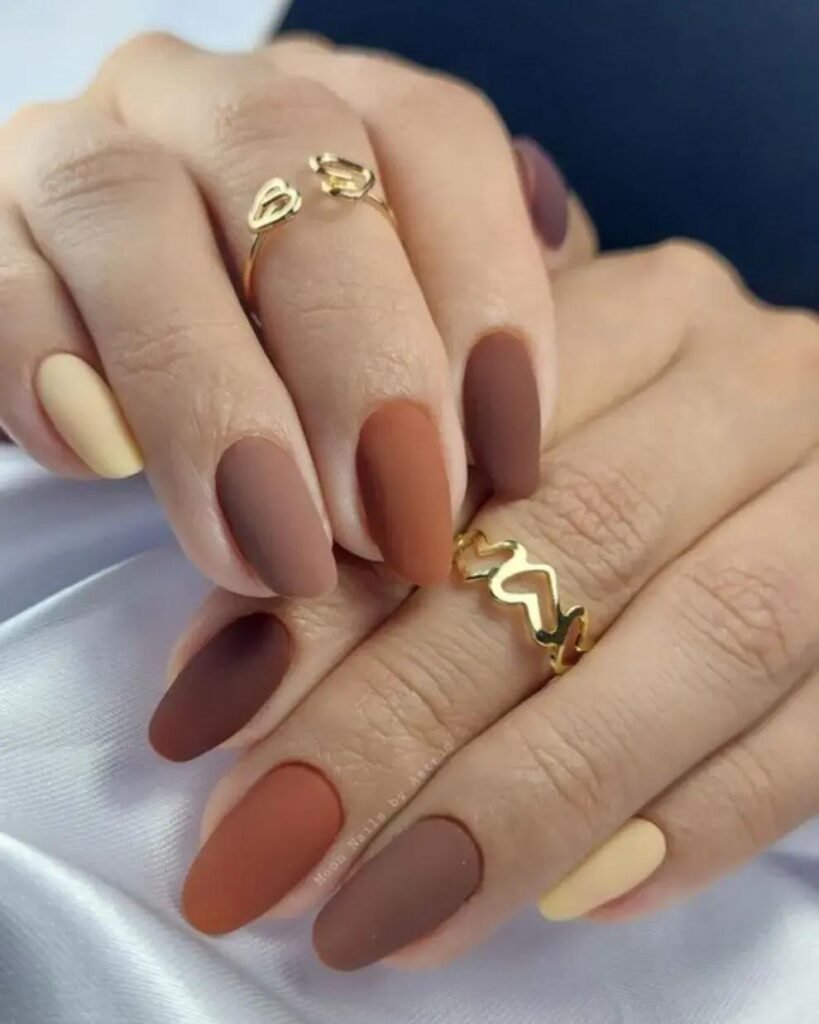
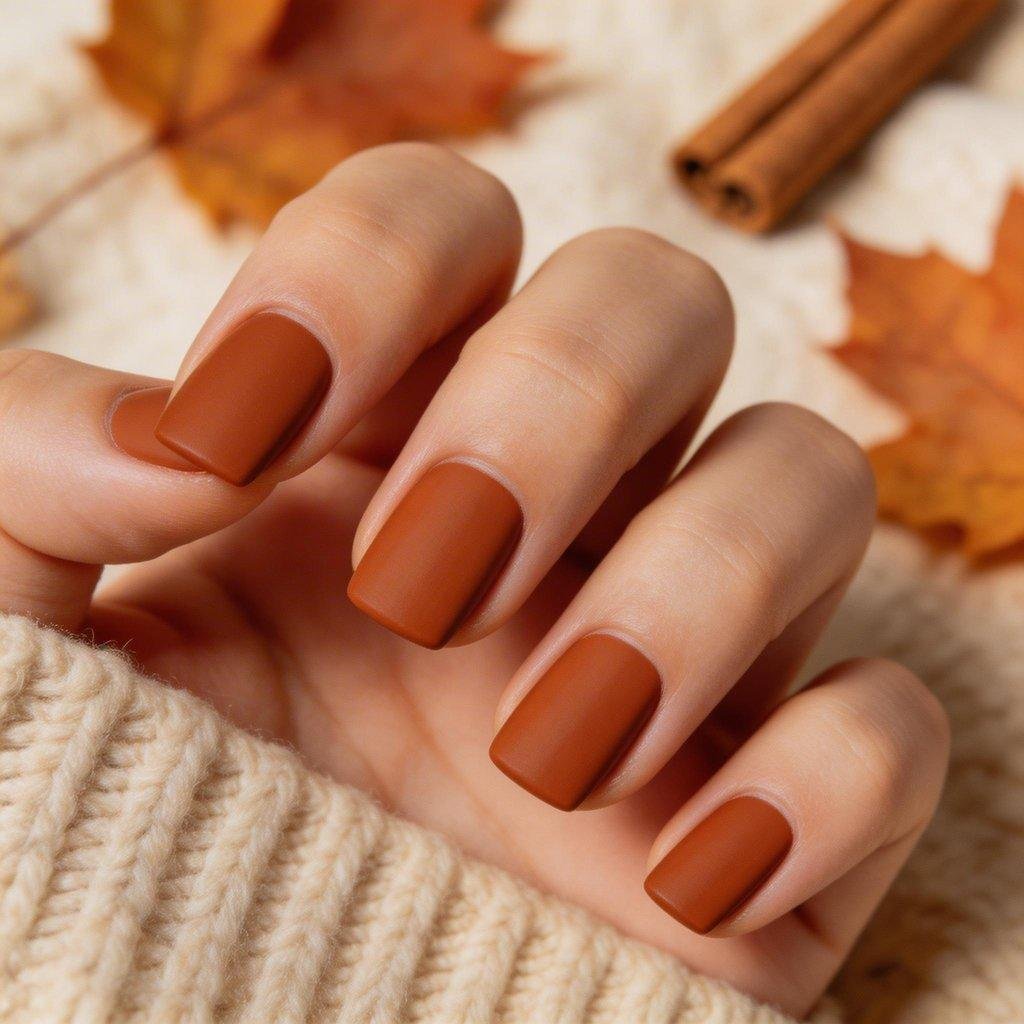
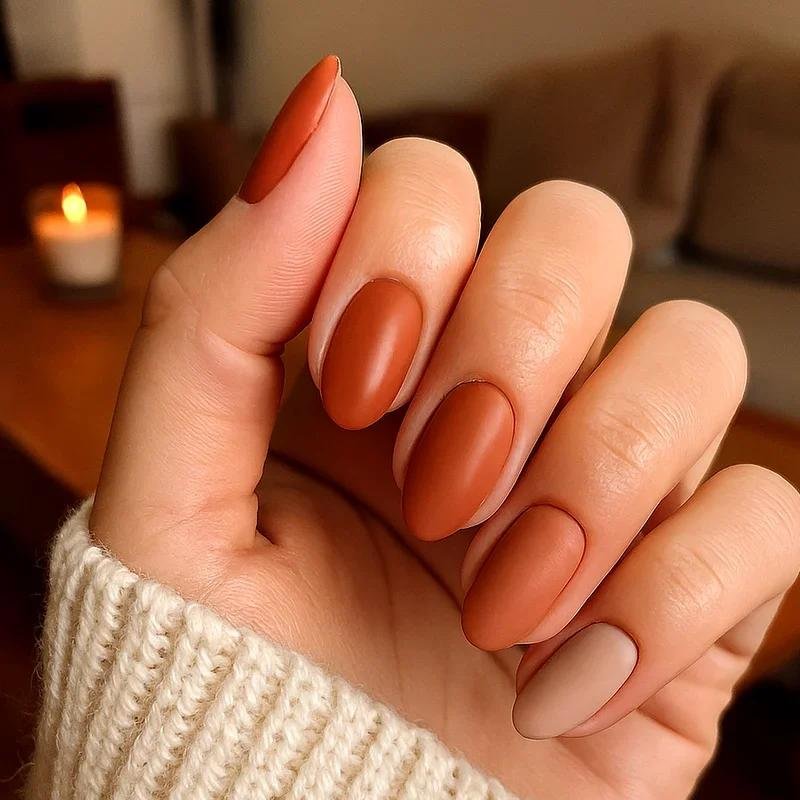
If you love soft, understated manicures, matte fall nails are worth trying this autumn. Unlike a traditional glossy finish, matte polish has a velvety appearance that makes warm seasonal shades look modern and sophisticated. Terracotta, chocolate brown, dusty burgundy, and creamy beige all work beautifully with this style. You can create a simple matte manicure at home without painting any complicated patterns, making it a lovely option for beginners.
What you’ll need: Terracotta or chocolate brown nail polish, a base coat, a matte top coat, and a nail file.
Step-by-step tutorial:
- Clean your nails and gently shape them into a rounded or almond shape.
- Apply a thin base coat and allow it to dry.
- Choose your favorite autumn shade and apply the first thin layer of polish.
- Add a second coat once the first layer is dry to achieve an even, rich color.
- Apply a matte top coat according to the product instructions to transform the glossy color into a soft, velvety finish.
- Let the manicure dry fully before touching or handling anything that could leave marks on the surface.
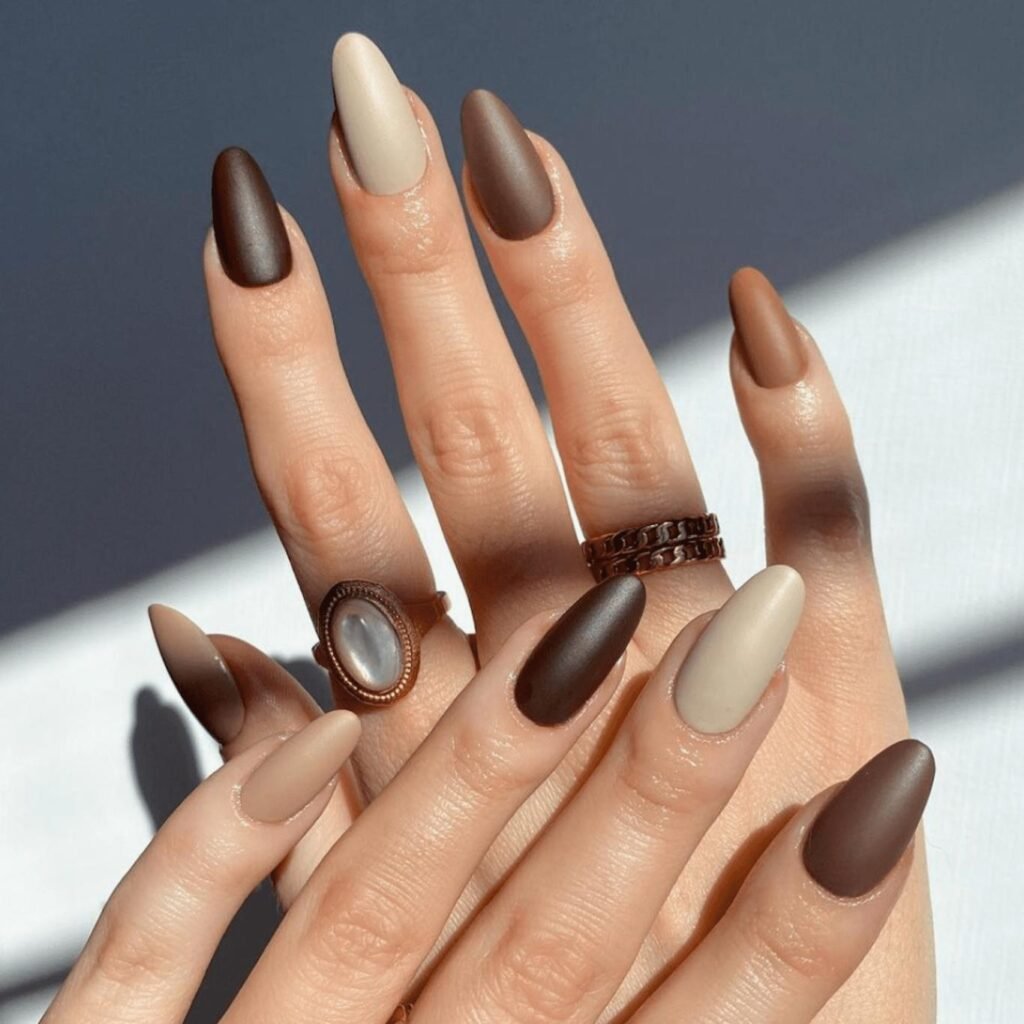
Beginner tip: Try chocolate brown on most nails and matte beige on one accent nail for a subtle contrast. Use a dedicated matte top coat rather than adding powder to wet polish, which can leave the finish uneven.
10: Easy Fall Ombre Nails
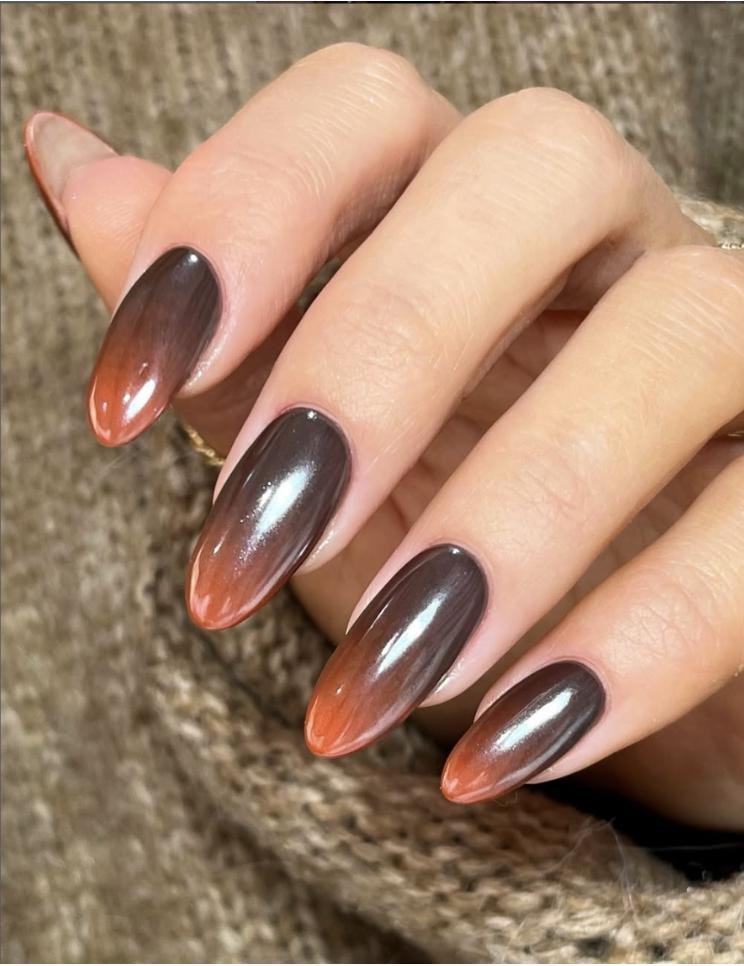
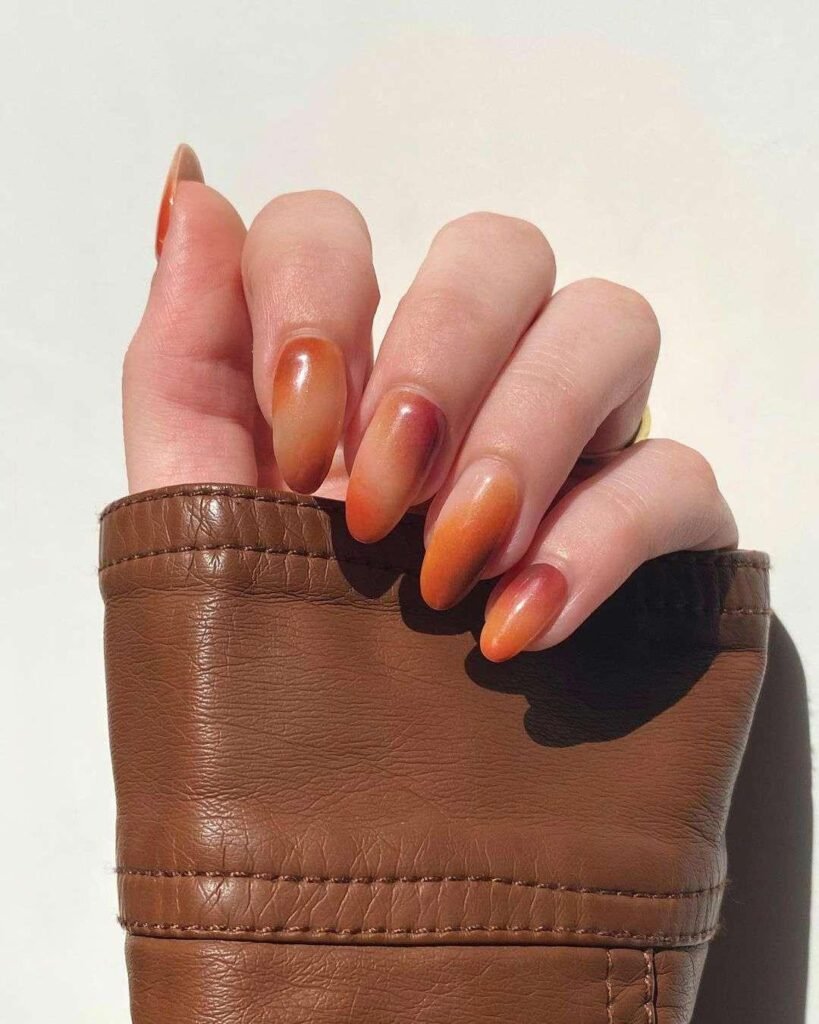
Fall ombre nails are a beautiful way to combine your favorite autumn shades in one soft, blended manicure. Warm nude, caramel, burnt orange, and chocolate brown create a gradient that feels cozy and stylish without needing extra decorations. Although ombre nail art may look complicated at first, you can create a simple version at home with a small makeup sponge and a little practice. It’s a lovely final design to try if you want your autumn manicure to stand out.
What you’ll need: Nude nail polish, burnt orange or caramel polish, a makeup sponge, a base coat, a glossy top coat, and a small cleanup brush.
Step-by-step tutorial:
- Shape your nails and apply a base coat to protect the natural nail.
- Paint your nails with a nude or beige base color and let it dry completely.
- Apply a stripe of nude polish and a stripe of burnt orange polish next to each other on a makeup sponge.
- Gently dab the sponge onto the nail, moving it slightly up and down to blend the two shades together.
- Repeat with light layers until the gradient looks smooth enough for your liking. Allow each layer to settle before adding more.
- Clean the skin around your nails, then finish with a glossy top coat to soften the transition between colors.
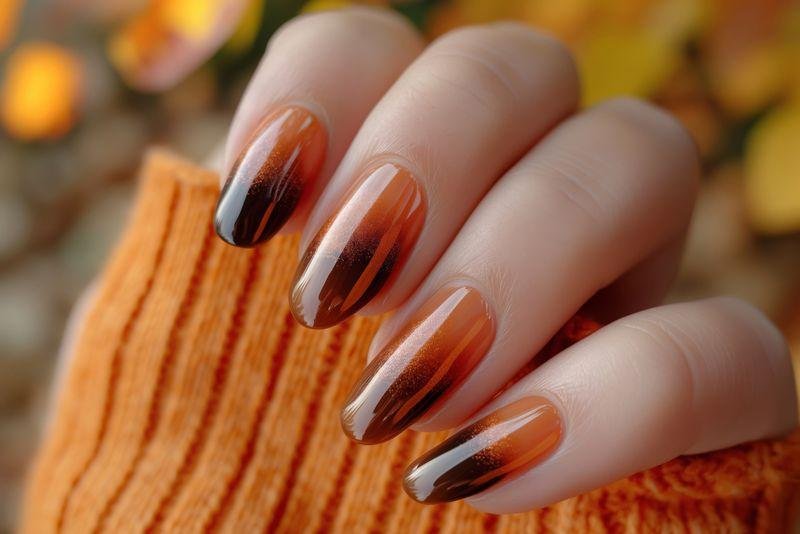
Beginner tip: Start with just two colors, such as nude and terracotta, rather than trying to blend three or four shades at once. A little polish on the sponge goes a long way, and several light dabs usually look better than one heavy application.
Final Thoughts:
Creating beautiful autumn nails at home doesn’t have to be difficult or expensive. From warm burnt orange and chocolate brown to cute pumpkin accents, delicate autumn leaves, and soft ombre designs, these easy fall nail tutorials offer plenty of inspiration for your next manicure. Start with a simple design that matches your style, then experiment with new colors and patterns as your confidence grows.
The secret to a lovely DIY manicure is taking your time, using thin coats of polish, and allowing each layer to dry properly. You don’t need perfect nail art skills to enjoy a seasonal look that makes you feel good. Save your favorite designs to Pinterest, gather a few autumn nail colors, and have fun creating your own cozy fall manicure at home.