There’s something so satisfying about a fresh manicure — especially when you’ve created the design yourself! Nail art has evolved from simple polish to miniature masterpieces that express personality, mood, and creativity. Whether you love minimalist patterns, bold glitter looks, or delicate floral accents, DIY nail art lets you experiment right from the comfort of your home. With just a few tools and a bit of patience, you can achieve salon-worthy results without the hefty price tag.
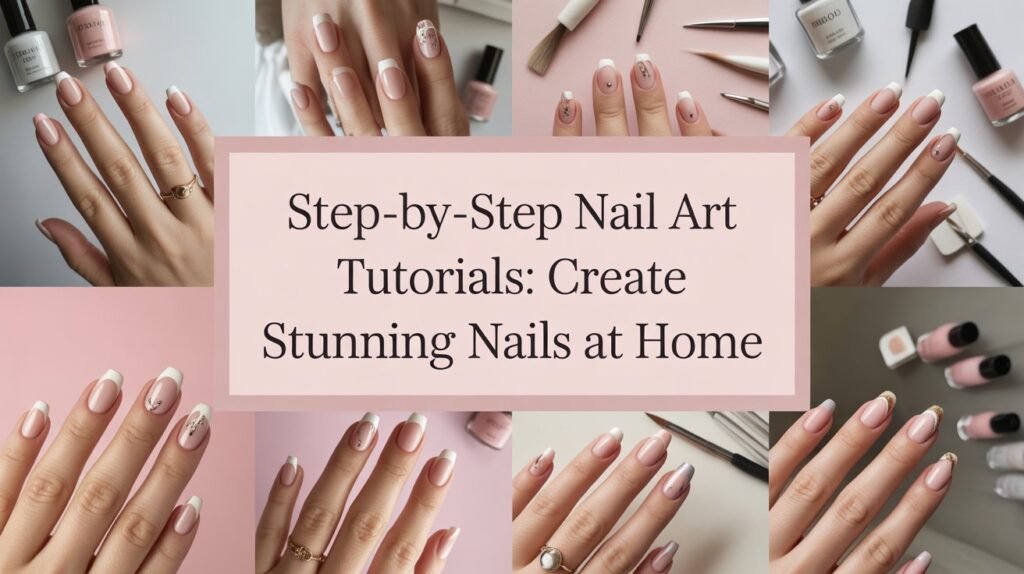
Step-by-Step Nail Art Tutorials:
The best part? You don’t have to be a professional nail artist to get stunning results. With the right step-by-step guidance, anyone can master trendy designs like ombré fades, marble effects, or geometric lines. In this blog, we’ll walk you through easy-to-follow tutorials that break down each design into simple steps. You’ll learn how to prep your nails, apply base coats, and layer designs with precision — all while having fun in the process!
Whether you’re getting ready for a special occasion, a night out, or just want to treat yourself to some creative self-care, these tutorials are perfect for beginners and pros alike. Grab your favorite polish shades, a few basic tools, and let’s dive into the world of DIY nail art. By the end, you’ll not only have beautiful nails — you’ll have a new artistic outlet right at your fingertips!
1: Classic French Tips with a Modern Twist
The timeless French manicure is the epitome of elegance — simple, clean, and effortlessly chic. But who says classics can’t evolve? Today’s modern French tips bring a playful update to the traditional white-edged look. Think pastel tips, glitter outlines, metallic finishes, or even vibrant neon colors that pop against a nude or sheer base. This fresh take keeps the sophistication of the original style while letting your personality shine through.
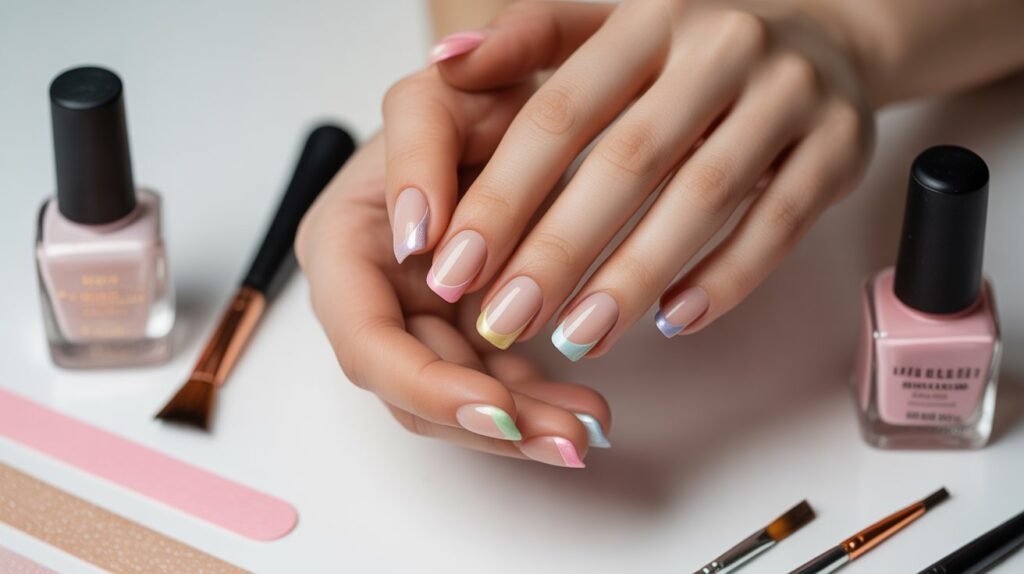
To create this look at home, start by shaping and buffing your nails, then apply a clear or soft pink base coat. Once it’s dry, use nail guides or tape to paint the tips in your chosen color. You can go sleek and minimalist with a thin line, or bold and fun with a thicker accent tip. For an added touch of glam, try outlining your tips with a fine glitter polish or adding a delicate rhinestone near the cuticle. Seal it all with a glossy top coat for that professional finish.
This style works beautifully for any occasion — from everyday wear to special events — and pairs well with almost any outfit. It’s a quick way to elevate your nails with minimal effort while keeping the look polished and trendy.
2: Chic Marble Effect Nails
Marble nails are the perfect blend of elegance and creativity — a design that looks intricate but is surprisingly simple to recreate at home. Inspired by natural stone textures, this look combines swirling shades of white, gray, and soft pastels to mimic the smooth, fluid veins of marble. Whether you prefer a subtle neutral palette or want to experiment with bold color combinations, marble effect nails instantly add a touch of luxury to your manicure.
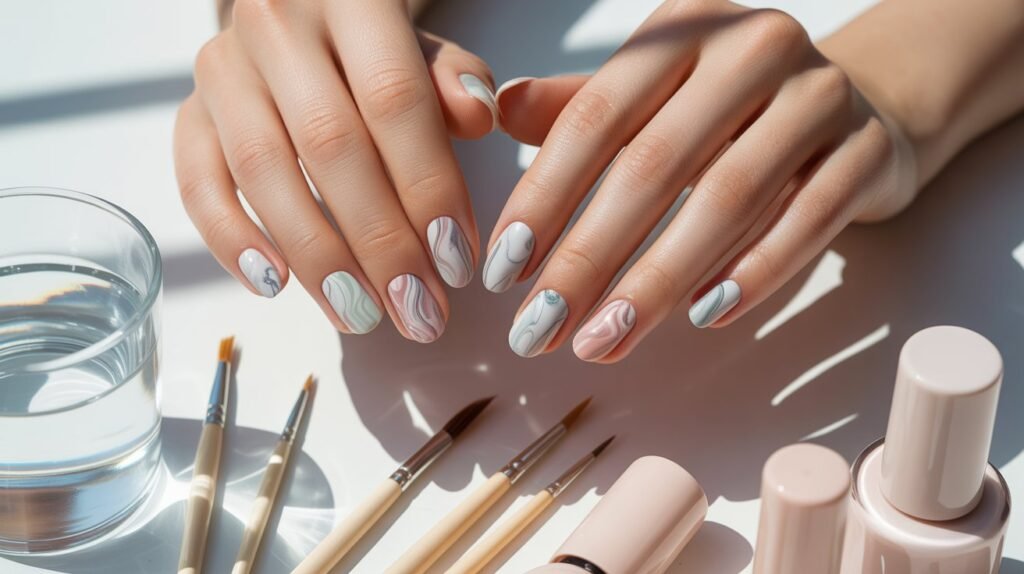
To achieve this design, start with a white or light-colored base coat. While it’s still slightly tacky, use a fine brush or a toothpick to swirl small dots of gray, silver, or another complementary shade. You can also use the “water marble” technique — dropping polish into a cup of water, swirling it gently, and dipping your nails in to capture the design. Once dry, apply a clear top coat to smooth out the texture and give your nails that glossy, stone-like finish.
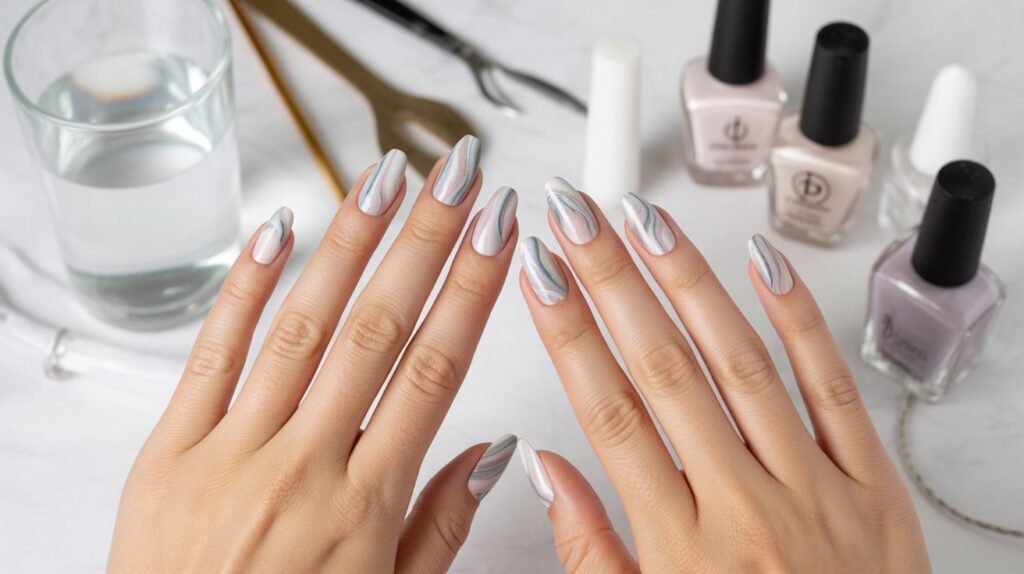
This dreamy marble effect works beautifully for everyday wear or special occasions, pairing well with both casual and elegant looks. It’s the kind of design that makes people ask, “Where did you get your nails done?” — and you’ll love saying, “I did them myself!”
3: Minimalist Line Art Nails
Less is more — and minimalist line art nails are the perfect example of how simplicity can make a bold statement. Inspired by modern art and clean design, this style uses fine lines, abstract shapes, and delicate curves to create elegant, eye-catching nail art. The beauty of minimalist designs is their versatility — they pair effortlessly with any outfit and look stunning in both neutral and bold color palettes.
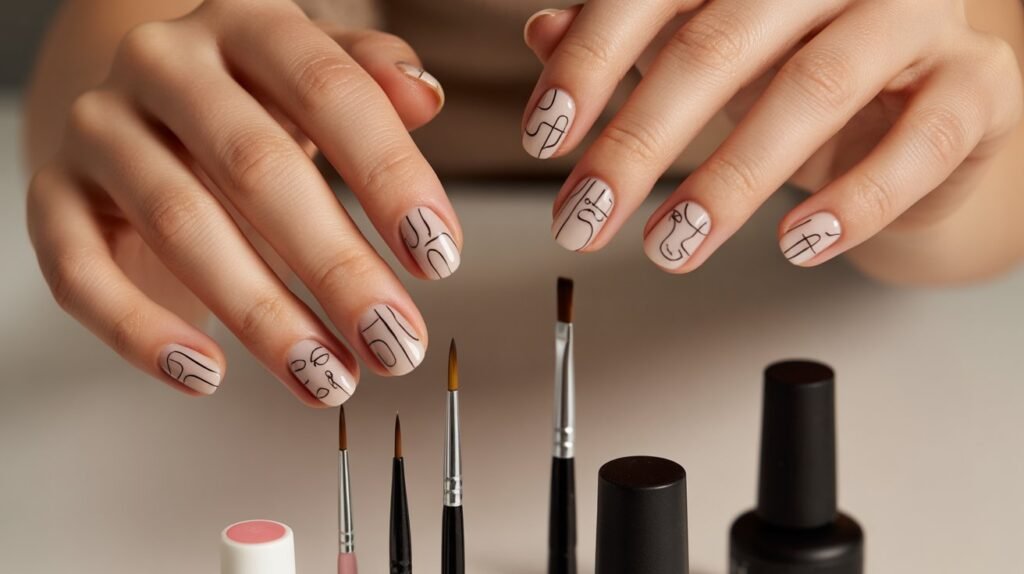
Start with a nude or light pastel base to make your artwork stand out. Once the base coat is dry, use a thin nail brush or a fine-tipped nail art pen to draw sleek lines, tiny geometric shapes, or abstract faces. You can focus the design on one or two accent nails for a subtle look, or create a cohesive pattern across all your nails. Finish with a matte or glossy top coat to seal your design and give it a professional touch.
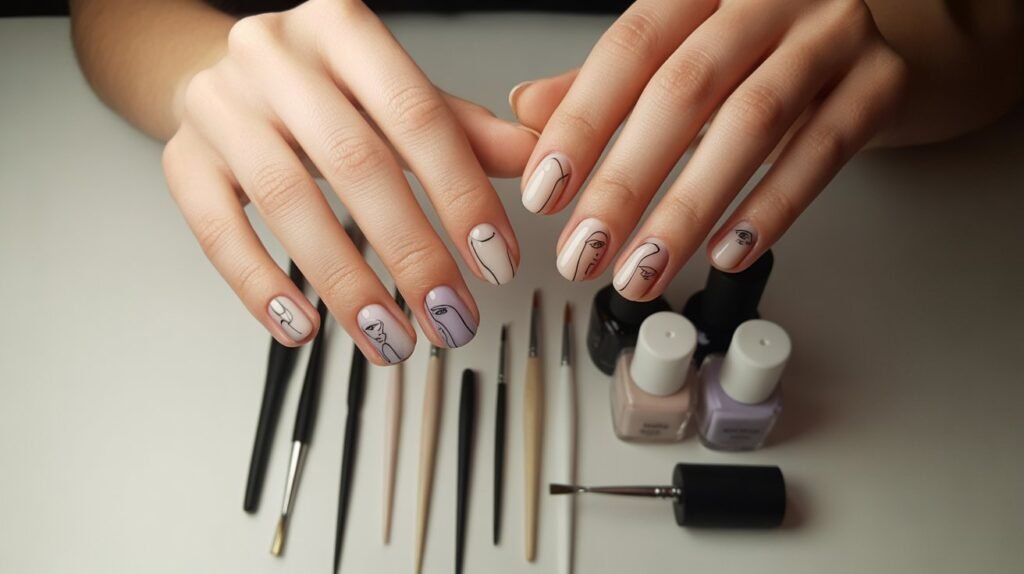
This minimalist approach is ideal for anyone who loves chic, modern aesthetics without going overboard. It’s elegant, easy to maintain, and looks like something straight out of an art gallery — all done right at home!
4: Glitter Gradient Ombre Nails
If you love a touch of sparkle but want something classy rather than over-the-top, glitter gradient ombre nails are your go-to style. This design creates a smooth transition from subtle shimmer to full-on glittery glamour — perfect for parties, weddings, or even just adding a little magic to your everyday look. The gradient effect catches the light beautifully, giving your nails a dazzling, dimensional finish that feels both chic and fun.
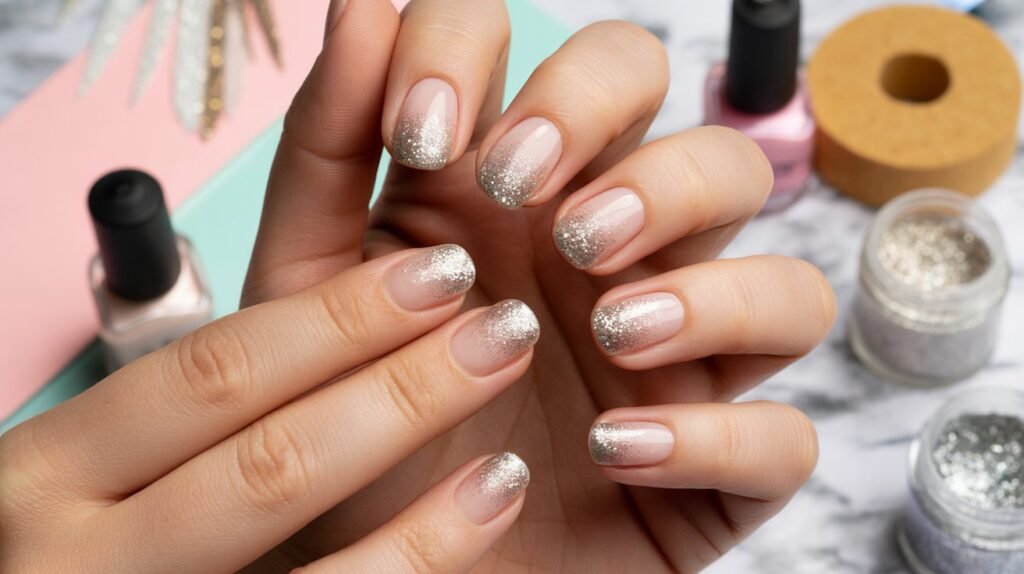
To achieve this look, start with your favorite base color — soft pink, nude, or even a bold shade like royal blue. Once it’s dry, apply a glitter polish starting at the tip of your nails and gently dab downward using a sponge or brush to blend the glitter into the base color. Layer as needed until you get the perfect ombre fade. Finally, seal everything with a clear top coat to lock in the sparkle and add a glossy finish that makes your nails shine even brighter.
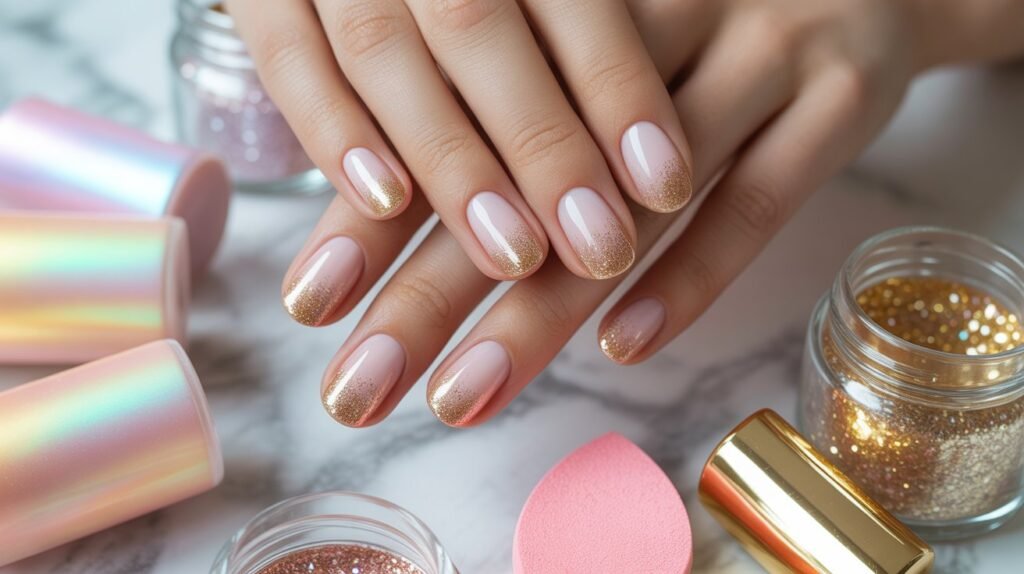
This design looks stunning on all nail lengths and shapes, and the best part is — no two sets will ever look exactly the same! It’s a fun, creative way to bring a bit of glam into your DIY nail art routine without needing any special tools or salon trips.
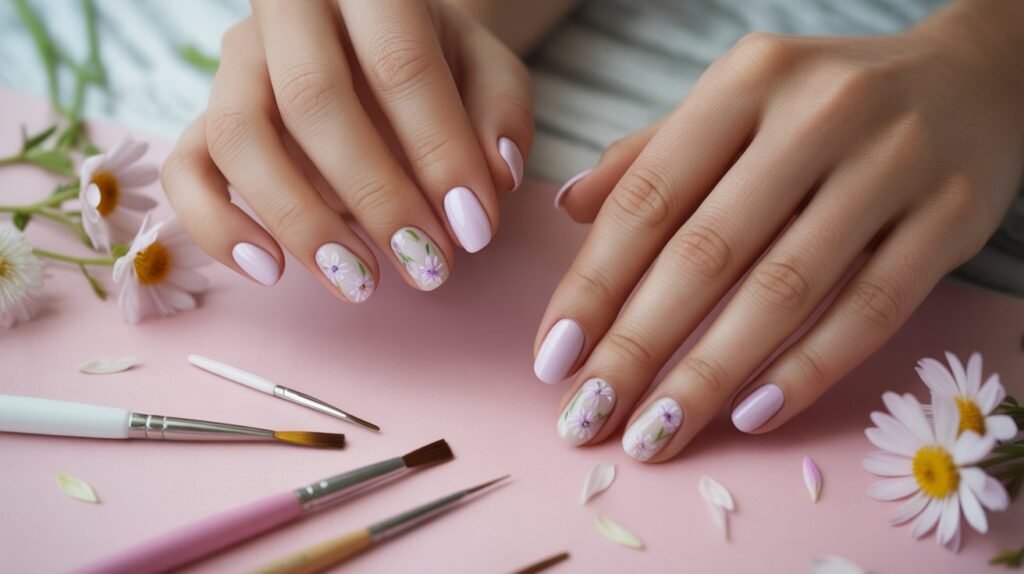
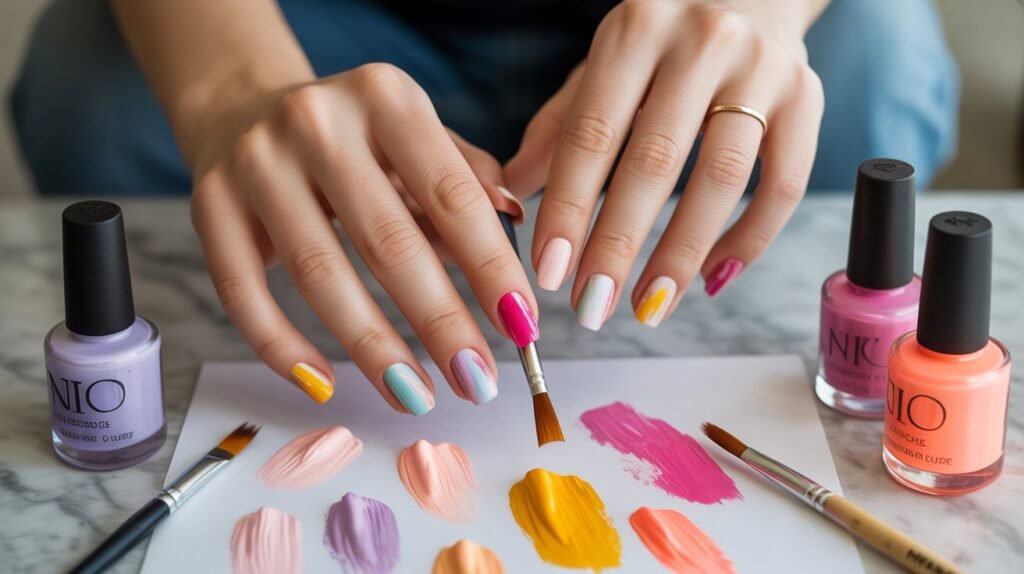
5: Delicate Floral Accent Nails
Floral accent nails never go out of style — they’re timeless, feminine, and full of charm. Whether you’re inspired by spring blooms or just want to add a soft, romantic touch to your look, floral designs are a beautiful way to elevate your manicure. The best part? You don’t have to paint every nail! A few delicate floral accents paired with a neutral or pastel base can make your nails look effortlessly elegant and refined.
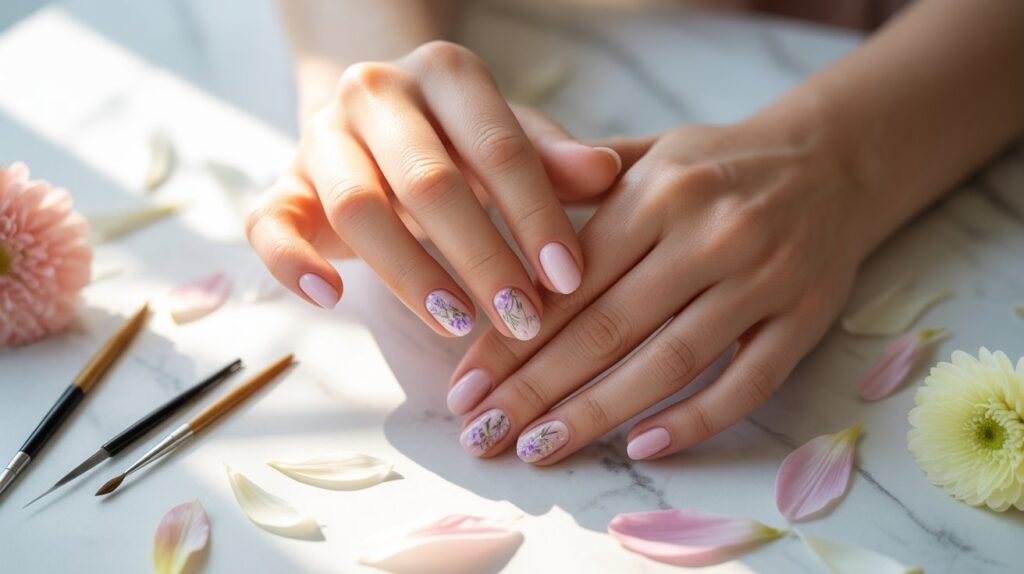
To create this design, start with a soft base color like blush pink, lavender, or creamy beige. Once dry, use a thin nail art brush or a dotting tool to paint tiny petals and leaves in contrasting colors — white daisies, pink roses, or even golden accents for a modern twist. If freehand drawing feels intimidating, you can use floral nail stickers or stamps for a quick yet stunning result. Finish with a glossy or matte top coat to protect your floral art and add that perfect finishing touch.
This style works wonderfully for weddings, brunch dates, or any time you want to add a soft, feminine flair to your nails. Each design can be customized to match your mood, outfit, or the season — making floral accent nails one of the most versatile DIY looks out there.
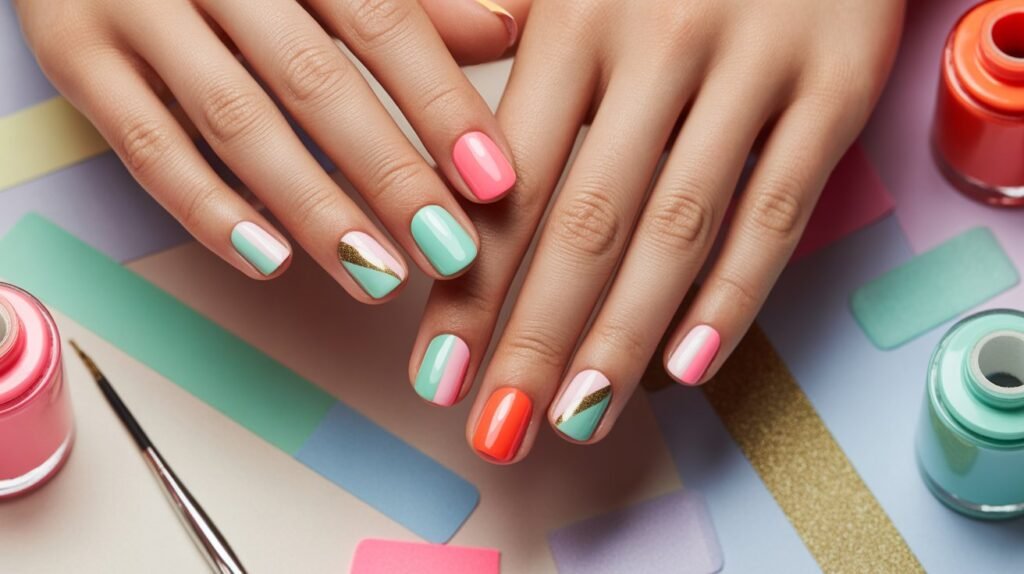
6: Bold Color Block Geometric Nails
If you love modern, eye-catching designs, color block geometric nails are the perfect way to show off your artistic side. This trend takes inspiration from abstract art and fashion, combining clean lines, bold contrasts, and playful color pairings. From soft pastels and nude tones to vibrant pops of blue, orange, and gold — geometric nails add instant personality and flair to your look while still being totally wearable for everyday life.

Start by applying a solid base coat in your lightest chosen shade. Once dry, use thin strips of nail tape to section off areas for your color blocks. Fill in each section with complementary hues — for example, pairing peach and white with metallic gold accents, or mixing deep navy with blush pink. After removing the tape, you’ll reveal crisp, clean lines that look salon-perfect. Finish with a shiny or matte top coat to make your geometric art really stand out.
This design is perfect for anyone who loves a bit of structure and creativity combined. It’s modern, trendy, and endlessly customizable — no two sets ever need to look alike! Whether you’re going for a minimalist look or something bold and artsy, color block geometric nails make a confident statement.
7: Trendy Negative Space Nail Art
Negative space nail art is one of the most stylish and modern trends in the nail world — and it’s easier to achieve than it looks! This chic design uses the natural color of your nails as part of the artwork, leaving sections unpainted to create unique patterns and contrast. The result? A sleek, minimalist manicure that feels fresh, edgy, and fashion-forward — perfect for anyone who loves a contemporary twist on classic nail designs.
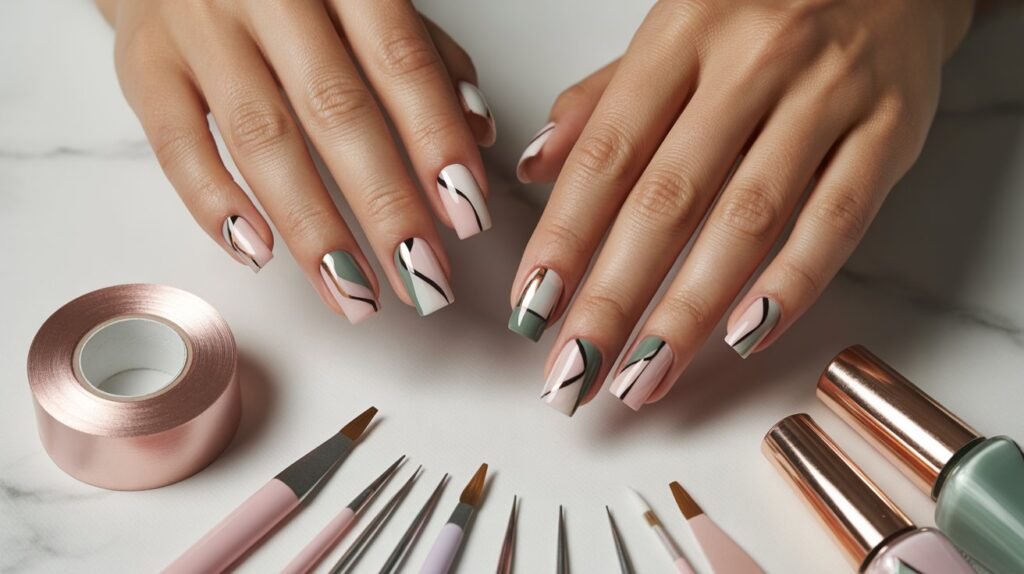
To create this look at home, start by applying a clear base coat to protect your natural nails. Use nail tape or small stickers to outline the areas you want to keep bare — triangles, stripes, or asymmetrical shapes work beautifully. Paint your chosen color over the remaining spaces, then carefully remove the tape to reveal crisp, negative space designs. Add a glossy or matte top coat to finish off your nails with a clean, professional look that lasts.
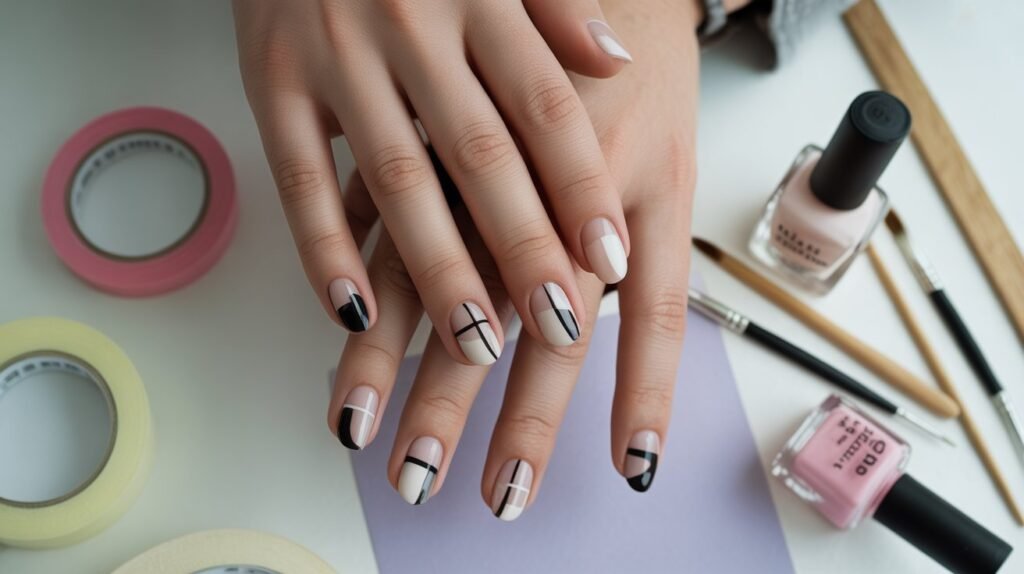
This trend looks stunning with any color combination — from soft neutrals and pastels to bold metallics or glossy black. It’s perfect for those who love modern aesthetics and want something eye-catching without being overly detailed. Negative space nail art proves that sometimes, less truly is more!
8: Abstract Brushstroke Nails
Unleash your inner artist with abstract brushstroke nails — a creative, freeform style that turns your manicure into a miniature masterpiece. This trend celebrates imperfection and expression, featuring layered strokes of color, soft smudges, and paint-like textures that feel spontaneous yet stylish. It’s the perfect choice if you love a modern, artsy vibe and want nails that look effortlessly cool without being overly polished or precise.
To create this look, start with a neutral base coat — white, beige, or light gray works beautifully. Using a flat brush or the tip of your polish brush, lightly dab or swipe different shades across each nail. Mix and match colors that complement your personal style — think blush pink and gold for a chic look, or navy and coral for a bold, energetic finish. Don’t worry about making each nail identical; the charm of this design is its artistic randomness. Finish with a clear top coat to blend the layers and add a smooth, glossy sheen.
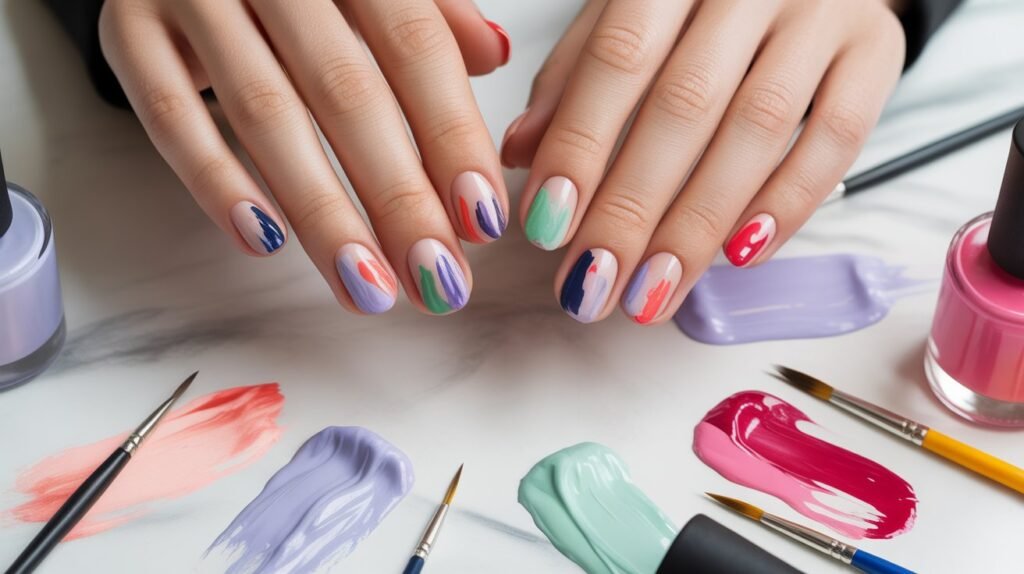
Abstract brushstroke nails are perfect for anyone who wants to experiment with color and creativity. They’re quick to do, easy to personalize, and always turn heads — a fun DIY nail art project that’s as unique as you are!
9: Chrome Mirror Nails
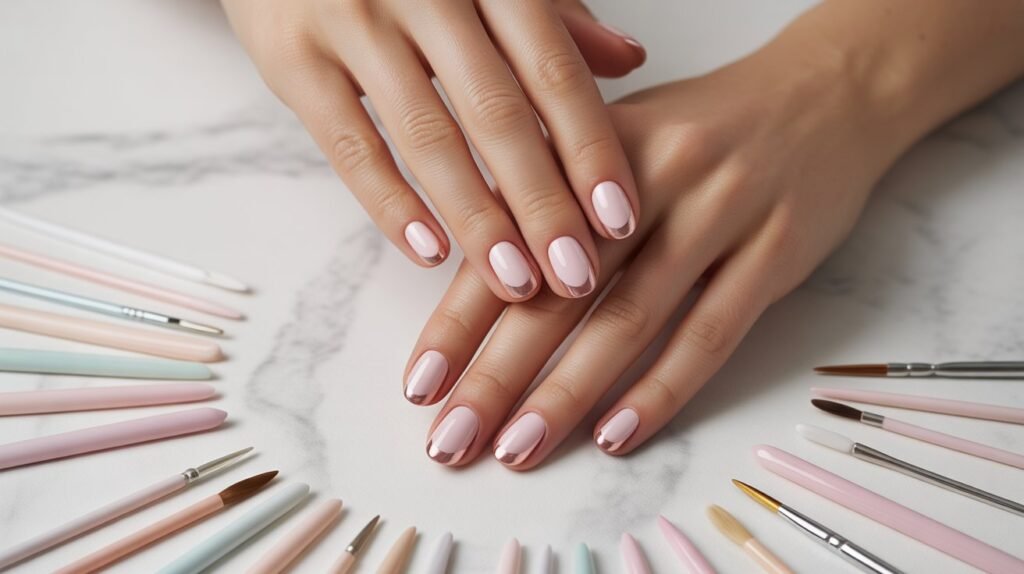
Chrome mirror nails are the ultimate show-stopper — sleek, futuristic, and absolutely mesmerizing. With their shiny, reflective finish, they give your nails a high-gloss metallic effect that looks straight out of a fashion editorial. Whether you choose classic silver chrome, dreamy rose gold, or bold shades like blue or violet, this trend instantly elevates your look and adds a touch of glamour to any outfit.
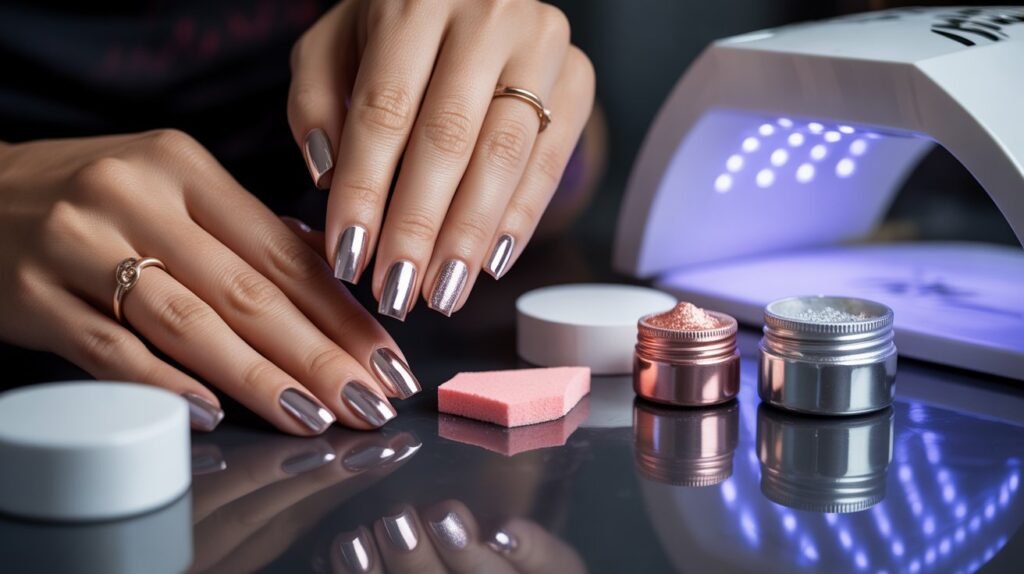
To get the chrome look at home, start with a gel base coat and cure it under a UV or LED lamp. Apply a solid color gel polish — black, nude, or white depending on your desired finish — and cure again. Then, gently rub chrome powder onto each nail using a sponge applicator until the mirror-like effect appears. Seal it all with a no-wipe top coat to lock in the shine and ensure a smooth, reflective surface that gleams from every angle.
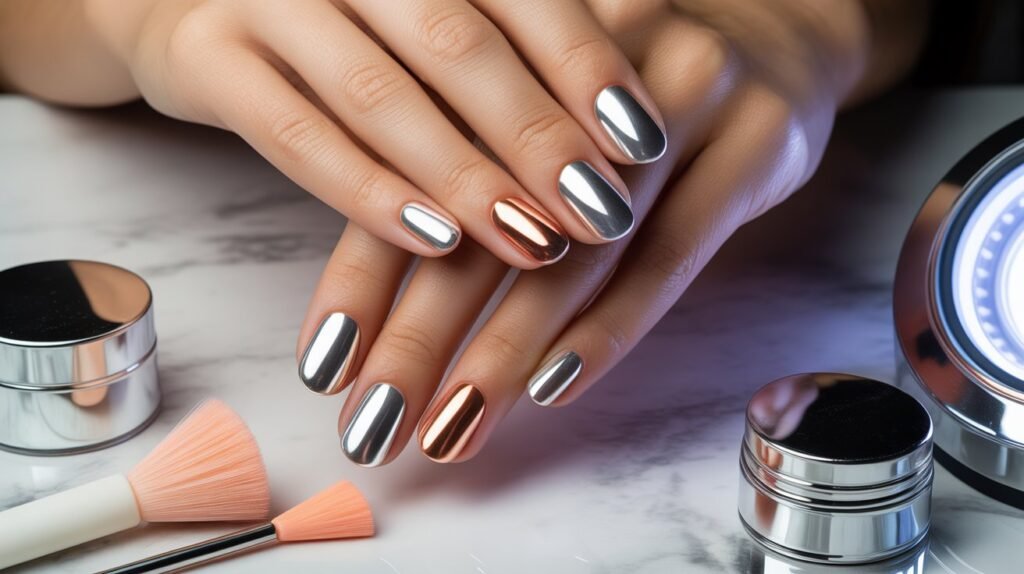
These nails are perfect for special occasions, nights out, or anytime you want your hands to steal the spotlight. The best part? Chrome nails pair effortlessly with jewelry and accessories, making your entire look feel polished and futuristic in seconds.
10: Holographic Shimmer Nails
End your DIY nail art journey with something truly magical — holographic shimmer nails. This dazzling design reflects a rainbow of colors under the light, giving your manicure a multidimensional glow that feels futuristic and fun. Whether you prefer a subtle iridescent sheen or full-on prismatic sparkle, holographic nails are guaranteed to make your hands the center of attention. They’re perfect for festivals, parties, or simply when you want to add a little extra shine to your everyday style.
To create this stunning look, start with a smooth base coat and apply a holographic polish or powder over your favorite color. Silver or nude bases bring out the most light-catching rainbow effect, but you can experiment with pastel or dark shades for a unique twist. Use a sponge or brush to gently blend the shimmer, then seal everything with a high-gloss top coat to enhance the reflective shine. The result? A mesmerizing, galaxy-like finish that looks professionally done but is easy enough to achieve at home.
Holographic shimmer nails are more than just a trend — they’re a statement. They capture movement, color, and personality in every flicker of light. Once you try them, you’ll see why this look has become a favorite among nail art lovers everywhere!
Final Thoughts
Nail art isn’t just about decoration — it’s a form of self-expression, creativity, and self-care all rolled into one. Whether you’re experimenting with minimalist lines, sparkling gradients, or bold chrome finishes, each design tells a little story about your personal style. The best part is that you don’t need to visit a salon or be a professional to create stunning looks. With a bit of practice, patience, and the right tools, your nails can become your very own canvas for artistry.
From timeless French tips to trendy holographic shimmer, these step-by-step tutorials give you endless ways to refresh your look and boost your confidence. Each technique is simple enough for beginners yet versatile enough for seasoned nail enthusiasts to make their own. So go ahead — mix colors, try new textures, and most importantly, have fun with it!
At the end of the day, nail art is about enjoying the process as much as the results. Every brushstroke, sparkle, and design is a reminder that beauty can be both playful and empowering. So grab your polish and let your creativity shine — one nail at a time.