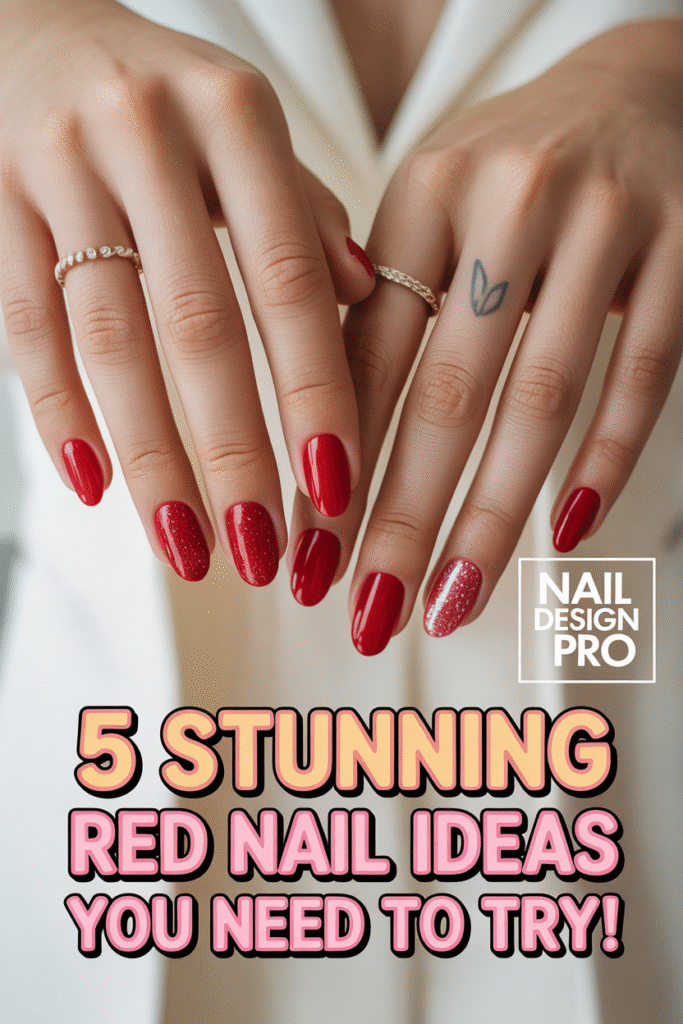
Easy Red Nail Tutorials are timeless, bold, and perfect for expressing confidence and style. Whether you’re heading to a casual brunch or a glamorous evening event, a classic red manicure always makes a statement. For beginners, mastering red nail designs might seem intimidating, but with the right step-by-step guidance, anyone can achieve salon-quality results at home. From choosing the right shade to perfecting the application, this guide will make your nail journey simple, fun, and flawless.
Easy Red Nail Tutorials: Step-by-Step Designs for Beginners
One of the best things about red nails is their versatility. From deep crimson to bright cherry, red can suit any mood, outfit, or occasion. Beginners often worry about smudges or uneven coats, but starting with clean, prepped nails and a steady hand makes a huge difference. In this guide, we break down each step, including base coat application, even polish layering, and finishing with a glossy top coat that lasts. You’ll also find beginner-friendly design tips, such as adding subtle accents like dots, stripes, or glitter for an extra pop.
The beauty of red nail tutorials lies in their simplicity. You don’t need complicated tools or advanced techniques to create eye-catching designs. With minimal supplies and easy-to-follow instructions, you can create professional-looking nails in the comfort of your home. This guide is perfect for anyone who loves experimenting with colors, patterns, or textures, but especially for beginners looking to build confidence in their nail art skills. Get ready to transform your nails into stunning red statements that are sure to turn heads!
1: Classic Red Manicure with Subtle Accents
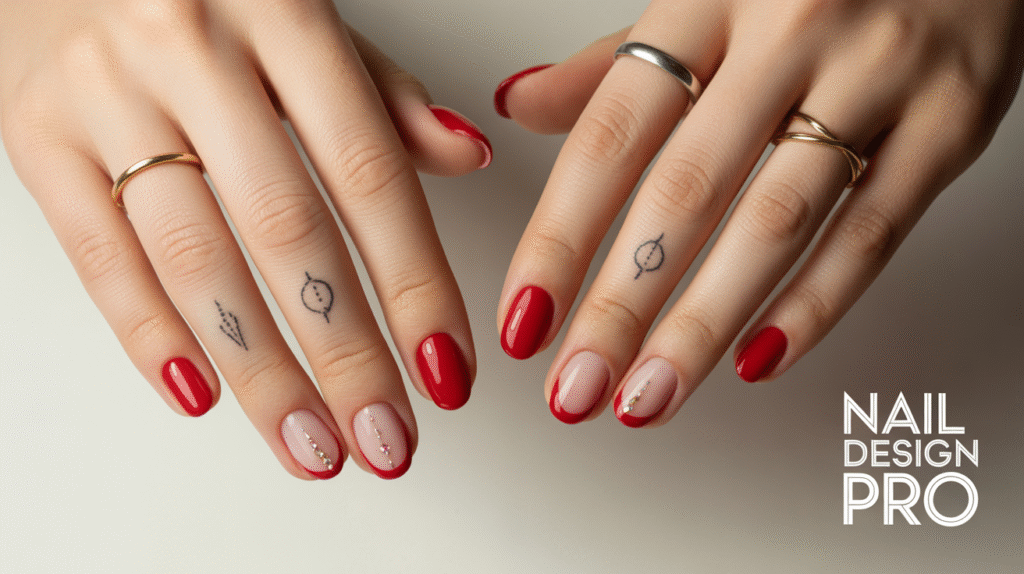
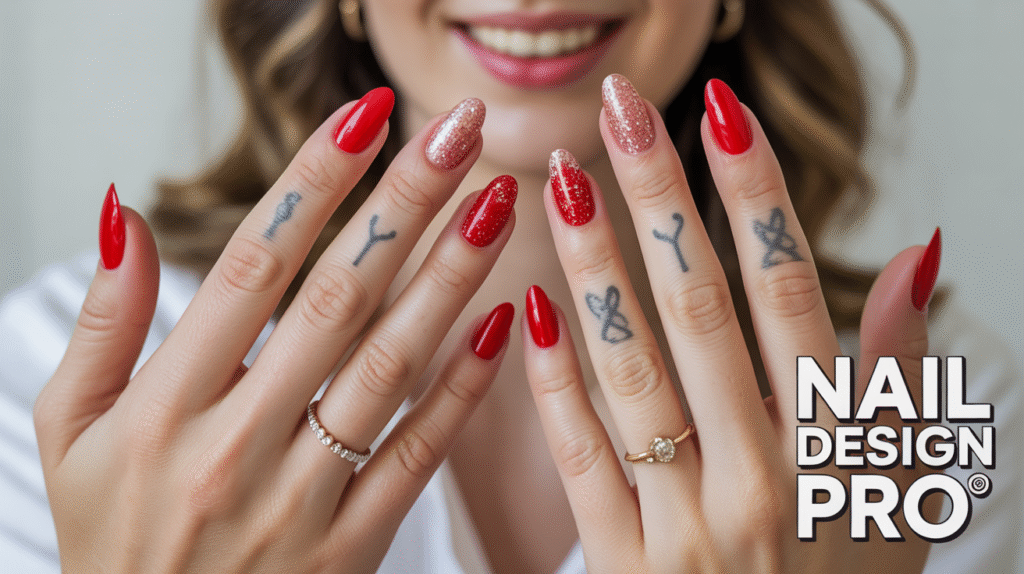
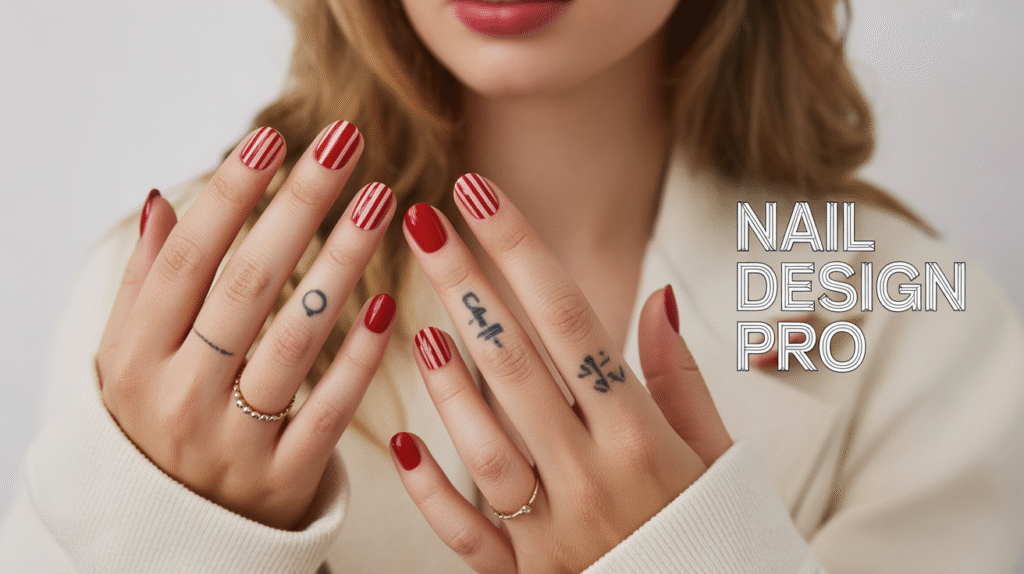
A classic red manicure is the ultimate beginner-friendly design because it’s bold, elegant, and universally flattering. To start, choose a vibrant red polish that complements your skin tone—deep crimson for fair skin, cherry red for medium tones, or rich wine for darker shades. Begin with clean, filed nails and a nourishing base coat to protect your natural nails. Apply two thin layers of red polish, letting each layer dry completely to avoid streaks. Finish with a glossy top coat for shine and durability. Even beginners can achieve a professional-looking result by following this step-by-step method.
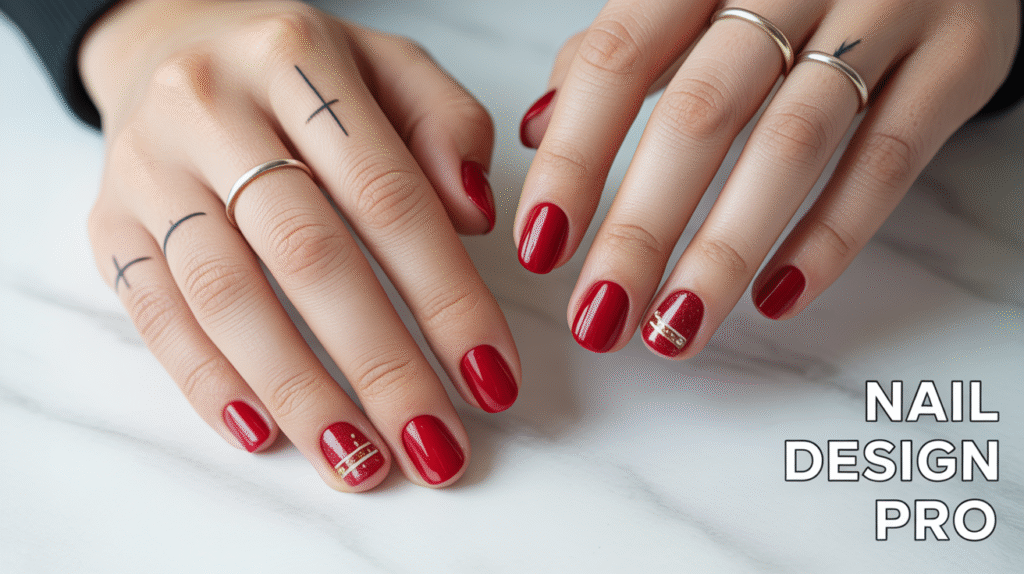
For those who want to add a personal touch without complicating the design, subtle accents are the key. Tiny dots, delicate stripes, or a hint of shimmer on a single nail can elevate the classic red manicure into a stylish statement. Beginners can experiment using simple tools like a toothpick or a fine brush to create these accents. The best part is that these small details are easy to correct if you make a mistake, making it a forgiving design for first-timers.
Tips for Perfect Nail Prep
Proper nail preparation is crucial for a flawless finish. Always start by trimming and shaping your nails, pushing back cuticles gently, and applying a moisturizing hand cream before your manicure. Using a base coat not only protects your nails from staining but also helps the polish adhere better and last longer. This step ensures your red manicure stays vibrant and chip-free for days.
2: Ombre Red Nails for a Gradual Gradient Look
Ombre red nails are a trendy yet beginner-friendly way to make your manicure look artistic and professional. This design involves blending two or more shades of red, from a soft cherry tone to a deep crimson, creating a smooth gradient effect. To start, apply a base coat to protect your nails and prevent staining. Using a makeup sponge or a small brush, dab the lighter red at the base of the nail and gradually blend the darker shade toward the tips. Repeat the process for each nail, then seal the design with a glossy top coat to make the colors pop and ensure a smooth finish.
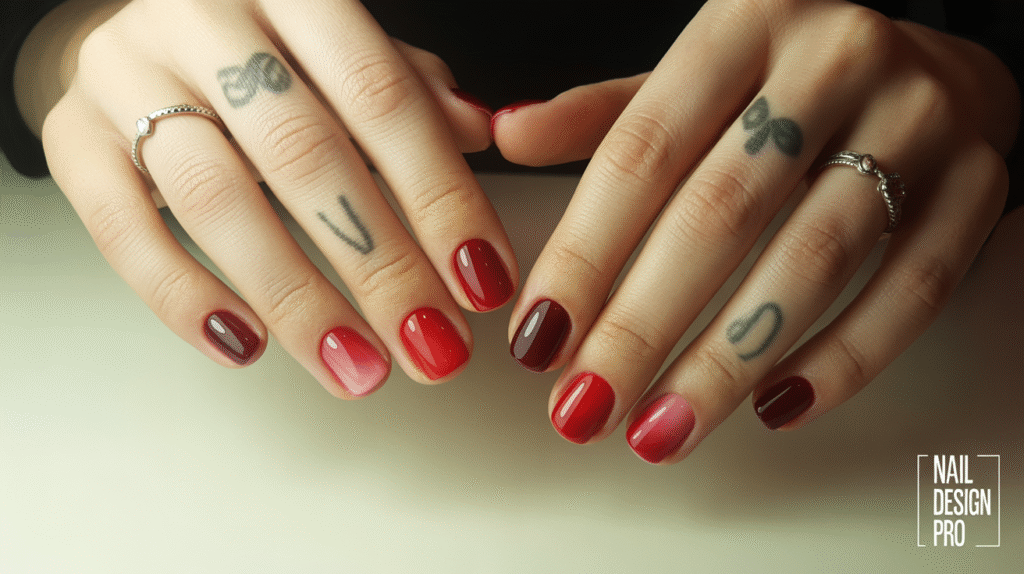
The beauty of ombre nails is that each nail can be slightly unique, giving your hands a creative and dynamic look. Beginners often find this design forgiving because slight imperfections in the gradient blend naturally into the design. Adding tiny accents, like a gold stripe or a glitter tip, can enhance the ombre effect without requiring advanced nail art skills. With practice, this technique becomes quick and easy, offering a stunning salon-quality finish right at home.
Choosing the Right Shades for Ombre
Selecting the right shades is key to achieving a seamless ombre. Stick to shades within the same color family for a harmonious gradient. For red ombre, you can mix bright reds with darker burgundy or subtle pink undertones for a soft transition. Avoid contrasting colors, as they can make blending difficult and reduce the natural flow of the gradient.
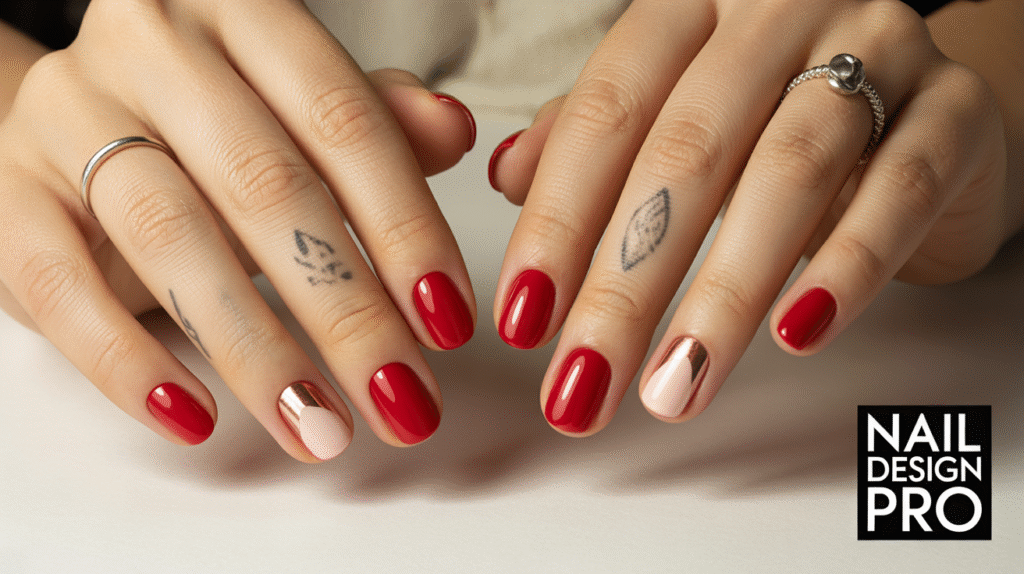
3: Red French Tips with a Modern Twist
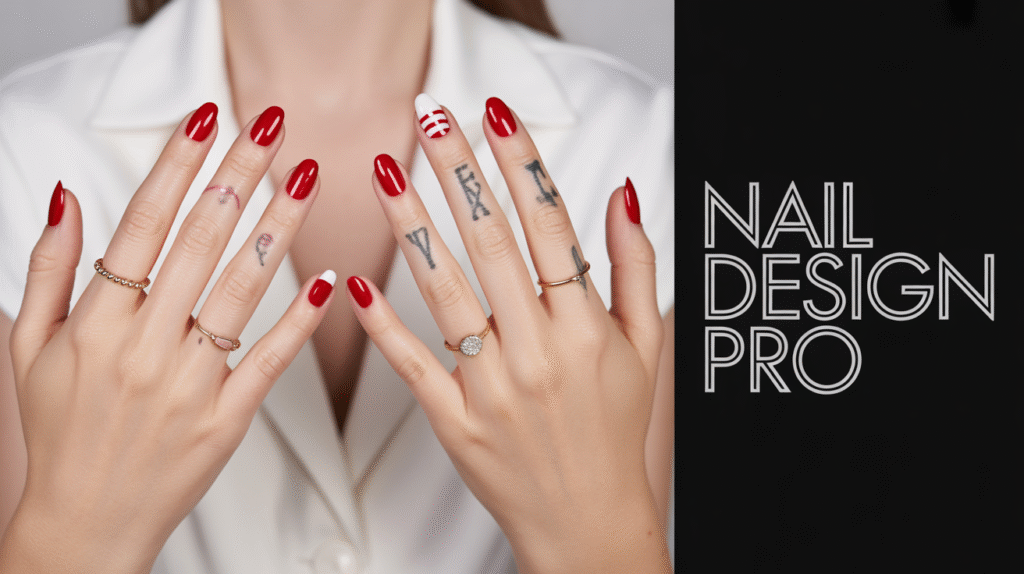
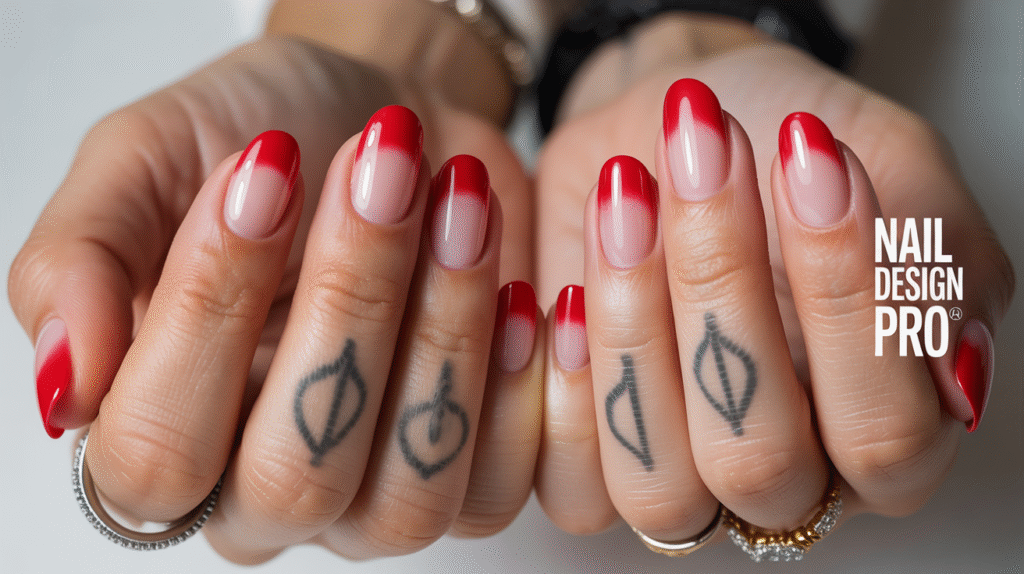
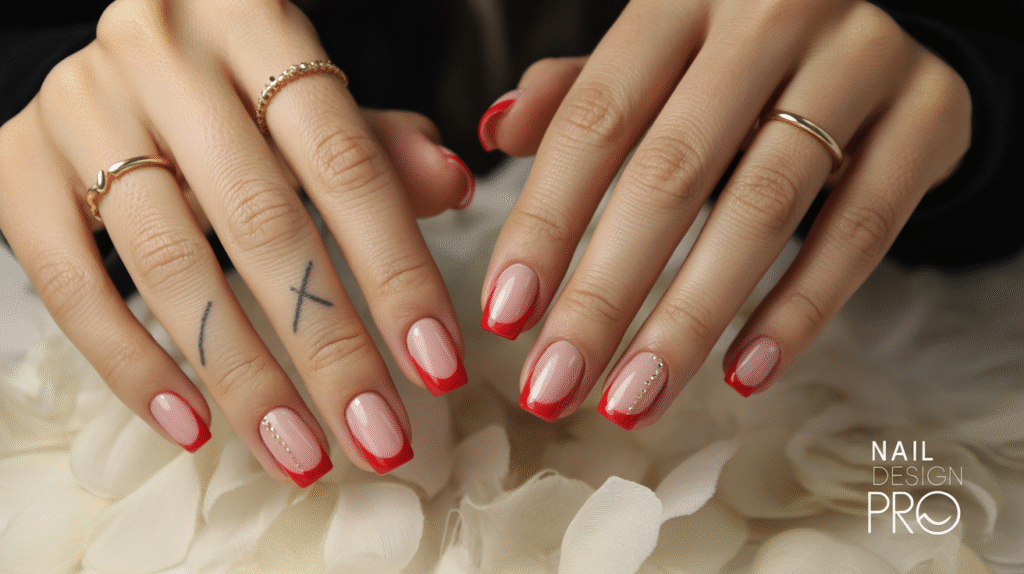
Red French tips are a stylish way to combine classic elegance with a modern, playful touch. Unlike the traditional white French manicure, using red polish on the tips instantly makes your nails stand out while remaining beginner-friendly. Start by applying a base coat to protect your nails and create a smooth canvas. Then, carefully paint the tips of your nails with a bright or deep red shade using either a nail guide sticker or a steady hand. Finish with a top coat to seal the design and give it a polished, long-lasting shine.
For a contemporary twist, you can experiment with varying tip shapes or add subtle accents on a single nail. Beginners can start with simple straight tips and later explore diagonal or curved variations as they gain confidence. Tiny details like a small dot or metallic line along the tip can add sophistication without complicating the process. This approach allows even first-timers to create chic, eye-catching nails with minimal tools.
Perfecting the Red Tip
To achieve clean and precise red tips, make sure your base color is fully dry before applying the tip color. Use nail guide stickers for straight lines, or gently freehand with a thin brush for a more customized look. Applying a top coat slowly, starting from the tip to the base, helps prevent smudging and ensures the manicure lasts longer.
4: Red Matte Nails with Minimalist Designs
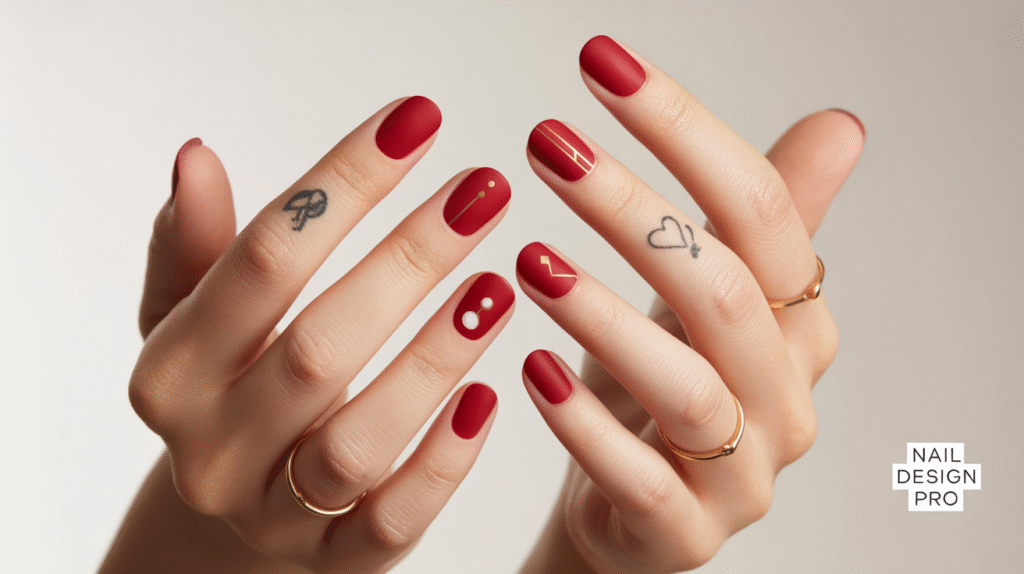
Red matte nails are a sophisticated choice that adds a contemporary twist to a classic color. Matte polish gives a smooth, velvety finish that looks elegant and modern. To start, apply a base coat to protect your nails and ensure the polish adheres properly. Then, apply two even coats of red matte polish, allowing each layer to dry completely. The rich, non-shiny finish of matte nails makes them stand out while remaining subtle and classy, perfect for beginners experimenting with bold colors without the high-gloss look.
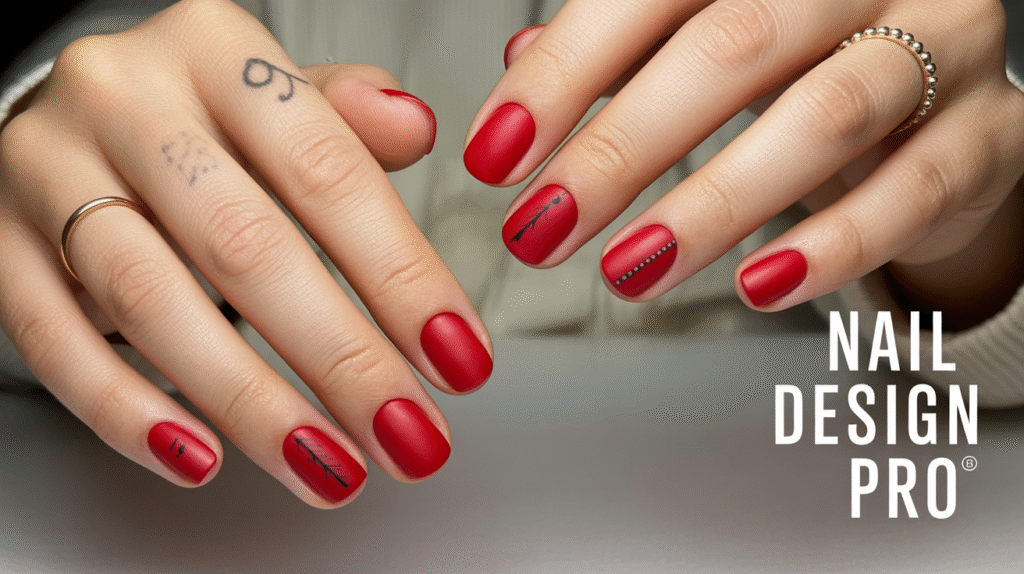
Minimalist designs complement matte nails beautifully. Simple geometric shapes, tiny dots, or thin diagonal lines in gold, white, or black can elevate the manicure while keeping it beginner-friendly. Matte polish is forgiving for beginners because minor imperfections are less noticeable than on glossy finishes. Adding subtle accents on one or two nails creates a chic, personalized effect without complicating the process.
Caring for Matte Nails
Matte nails require special attention to maintain their velvety finish. Avoid applying a glossy top coat, as it defeats the matte effect. Instead, protect your nails by applying a matte-friendly top coat if needed, and moisturize your cuticles regularly. With proper care, matte nails can last just as long as traditional glossy manicures while maintaining their elegant texture.
5: Red Glitter Accent Nails for Beginners
Red glitter accent nails are a fun and easy way to add sparkle to a classic manicure without overwhelming the design. Start with a solid red base on all nails, then choose one or two nails per hand to feature glitter accents. Beginners can use glitter polish, loose glitter, or glitter stickers to create a festive and eye-catching look. Apply a top coat over the glitter to secure it in place and ensure a smooth finish. This approach allows anyone, even beginners, to create glamorous nails with minimal effort.
Accent nails are a fantastic way to experiment with creativity while keeping the rest of the manicure simple. You can create a gradient glitter effect, concentrate glitter at the tips, or scatter it across the entire nail for a sparkling look. Glitter adds dimension and catches light beautifully, making your nails pop for special occasions or casual wear. The best part is that mistakes are easy to fix—simply remove and reapply the glitter until it looks perfect.
Choosing the Right Glitter
When selecting glitter for accent nails, consider the size, color, and texture. Fine glitter blends seamlessly with red polish for a subtle shimmer, while chunky glitter makes a bold statement. Silver, gold, or holographic glitter pairs beautifully with red shades, enhancing the overall manicure without being too complex for beginners.
6: Red Matte and Glossy Combo Nails
Red matte and glossy combo nails are a creative way to mix textures while keeping a design simple for beginners. Start by applying a base coat on all nails to protect them. Then, paint some nails with a velvety red matte polish and others with a shiny red glossy polish, creating an interesting contrast. This combination instantly adds depth and sophistication to your manicure without requiring complicated designs or advanced skills. A top coat on glossy nails will enhance shine, while matte nails maintain their smooth, soft finish.
This technique allows for a lot of creative freedom. Beginners can alternate matte and glossy nails, add a glossy tip on a matte nail, or even create simple patterns like stripes using the two textures. The contrast between matte and glossy makes even simple designs look elegant and professionally done. It’s a perfect way to experiment with nail art while keeping the process easy and enjoyable.
Tips for Perfect Texture Combination
To maintain a clean contrast between matte and glossy finishes, ensure each nail is completely dry before switching textures. Use a thin brush for any detailed patterns to avoid smudging. Additionally, avoid applying a glossy top coat over matte nails, as it will ruin the velvety effect. This technique ensures a striking look that lasts longer and stays polished.
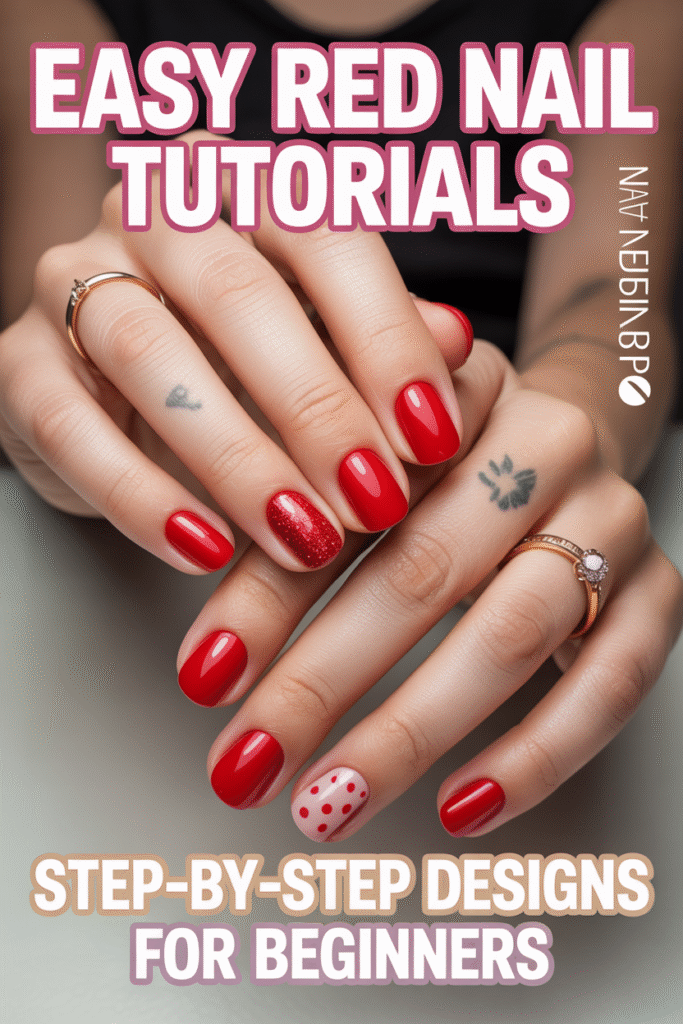
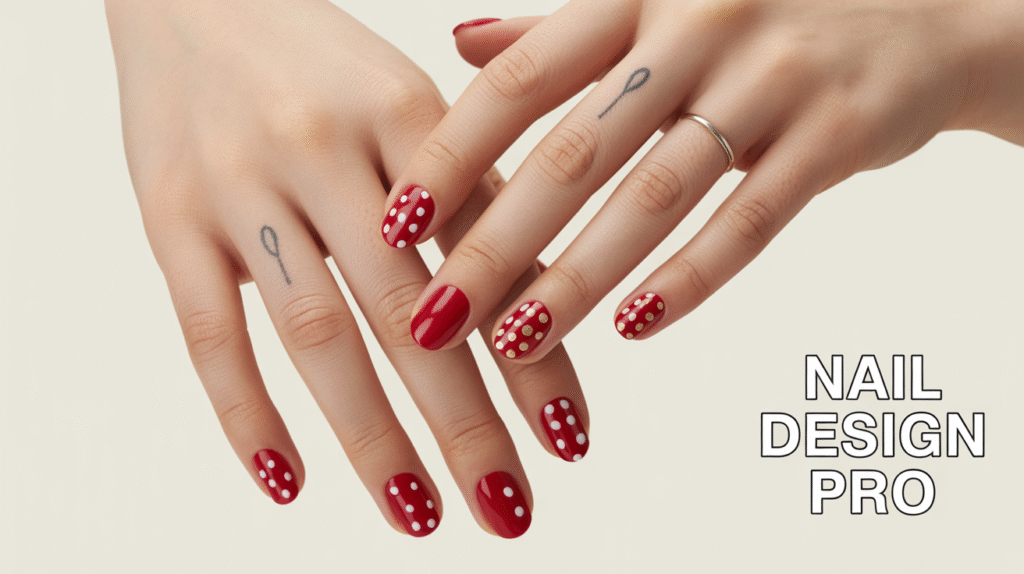
7: Red Polka Dot Nails for a Playful Look
Red polka dot nails are a fun and whimsical design that’s perfect for beginners who want to add personality to their manicure. Start with a solid red base on all nails and let it dry completely. Using a dotting tool, toothpick, or the tip of a bobby pin, create small, evenly spaced dots with white, black, or metallic polish. This simple design is forgiving for beginners because small variations in dot size or spacing naturally add to the charm rather than ruin the look. Finish with a glossy top coat to seal the design and give your nails a polished, long-lasting shine.
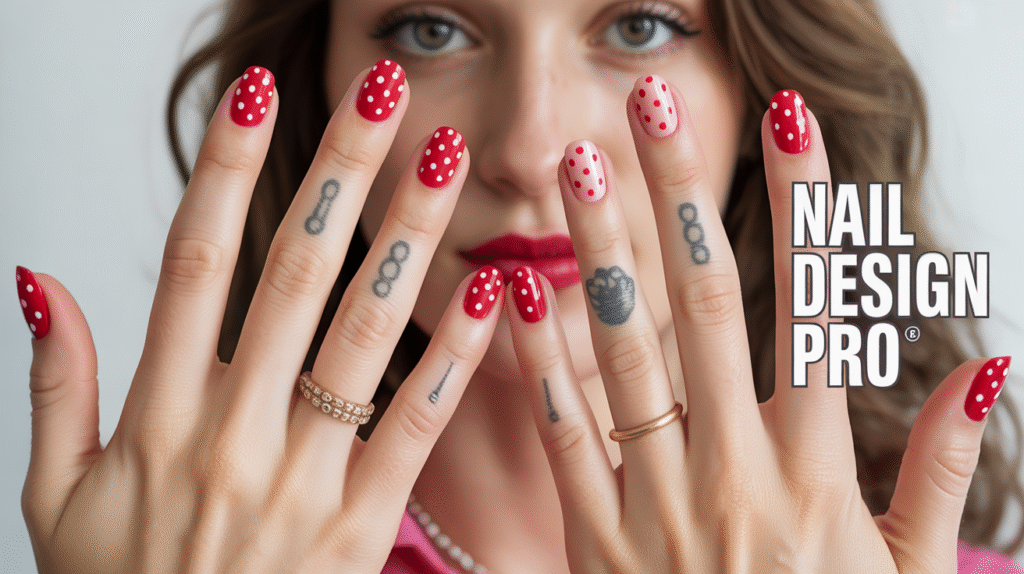
Polka dot nails offer endless versatility. You can play with dot size, colors, and placement—try accent nails with larger dots, diagonal dot patterns, or even combine glitter dots for extra sparkle. This design is playful yet chic, making it suitable for casual outings, parties, or just everyday fun. Beginners can experiment without fear, as mistakes are easy to fix with a small brush or nail polish remover.
Making Polka Dots Perfectly
For consistent dots, ensure the base color is completely dry before starting. Use a dotting tool or bobby pin dipped lightly in polish, and practice on a piece of paper first if needed. Apply a thin layer of top coat after the dots dry to prevent smudging and enhance longevity. This ensures your playful polka dot nails stay neat and vibrant.
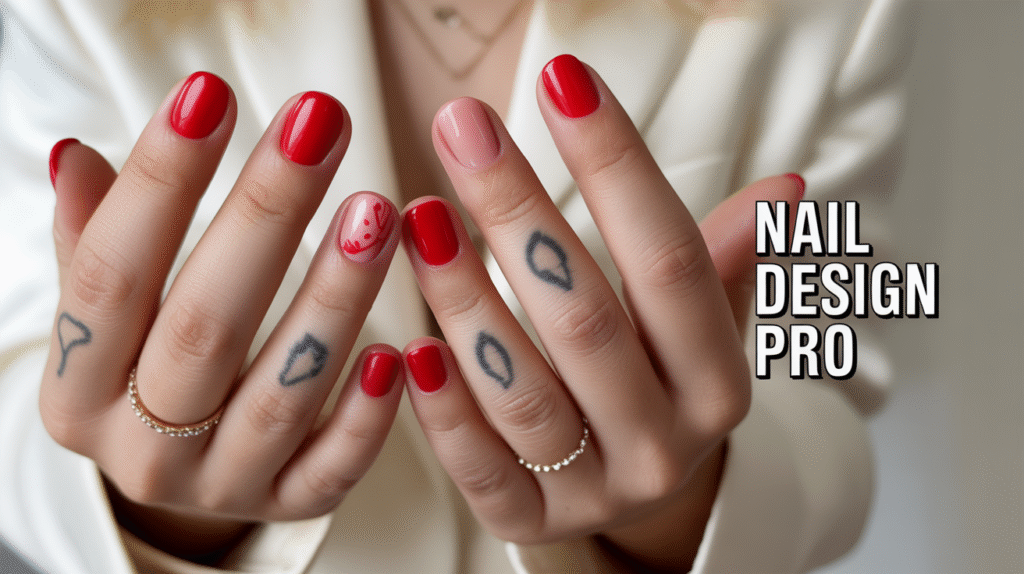
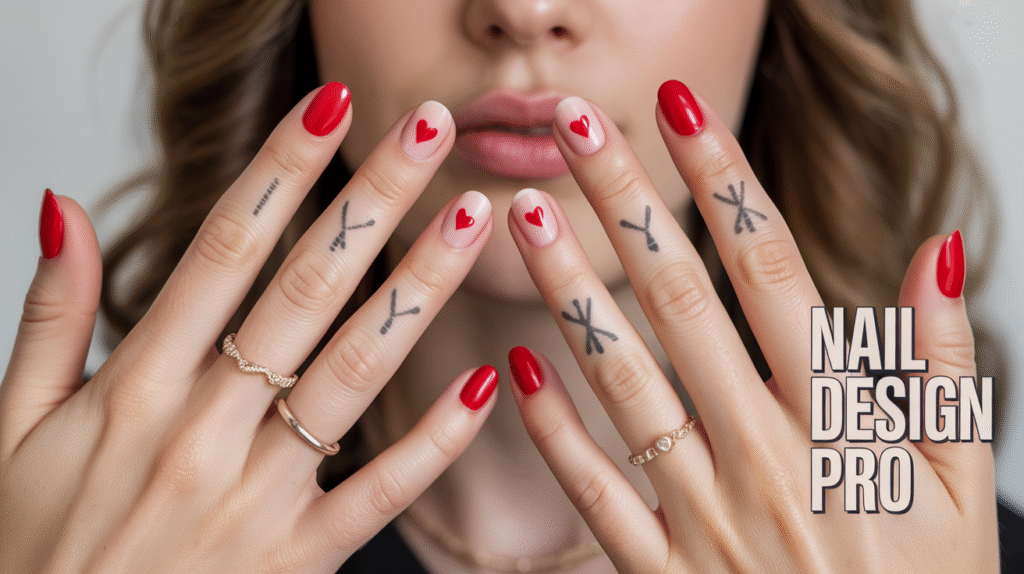
8: Red Heart Accent Nails for a Cute Design
Red heart accent nails are a charming and beginner-friendly way to add a touch of love to your manicure. Start with a solid red base on all nails and let it dry completely. On one or two accent nails per hand, use a small brush, toothpick, or dotting tool to create tiny heart shapes in white, pink, or gold polish. This simple design is perfect for beginners because the hearts don’t need to be perfectly symmetrical—the slight imperfections add to the hand-crafted charm. Seal the design with a glossy top coat to make the hearts pop and protect your manicure.
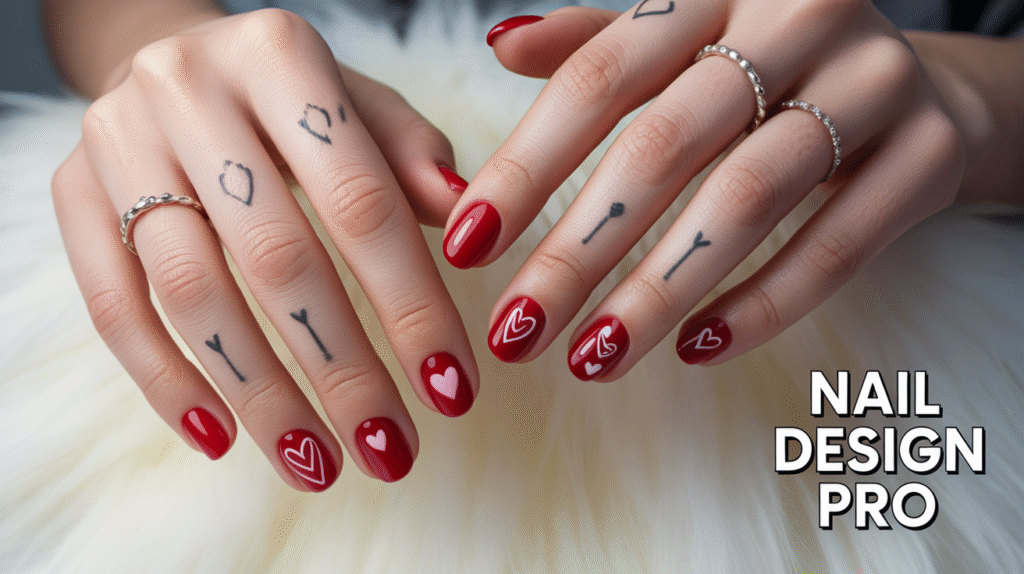
Hearts can be placed in different styles: one large heart in the center, multiple small hearts scattered across the nail, or a diagonal line of tiny hearts along the nail tip. This versatility allows beginners to personalize their look without complicating the design. The red base enhances the romantic feel, while the accent hearts make the nails stand out for special occasions like Valentine’s Day or date nights.
Tips for Perfect Heart Accents
To create neat heart shapes, ensure your base color is fully dry. Start with small dots for the top curves of the heart and then drag the polish downward to form the point. Practice on a piece of paper first if needed. Applying a thin layer of top coat after the hearts are dry helps prevent smudging and keeps the design long-lasting.
9: Red Striped Nails for a Chic Look
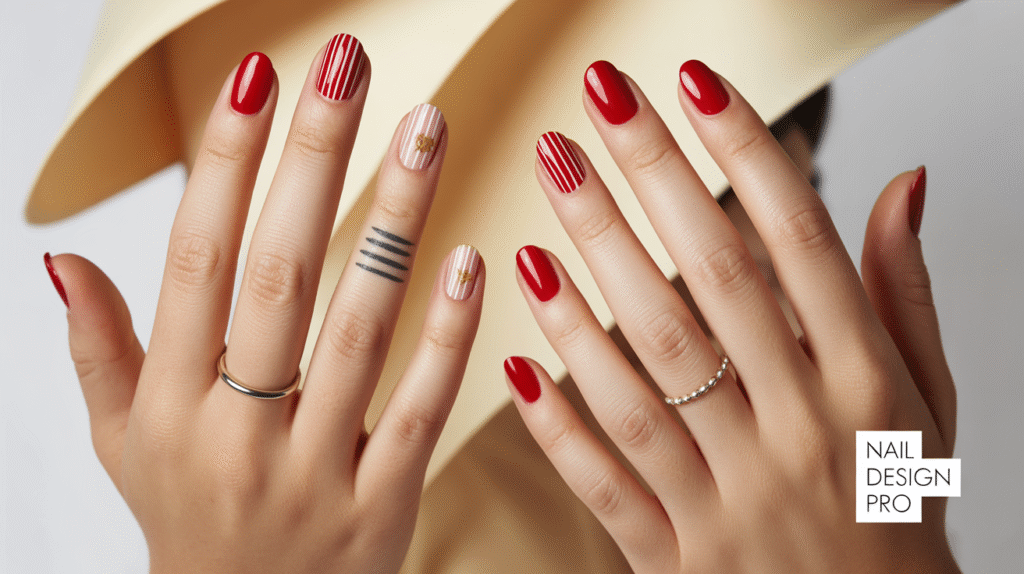
Red striped nails are a modern and stylish design that is surprisingly easy for beginners to achieve. Start with a solid red base coat on all nails and let it dry completely. Using a thin nail art brush or striping tape, create vertical, horizontal, or diagonal stripes in contrasting colors such as white, black, or gold. The key is to work slowly and precisely, applying a top coat once the stripes are dry to seal the design and enhance longevity. Even minor imperfections can add character to this chic and playful look.
This design is highly versatile and allows beginners to experiment with different patterns and nail layouts. You can mix thick and thin stripes, alternate colors, or even create stripes on just a single accent nail for a minimalistic touch. The combination of red with subtle stripes draws attention to your nails while keeping the overall look elegant and polished. Striped nails are perfect for casual outings, office wear, or special occasions, making them a go-to design for any beginner looking to elevate their manicure.
Tips for Perfect Stripes
For clean and precise stripes, use striping tape to guide your lines or practice freehand with a steady hand. Make sure the base color is completely dry before adding stripes to prevent smudging. Finish with a glossy top coat to protect the design and give the nails a professional shine. With patience and practice, striped nails can become a favorite simple design for beginners.
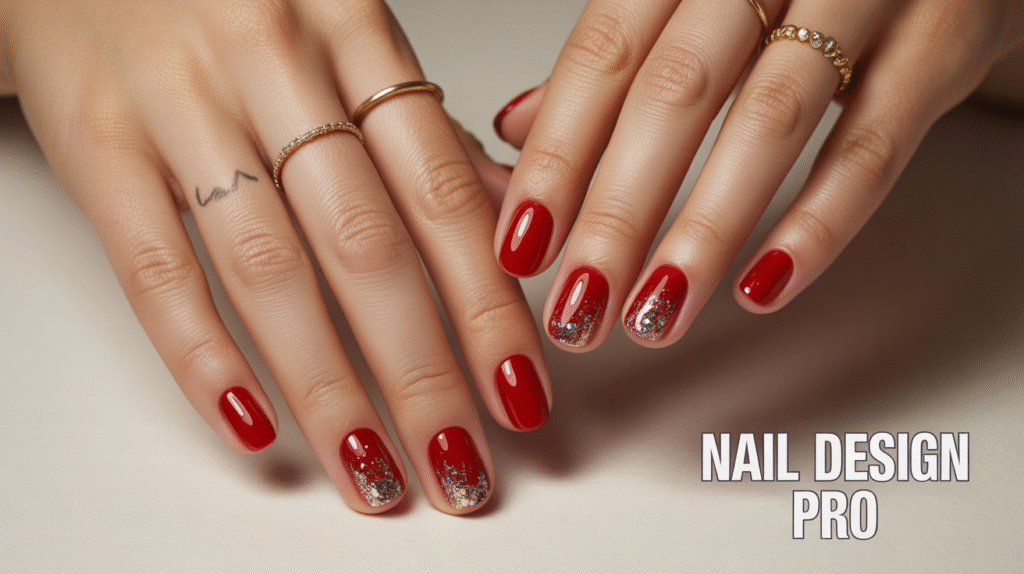
10: Red Glitter Ombre Nails for a Glamorous Finish
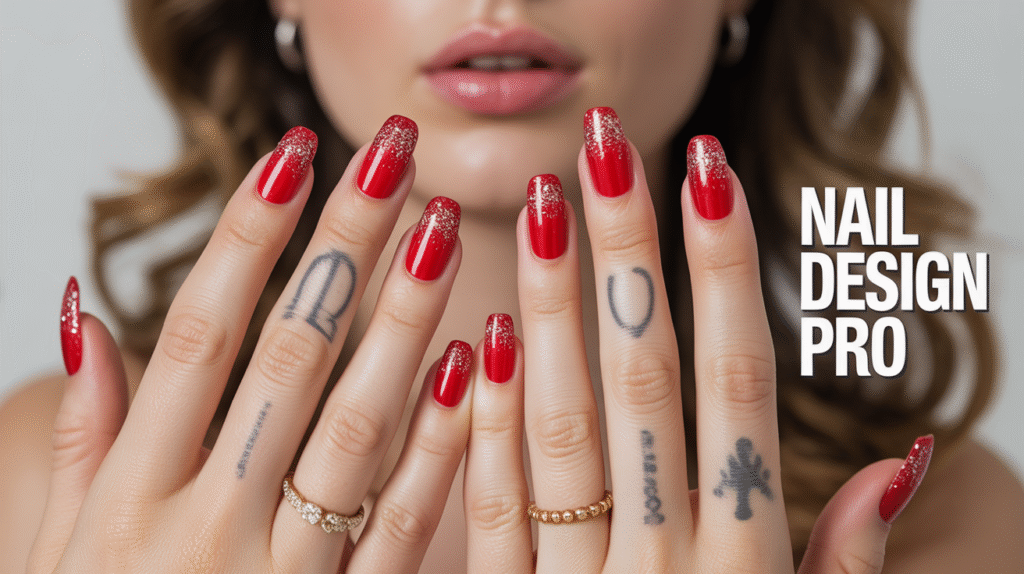
Red glitter ombre nails are perfect for beginners who want a glamorous yet easy-to-achieve look. Start with a solid red base on all nails and allow it to dry completely. Using a makeup sponge or a small brush, apply red or gold glitter starting from the tips and gradually blending it toward the middle of the nail to create a smooth ombre effect. Finish with a glossy top coat to lock in the glitter and enhance the shine. This technique gives a dazzling, professional look with minimal effort, making it beginner-friendly.
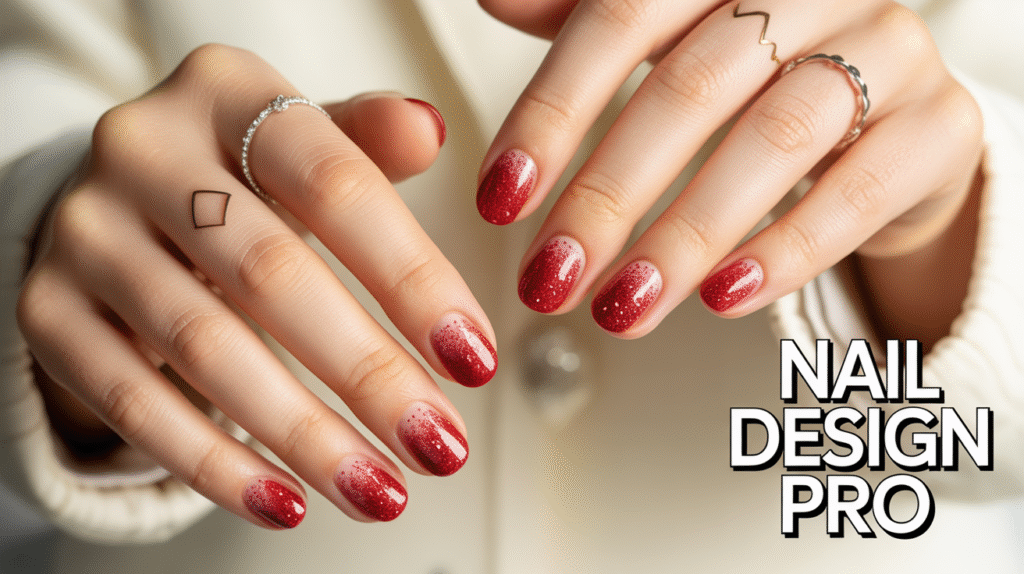
Ombre glitter nails offer endless versatility. Beginners can choose subtle glitter for a soft sparkle or bold, chunky glitter for a more dramatic effect. You can apply glitter on one or two accent nails or across all nails for a full statement look. The gradual transition of glitter adds depth and elegance, making your manicure suitable for parties, special occasions, or even casual wear when you want to stand out.
Achieving a Smooth Glitter Gradient
For a seamless glitter ombre, use a makeup sponge to dab the glitter gently, starting at the nail tip and blending toward the center. Allow each layer to dry slightly before adding more glitter to avoid clumping. Finish with a glossy top coat to smooth the surface and enhance durability. This ensures your nails sparkle beautifully while maintaining a neat, professional finish.
Final Thoughts
Red nails are timeless, bold, and perfect for expressing confidence and style, and with these easy step-by-step tutorials, even beginners can achieve salon-quality results at home. From classic red manicures to playful polka dots, chic stripes, and glamorous glitter ombre designs, there’s a red nail style for every mood, occasion, and personality. The key is starting with well-prepped nails, choosing the right shades, and experimenting with simple accents that elevate your look without adding complexity.

Remember, practice and patience are your best tools. Small imperfections are part of the charm and make each manicure uniquely yours. These tutorials not only help beginners gain confidence but also inspire creativity, allowing you to explore textures, patterns, and designs while keeping the process fun and stress-free. Red nails can be simple, elegant, playful, or bold—whatever your style, there’s a design here to match it perfectly.
By following these step-by-step ideas, you can transform your nails into stunning, Pinterest-worthy statements that are sure to turn heads. Whether it’s a casual day out, a party, or a special event, these easy red nail designs will help you shine, express your personality, and enjoy the art of nail styling at home.