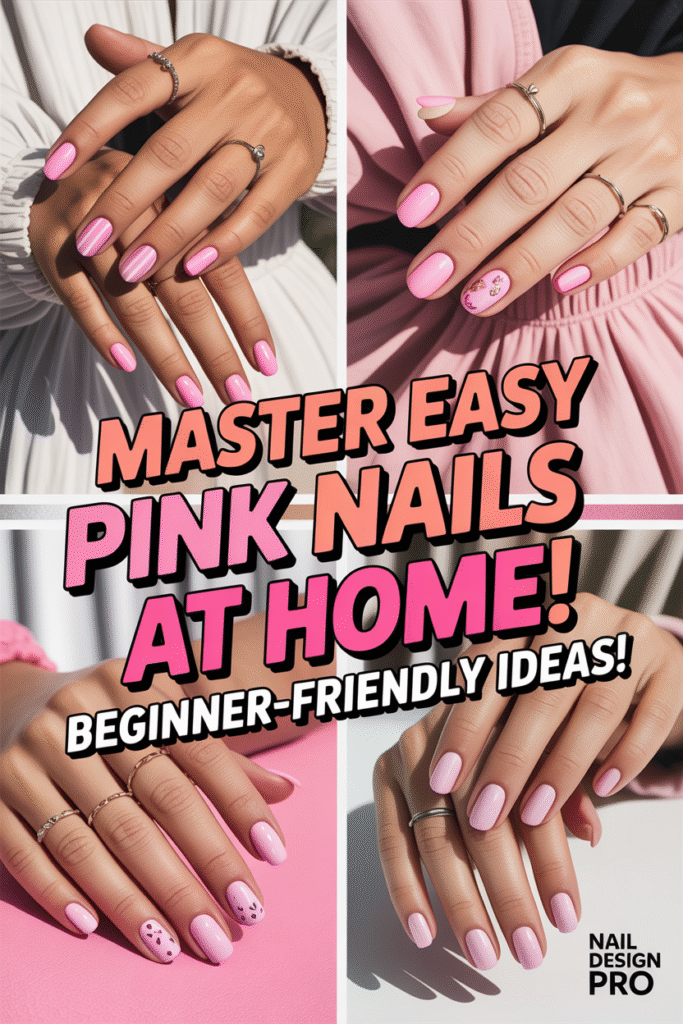
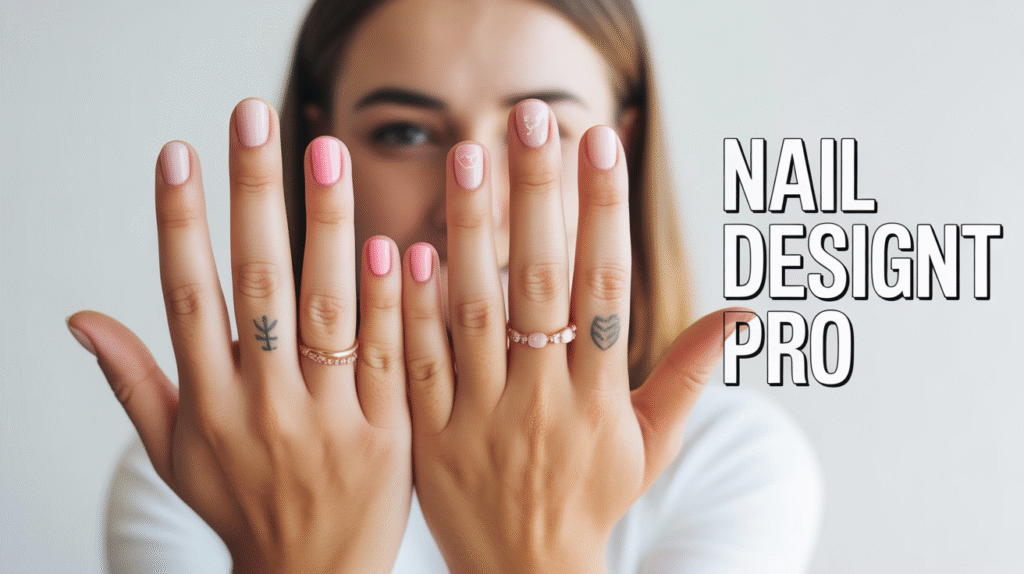
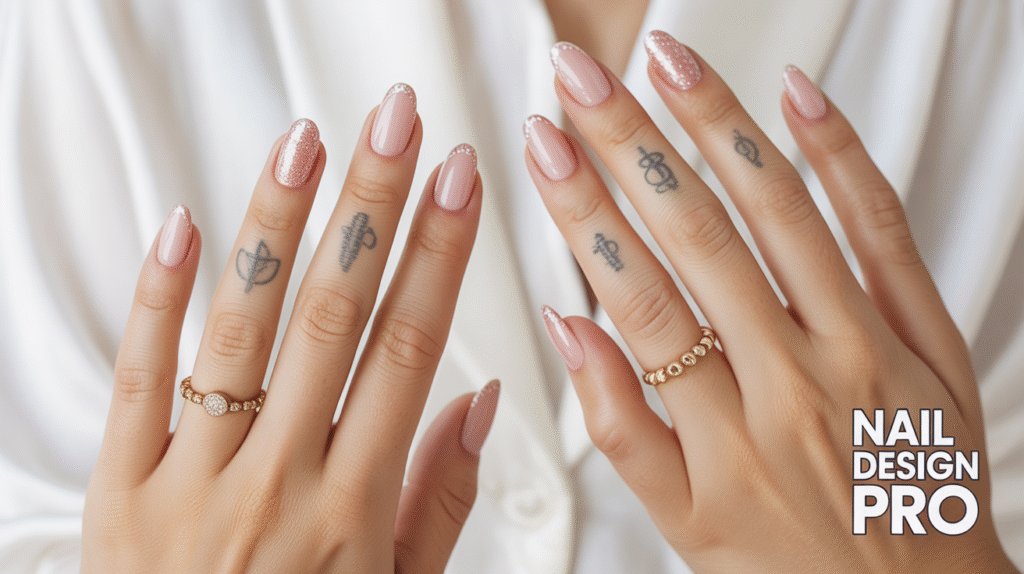
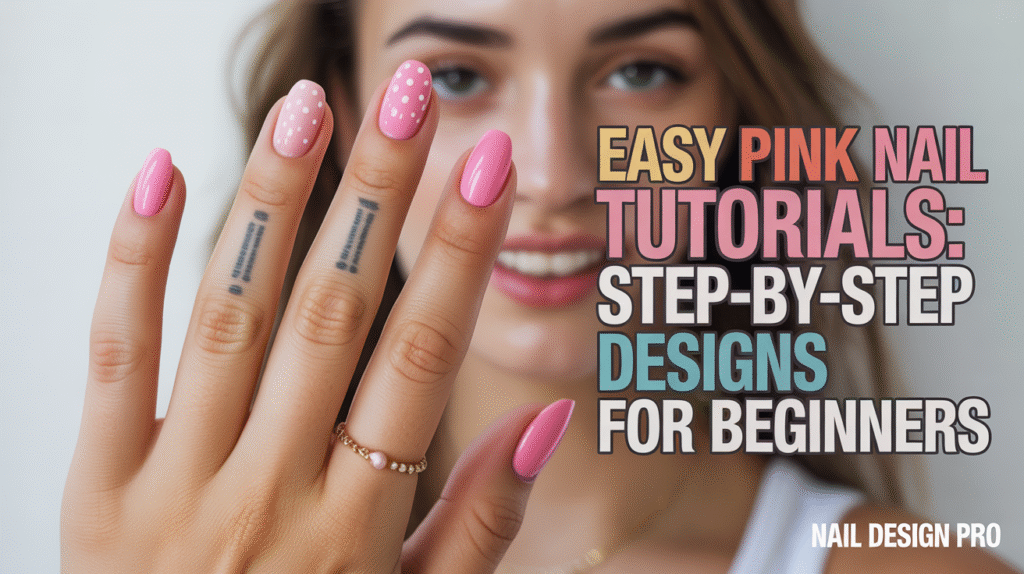
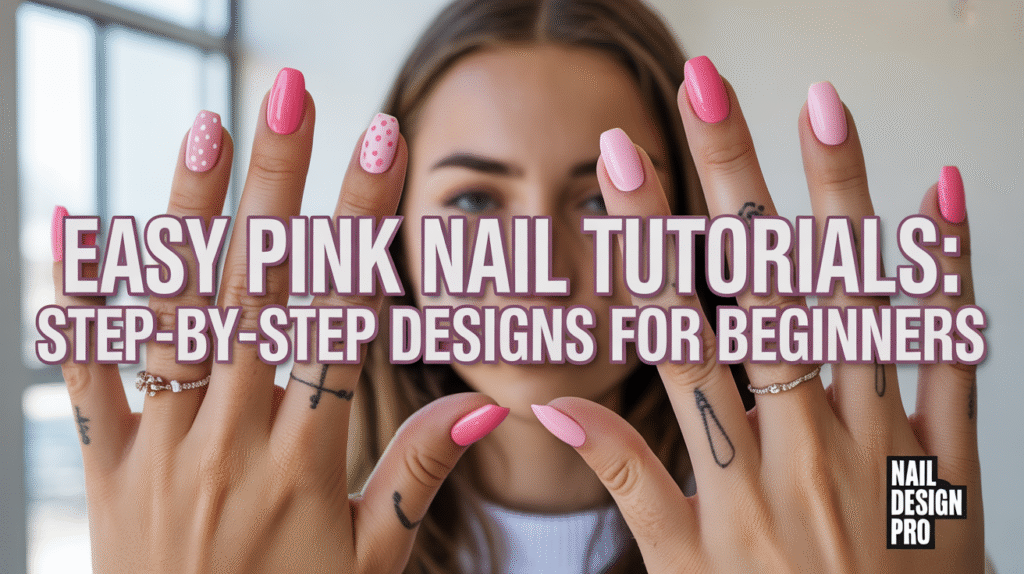
Soft, stylish, and endlessly versatile—Easy Pink Nail Tutorials for Beginners are a timeless favorite, especially for beginners just starting their nail art journey. Whether you love blush tones, baby pinks, or glossy rosy shades, pink nail designs are forgiving, elegant, and easy to practice at home. With just a few basic tools and simple techniques, you can create salon-style nails without feeling overwhelmed or intimidated.
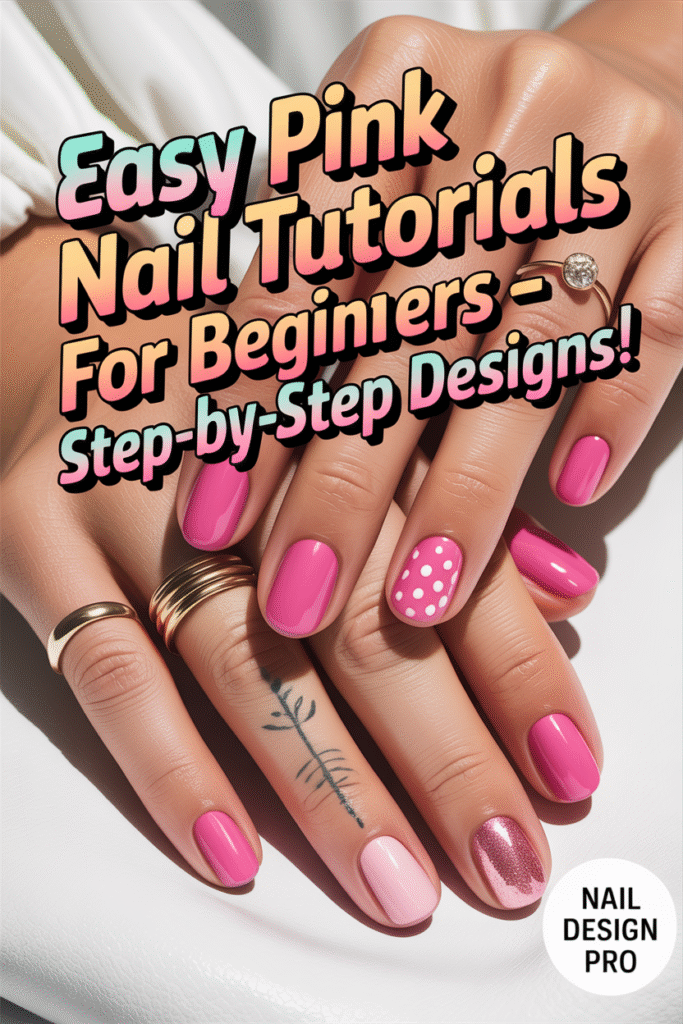
Easy Pink Nail Tutorials for Beginners | Step-by-Step Nail Designs
This beginner-friendly guide focuses on easy pink nail tutorials that break each design down into clear, step-by-step methods. From minimal solid pink manicures to subtle accents like dots, lines, and soft ombré effects, these designs are perfect for learning hand control and polish application. Each idea is designed to boost confidence while helping you master nail art fundamentals at your own pace.
If you’ve ever wanted pretty pink nails but didn’t know where to start, you’re in the right place. These tutorials are ideal for everyday wear, special occasions, or content creation for Pinterest and social media. By the end of this guide, you’ll feel inspired, confident, and ready to recreate beautiful pink nail designs that look polished, trendy, and effortlessly chic.
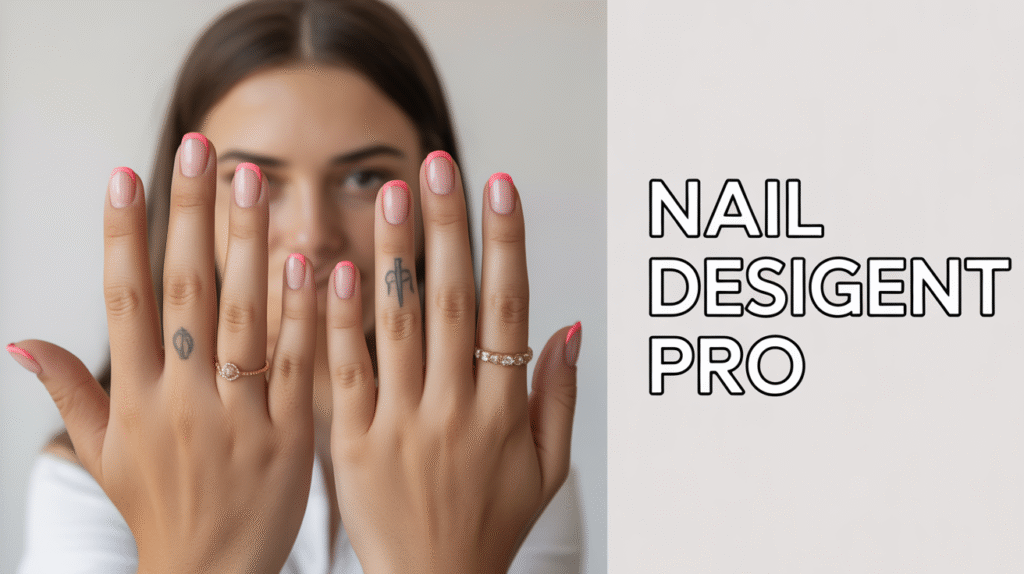
1: Classic Glossy Baby Pink Nails
Classic glossy baby pink nails are the perfect starting point for beginners because they are simple, clean, and effortlessly elegant. This style focuses on smooth polish application and proper nail prep, helping you build strong fundamentals. Start by shaping your nails evenly and gently pushing back the cuticles to create a neat base. Apply a clear base coat to protect your natural nails and prevent staining. Once dry, use a soft baby pink nail polish and apply thin, even layers—this prevents streaks and helps achieve a professional-looking finish.
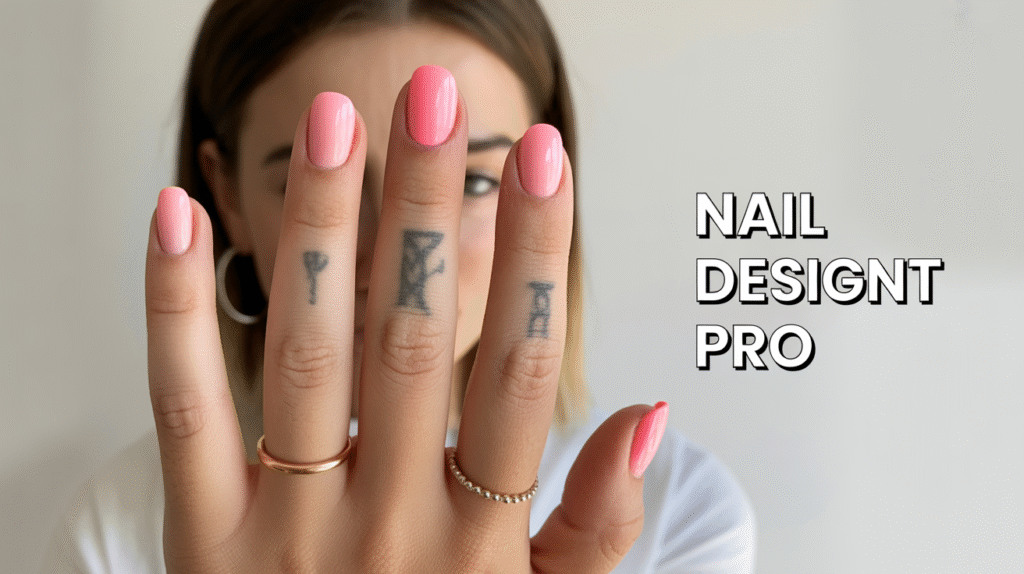
When applying the pink polish, patience is key. Use light strokes from the cuticle toward the tip, allowing each coat to dry fully before adding the next. Usually, two coats are enough to achieve a soft, opaque look without looking thick. Finish with a high-shine top coat to lock in the color and add that glossy, salon-style effect. This simple pink manicure is ideal for daily wear, work settings, or anyone who prefers minimal yet polished nails.
Why Baby Pink Is Perfect for Beginners
Baby pink shades are forgiving and hide small mistakes better than darker colors. They dry evenly, look neat even with simple application, and suit every skin tone. For beginners, this makes baby pink nails an excellent choice to practice control, layering, and finishing techniques while still achieving a beautiful, wearable result.
To elevate this look slightly, you can experiment with different nail shapes such as short square or soft almond tips. Adding a glossy top coat or gel-like finish instantly makes the nails look professionally done. As you gain confidence, this classic style becomes the perfect base for future designs like French tips, accents, or minimal nail art.
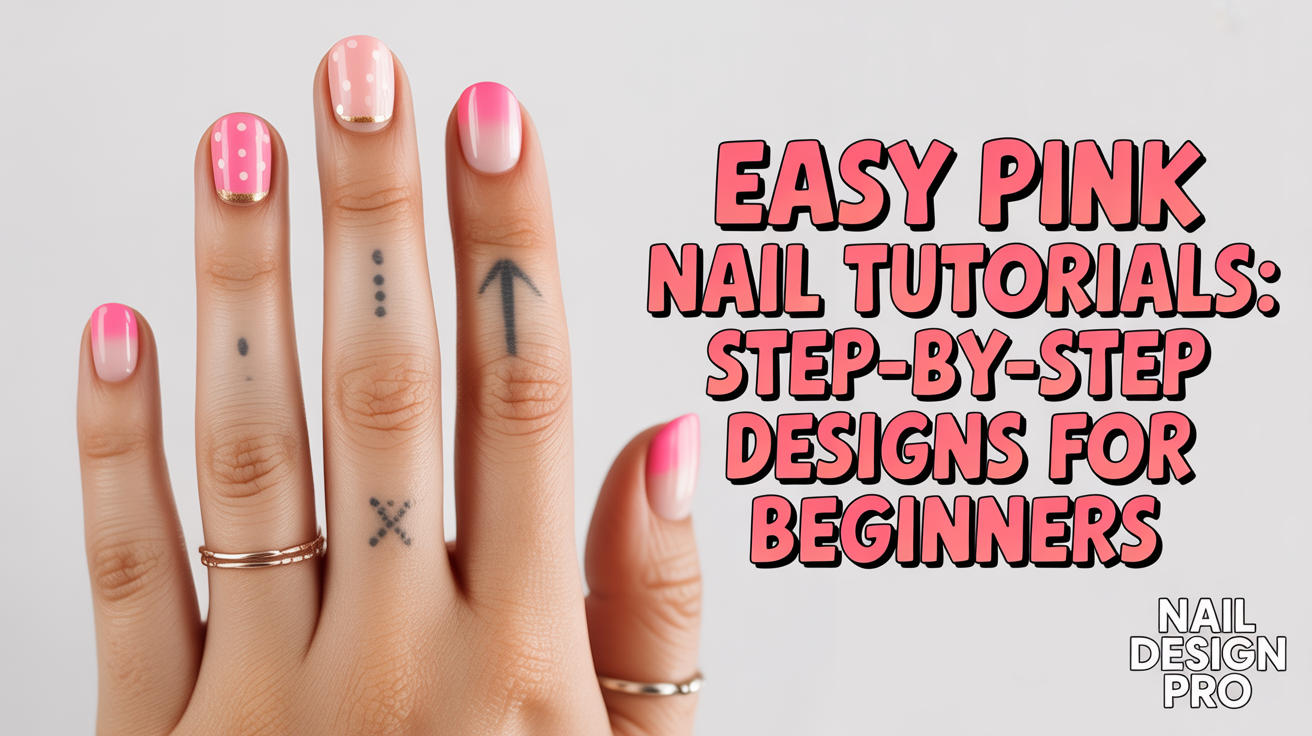
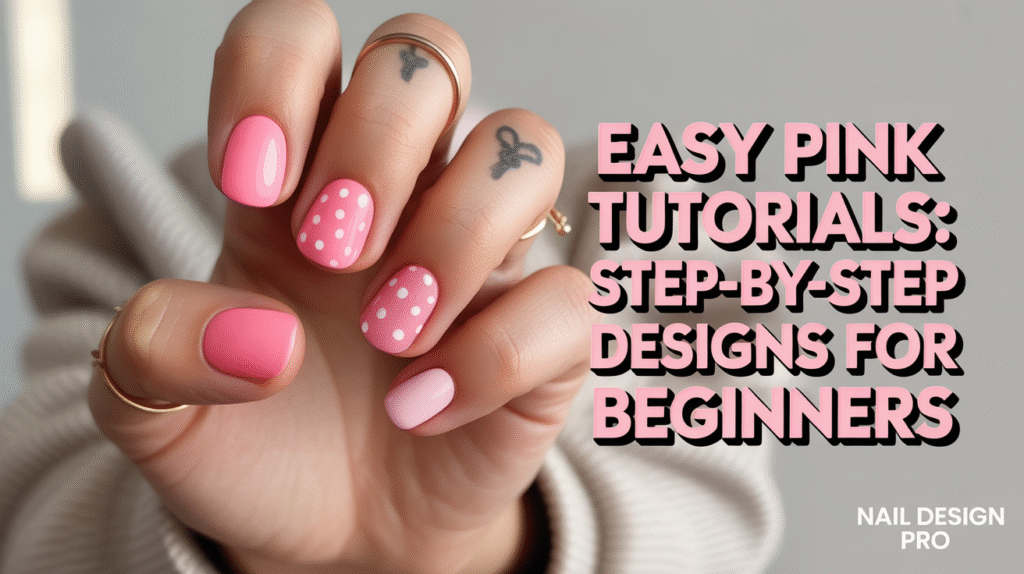
2: Soft Pink Polka Dot Nails
Soft pink polka dot nails are a fun and beginner-friendly design that adds charm without requiring advanced skills. This style starts with a light pink base, making it perfect for practicing neat polish application while keeping the overall look playful and feminine. Begin by shaping and cleaning your nails, then apply a clear base coat. Once dry, apply two thin layers of soft pastel pink polish and let it dry completely before moving on to the design.
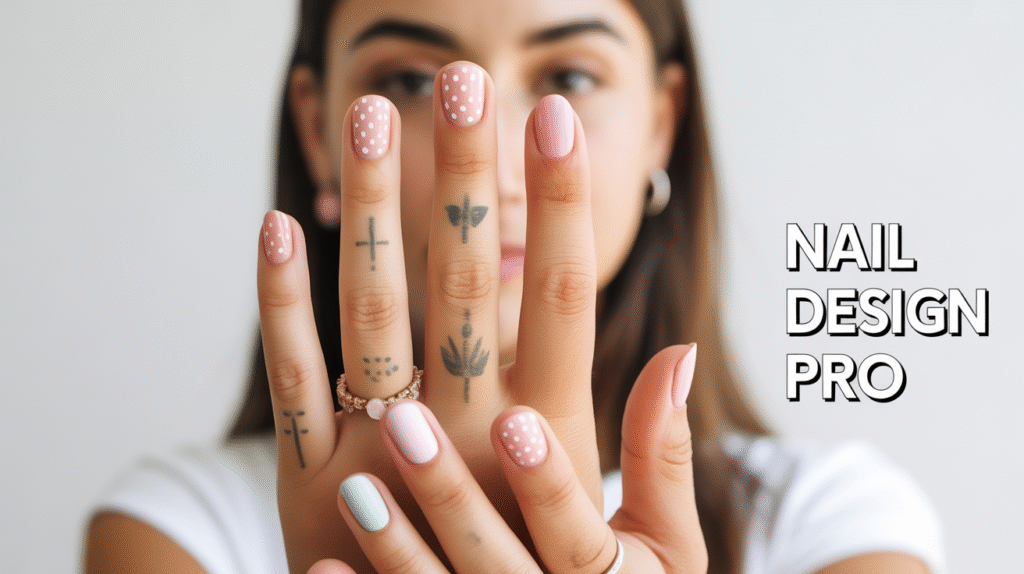
To create the polka dots, use a dotting tool, bobby pin, or toothpick dipped in white or a slightly darker pink polish. Gently place small dots on each nail, spacing them evenly for a clean look. There’s no need to be perfect—slight variations actually add a cute, handmade feel. Allow the dots to dry fully, then seal everything with a glossy top coat to smooth the surface and enhance shine.
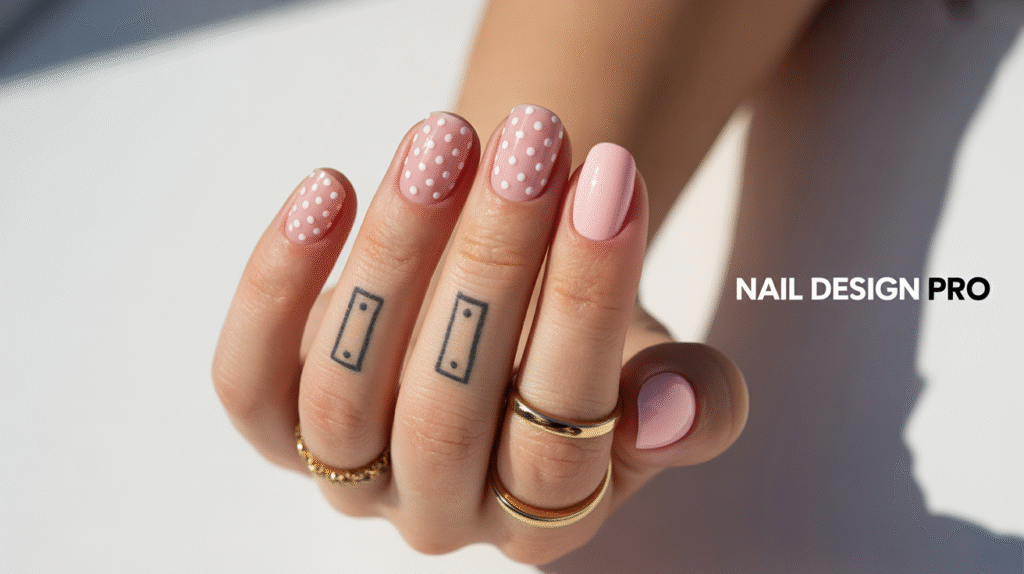
Easy Polka Dot Placement Tips
For beginners, start with dots placed near the cuticle or down the center of the nail for a balanced look. You can also accent just one or two nails and keep the rest solid pink for a minimal style. Polka dots are forgiving, quick to apply, and a great way to build confidence with simple nail art techniques.
This design works beautifully on short nails and is ideal for casual days, spring looks, or Pinterest-worthy nail content. As your skills grow, you can experiment with different dot sizes, color combinations, or even diagonal dot patterns while keeping the same soft pink base.
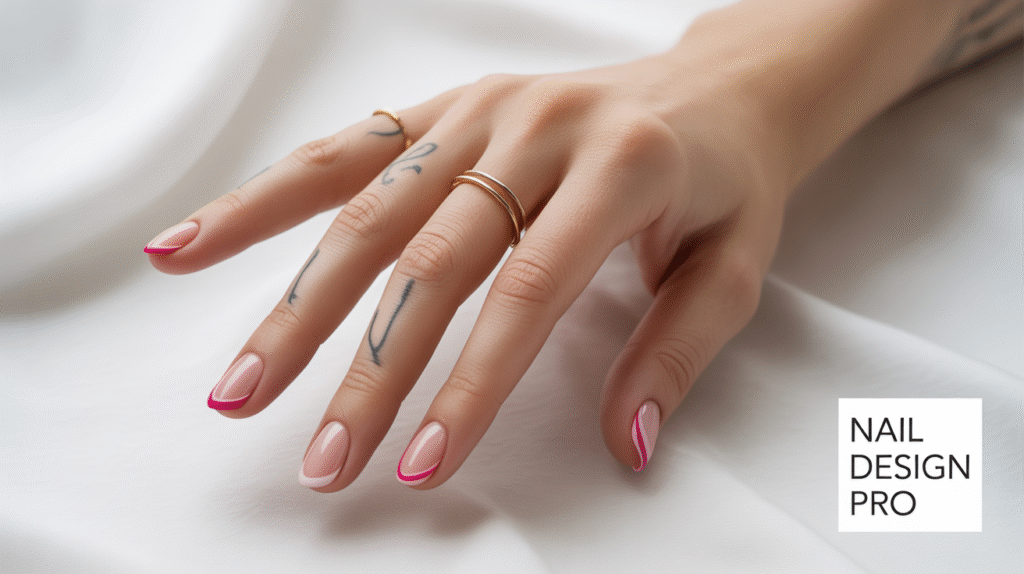
3: Minimal Pink French Tip Nails
Minimal pink French tip nails are a stylish upgrade from the classic French manicure and a great choice for beginners who want a clean yet trendy look. This design features a soft pink base with delicate pink tips instead of the traditional white, making it subtle and modern. Start by preparing your nails—file them evenly, clean the surface, and apply a clear base coat. Once dry, apply one to two thin layers of sheer or milky pink polish and let it dry completely.
Creating the French tips is easier than it looks. Use a thin nail art brush, striping tape, or even a steady hand to apply a slightly darker pink shade along the tip of each nail. Keep the line thin for a minimal effect. If you make a small mistake, you can clean the edge with a tiny brush dipped in nail polish remover. Finish with a glossy top coat to blend the design smoothly and give it a professional shine.
Beginner Tips for Perfect Pink Tips
If you’re new to French tips, start with shorter nails—they’re easier to control and look neat with thin lines. You can also try accent French tips on just one or two nails while keeping the rest solid pink. This approach keeps the design simple while still adding a fashionable touch.
Minimal pink French tip nails are perfect for everyday wear, office looks, or special occasions where you want something elegant but not overpowering. As you gain confidence, you can experiment with curved tips, double lines, or glossy-vs-matte finishes using the same pink palette.
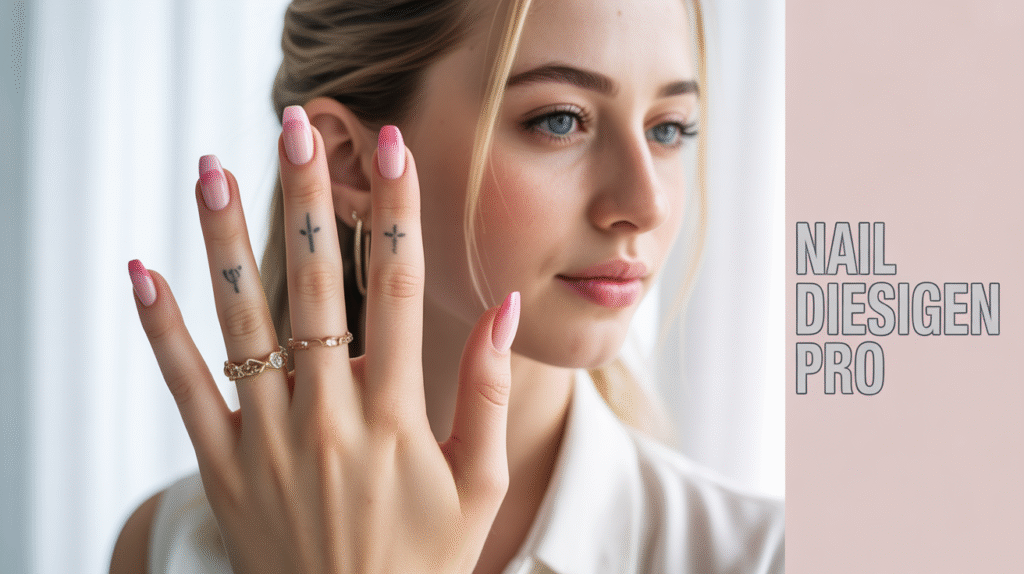
4: Pink Ombre Nails for Beginners
Pink ombre nails create a soft, blended look that feels elegant yet surprisingly easy for beginners to try. This design gently fades from a natural or light pink base into a slightly deeper pink shade, giving the nails a smooth, airy finish. Begin by prepping your nails—file them to your preferred shape, clean the surface, and apply a clear base coat. Once dry, apply a light pink or nude-pink polish as your base and allow it to dry completely.
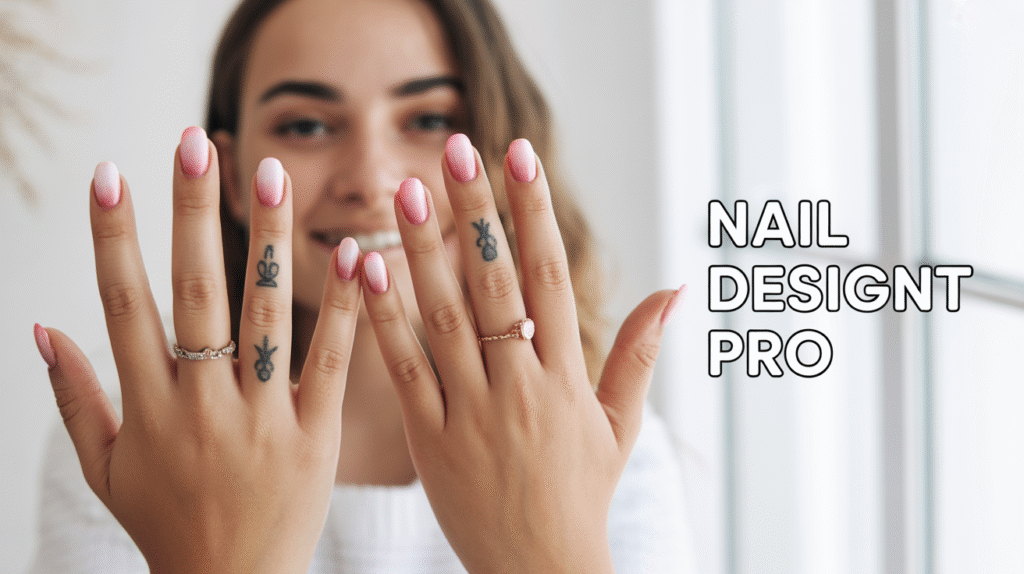
To create the ombre effect, use a small makeup sponge. Apply two shades of pink side by side on the sponge—one lighter and one slightly darker—then gently dab the sponge onto the nail. Repeat the dabbing motion lightly until the colors blend smoothly. Don’t worry if it looks uneven at first; thin layers and gentle tapping help achieve a seamless gradient. Finish with a glossy top coat to smooth the texture and enhance the blended effect.
Simple Ombre Blending Tips
For best results, use colors that are close in tone to avoid harsh lines. Dab lightly and build the gradient slowly rather than pressing too hard. Beginners can start with ombre on just one or two accent nails while keeping the rest solid pink for a balanced and clean look.
Pink ombre nails are perfect for weddings, casual outings, or Pinterest-inspired nail looks. They give a professional appearance without requiring advanced tools, making them an excellent next step after mastering basic polish application.
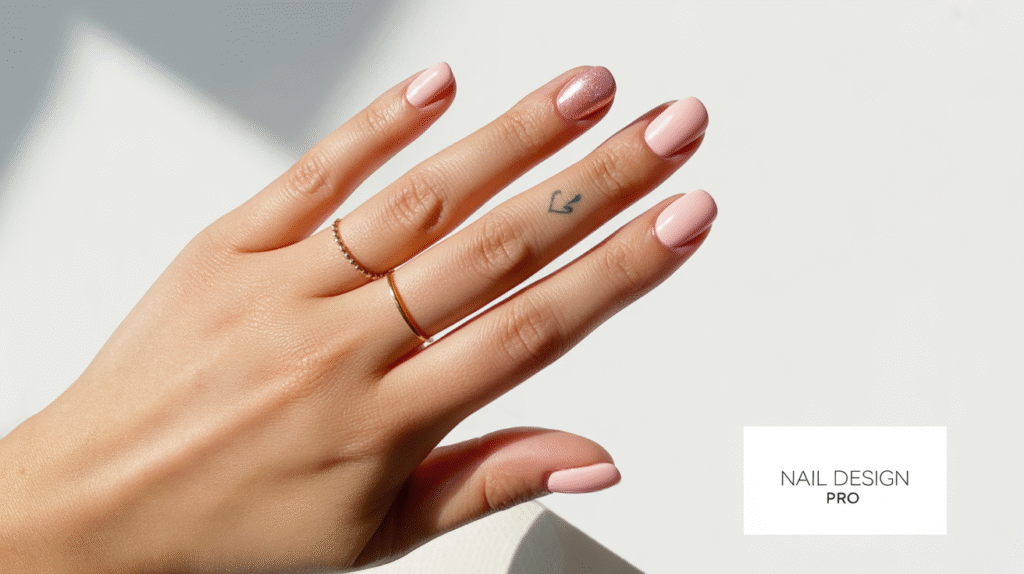
5: Simple Pink Accent Nail Design
Simple pink accent nail designs are perfect for beginners who want to add a creative touch without doing detailed art on every nail. This style keeps most nails in a solid soft pink shade while one nail—usually the ring finger—features a small, eye-catching design. Start by prepping your nails with proper shaping, cuticle care, and a clear base coat. Apply two thin layers of your favorite soft or blush pink polish on all nails and let them dry completely.
For the accent nail, choose an easy detail such as a tiny heart, thin stripe, dot cluster, or subtle shimmer overlay. Use a fine brush, toothpick, or dotting tool to apply the design carefully. Keeping the accent minimal ensures the overall look stays clean and beginner-friendly. Once the design dries, seal all nails with a glossy top coat to protect the artwork and add a smooth, polished finish.
Choosing the Perfect Accent Nail
Beginners should stick to one accent nail to avoid overcomplicating the design. The ring finger works best because it naturally draws attention without overwhelming the look. Soft white, rose gold, or slightly darker pink shades pair beautifully with a pink base and are easy to control.
This design is ideal for everyday wear, special occasions, or Pinterest nail inspiration. It offers a stylish balance between simplicity and creativity, making it a great confidence booster for anyone new to nail art.
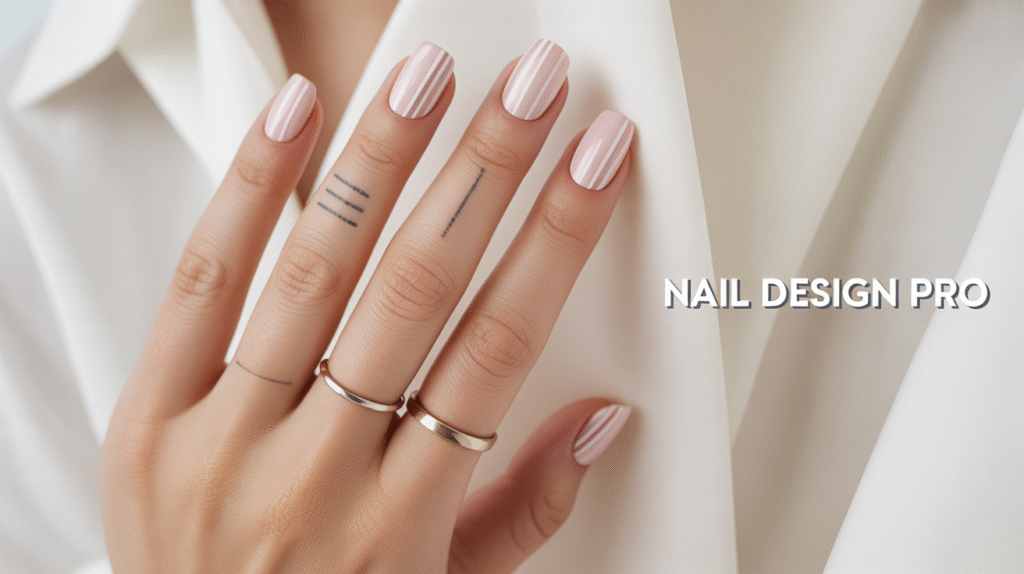
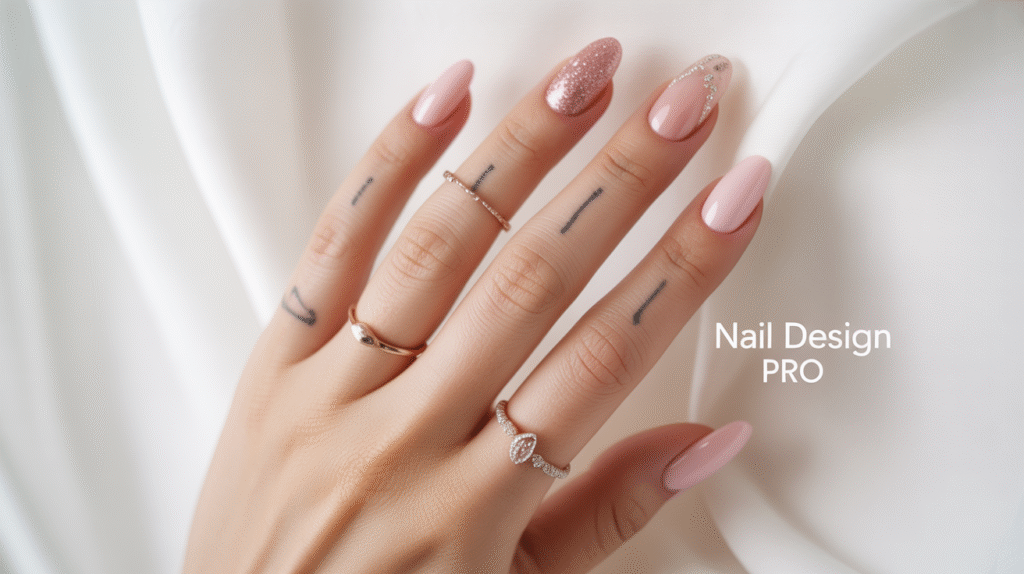
6: Light Pink Stripe Nail Art
Light pink stripe nail art is a clean and modern design that’s perfect for beginners learning simple detailing techniques. This style uses a soft pink base combined with thin lines to create a chic, minimal look. Start by preparing your nails—file them neatly, push back cuticles, and apply a clear base coat. Once dry, apply two thin layers of light pink polish and let them dry fully to avoid smudging during detailing.
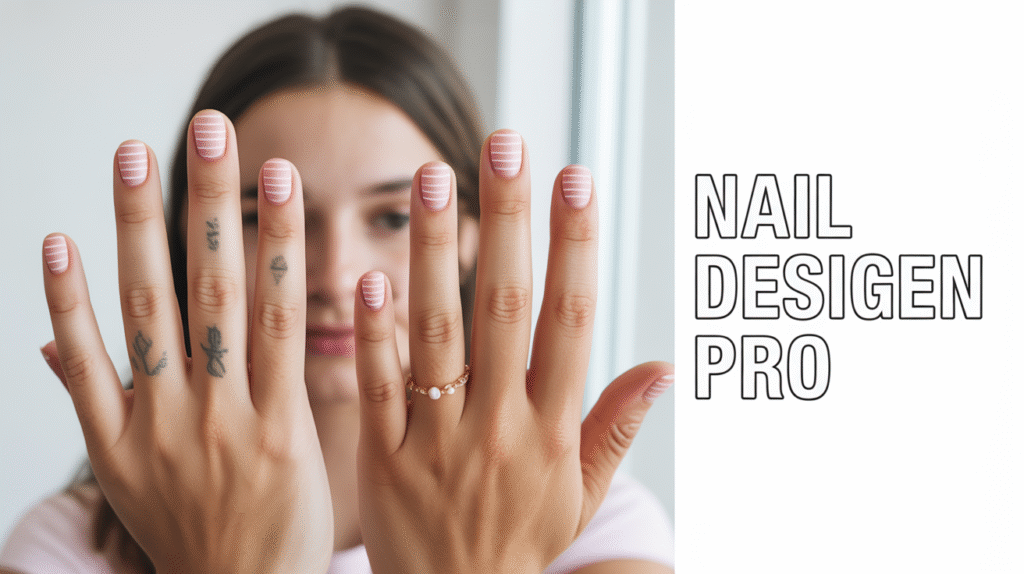
To create the stripes, use a thin nail art brush or striping tape. Choose white, darker pink, or even metallic rose-gold polish for contrast. Draw straight vertical or diagonal lines across the nail, keeping them thin for a refined finish. If you’re new, adding stripes to just one or two nails as accents keeps the design simple and manageable. Seal the look with a glossy top coat to smooth the surface and enhance shine.
Stripe Design Tips for Beginners
Start with one stripe per nail to maintain control and symmetry. Vertical stripes help nails look longer, while diagonal lines add a playful touch. Always let the base color dry completely before adding stripes to prevent dragging or uneven lines.
Light pink stripe nails are versatile and suitable for both casual and formal occasions. They look stylish on short or long nails and are ideal for Pinterest-friendly nail content that feels trendy yet easy to recreate at home.
7: Soft Pink Glitter Nails
Soft pink glitter nails are a beautiful way to add sparkle while keeping the design easy and beginner-friendly. This look combines a gentle pink base with light glitter accents, creating a glamorous yet subtle finish. Start by prepping your nails—shape them evenly, clean the nail surface, and apply a clear base coat. Once dry, apply two thin layers of soft pink polish and allow them to dry completely for a smooth foundation.
For the glitter effect, choose a fine glitter polish in silver, rose gold, or pink. Apply it lightly to one or two accent nails, or gently dab glitter near the tips for a gradient sparkle look. Using a sponge can help control glitter placement and avoid clumping. Finish all nails with a glossy top coat to seal in the glitter and create a smooth, shiny finish.
Beginner Glitter Application Tips
Less is more when working with glitter. Start with a small amount and build up slowly to keep the design elegant. Accent nails are ideal for beginners, as they add sparkle without overwhelming the overall look or requiring detailed skills.
Soft pink glitter nails are perfect for parties, festive occasions, or Pinterest-inspired glam nail looks. They strike a balance between simple and eye-catching, making them a favorite choice for beginners who want a touch of shine.
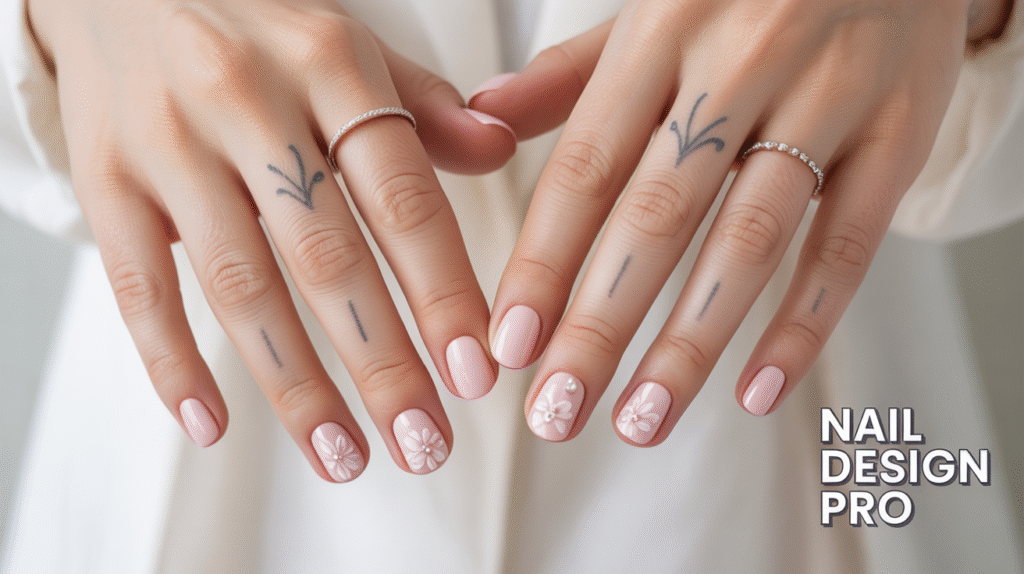
8: Pink Floral Nail Art for Beginners
Pink floral nail art is a soft and feminine design that looks detailed but is surprisingly easy for beginners. This style uses simple flower shapes over a pink base, making it perfect for practicing basic nail art techniques without complex tools. Start by prepping your nails—file them evenly, clean the surface, and apply a clear base coat. Once dry, apply two thin layers of light or blush pink polish and let them dry completely.
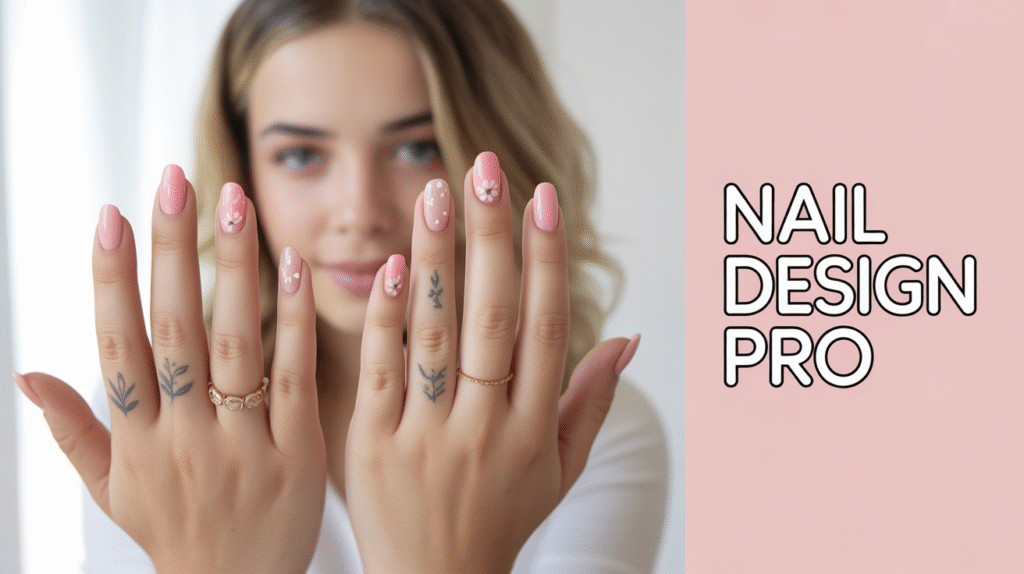
To create the floral design, use a dotting tool or toothpick to form small petal dots in white or a slightly darker pink shade. Add a tiny dot in the center of each flower using yellow or gold polish for a polished touch. Keep the flowers small and minimal, placing them on one or two accent nails while leaving the rest solid pink. Finish with a glossy top coat to protect the design and enhance shine.
Easy Floral Placement Ideas
For beginners, floral designs look best near the cuticle or along one side of the nail. Limiting the number of flowers keeps the design clean and balanced. Accent nails are ideal for floral art, helping you practice without feeling overwhelmed.
Pink floral nails are perfect for spring, summer, or romantic Pinterest nail looks. They add charm and creativity while staying beginner-friendly and wearable for everyday occasions.
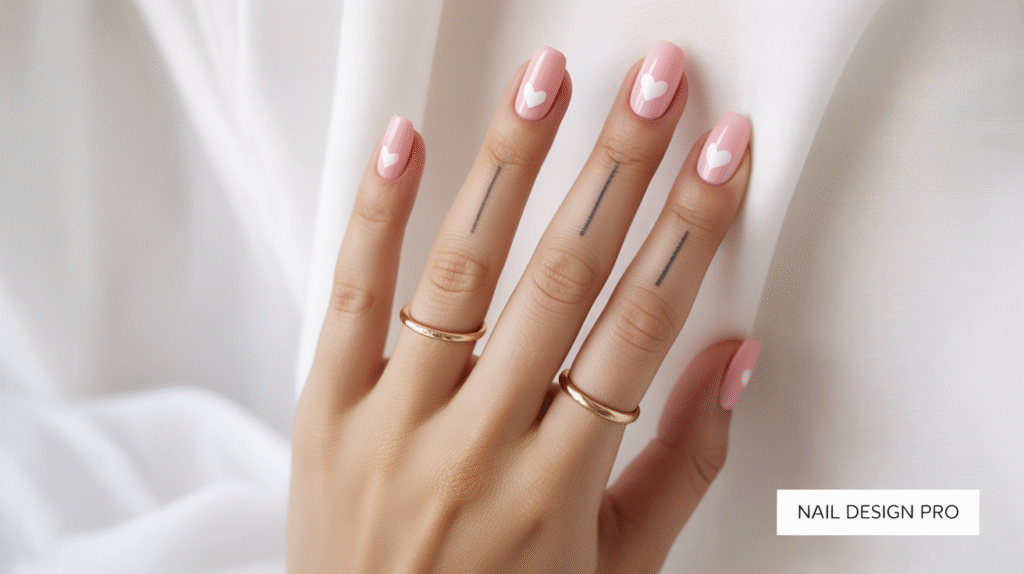
9: Pink Heart Nail Design for Beginners
Pink heart nail designs are cute, playful, and perfect for beginners who want to add personality to their manicure. This design starts with a soft pink base and features small heart shapes that are easy to create with simple tools. Begin by prepping your nails—shape them neatly, clean the nail surface, and apply a clear base coat. Once dry, apply two thin layers of light pink or blush polish and let them dry completely.
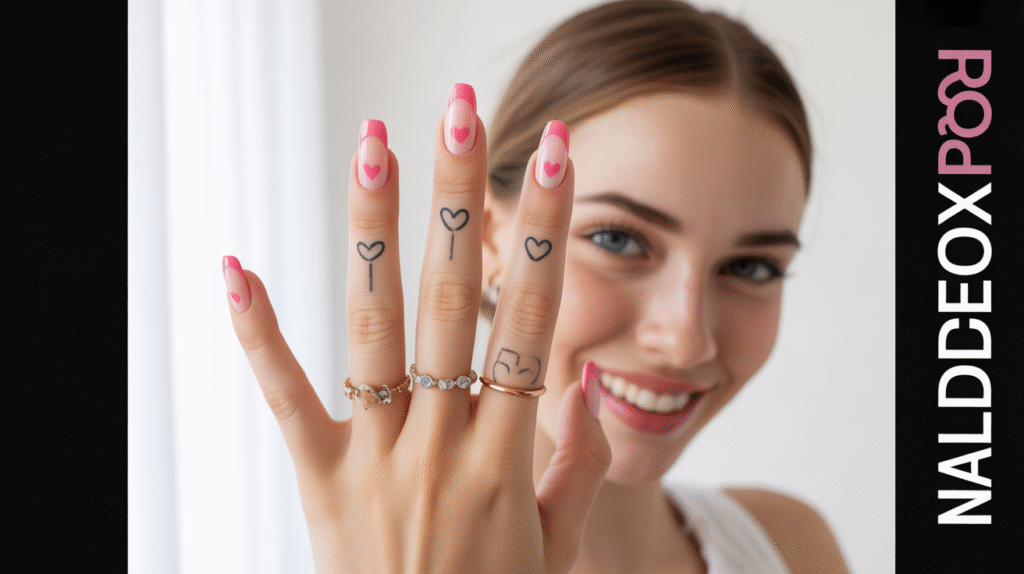
To create the hearts, use a dotting tool or toothpick to place two small dots side by side, then gently pull them downward with a thin brush or pin to form a heart shape. Keep the hearts small for a clean look and apply them to one or two accent nails while leaving the rest solid pink. Finish with a glossy top coat to seal the design and give it a smooth, polished finish.
Heart Nail Art Made Simple
For beginners, using tiny hearts keeps the design neat and manageable. You can place hearts near the cuticle, in the center, or along the tip of the nail for variety. Accent nails help maintain balance while making the design stand out.
Pink heart nails are ideal for Valentine’s Day, date nights, or sweet Pinterest nail inspiration. They’re fun, expressive, and easy to recreate at home with minimal tools.
10: Matte Pink Nails with Subtle Accent
Matte pink nails are a chic and modern choice that’s perfect for beginners wanting a sophisticated look without complicated techniques. This design combines a soft pink matte finish with a subtle accent nail to create variety and visual interest. Begin by prepping your nails—shape them neatly, push back cuticles, and apply a clear base coat. Once dry, apply two thin layers of soft pink polish and let them dry completely.
To achieve a matte finish, use a matte top coat over all nails. For the accent nail, add a minimal design such as a small line, dot cluster, or glitter tip to create contrast while keeping the overall look understated. Matte nails are forgiving, as they hide minor imperfections better than glossy finishes, making them ideal for beginners. Seal the accent with a tiny glossy touch if desired, or leave it matte for a stylish mix of textures.
Final Thoughts: Easy Pink Nail Tutorials for Beginners
Pink nails are timeless, versatile, and a perfect choice for beginners looking to experiment with nail art. From classic glossy shades to minimal French tips, playful polka dots, ombre gradients, and subtle glitter or floral designs, there’s a style for every mood, occasion, and skill level. The key to mastering these looks is patience, practice, and starting with simple designs that build confidence without overwhelming you.
Each tutorial in this guide is designed to help beginners develop essential skills—smooth polish application, nail shaping, accent placement, and basic detailing—while creating Pinterest-worthy nails at home. By practicing these techniques, you’ll gain control, creativity, and the confidence to try more advanced designs in the future. Remember, imperfections are part of the learning process, and even small mistakes can add charm and uniqueness to your manicure.
Whether you’re creating a soft everyday look, experimenting with creative accents, or preparing for a special event, pink nail designs offer endless inspiration. Start with one or two techniques, mix and match designs, and enjoy the process of turning your nails into a canvas of style. With these easy pink nail tutorials, beginners can confidently achieve beautiful, polished, and trendy nails that are perfect for selfies, social media, or simply feeling fabulous every day.