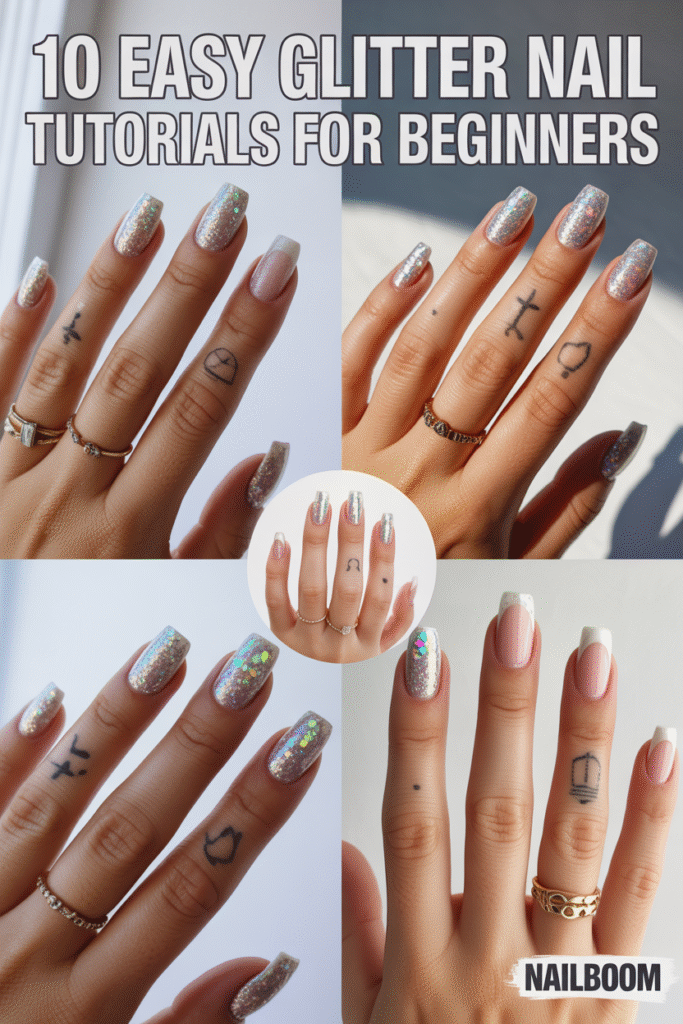
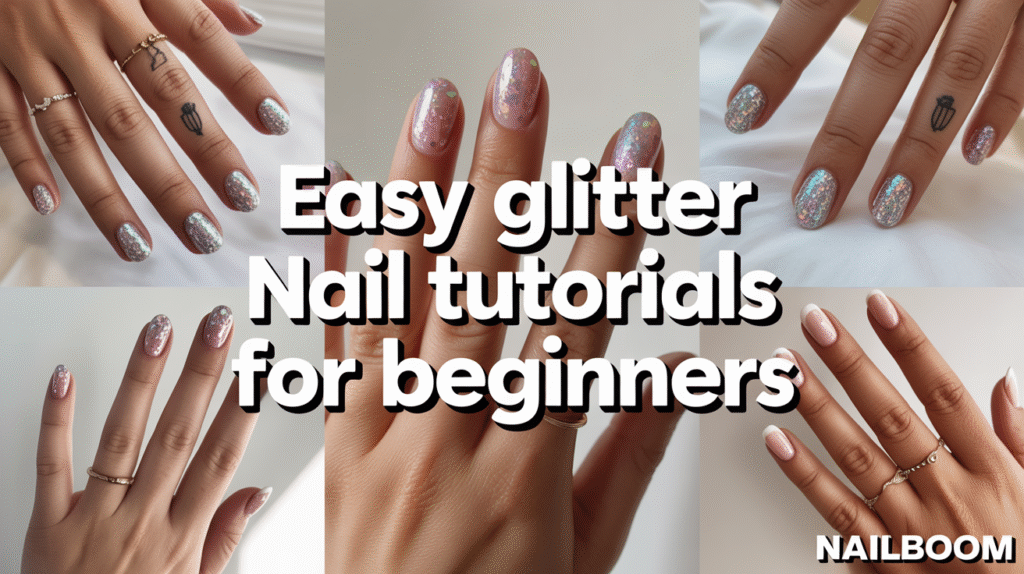
Glitter nails are the ultimate way to add sparkle and fun to your look, and the best part? They’re easier to achieve than you might think! Whether you’re prepping for a special occasion or just want to brighten up your everyday style, these easy glitter nail tutorials will guide you step-by-step. Even if you’re a complete beginner, you’ll be amazed at how professional and dazzling your nails can look with just a few simple techniques.
Easy Glitter Nail Tutorials
In this guide, we break down popular glitter nail designs into manageable steps. From subtle shimmer accents to full-on glitter tips, you’ll learn how to layer colors, apply glitter evenly, and seal your nails for long-lasting shine. Plus, we’ll share helpful tips on choosing the right glitter textures, brushes, and topcoats, so your nails not only sparkle but stay flawless for days.
In this guide, we break down popular glitter nail designs into manageable steps. From subtle shimmer accents to full-on glitter tips, you’ll learn how to layer colors, apply glitter evenly, and seal your nails for long-lasting shine. Plus, we’ll share helpful tips on choosing the right glitter textures, brushes, and topcoats, so your nails not only sparkle but stay flawless for days.
1: Sparkling Ombre Glitter Nails
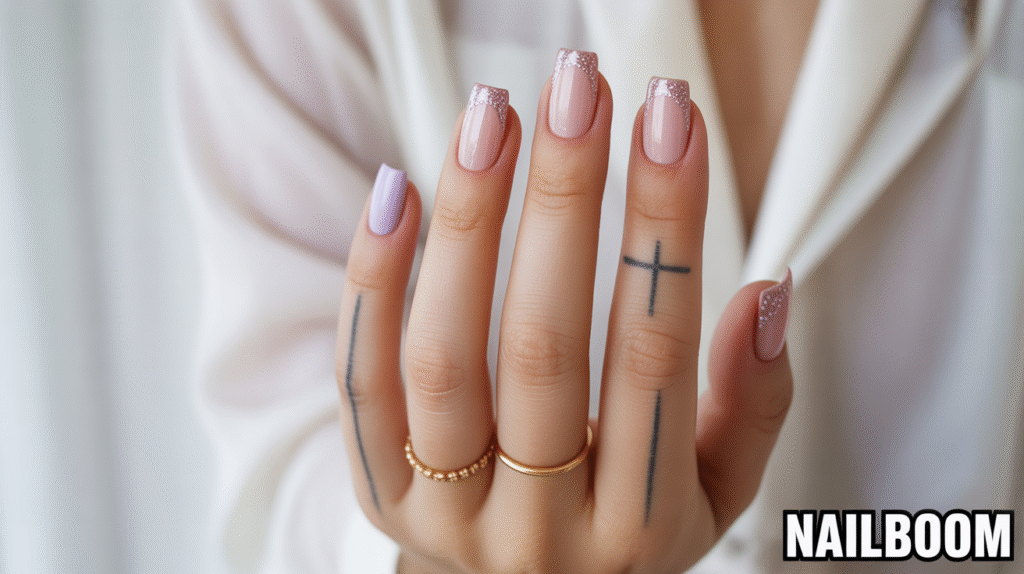
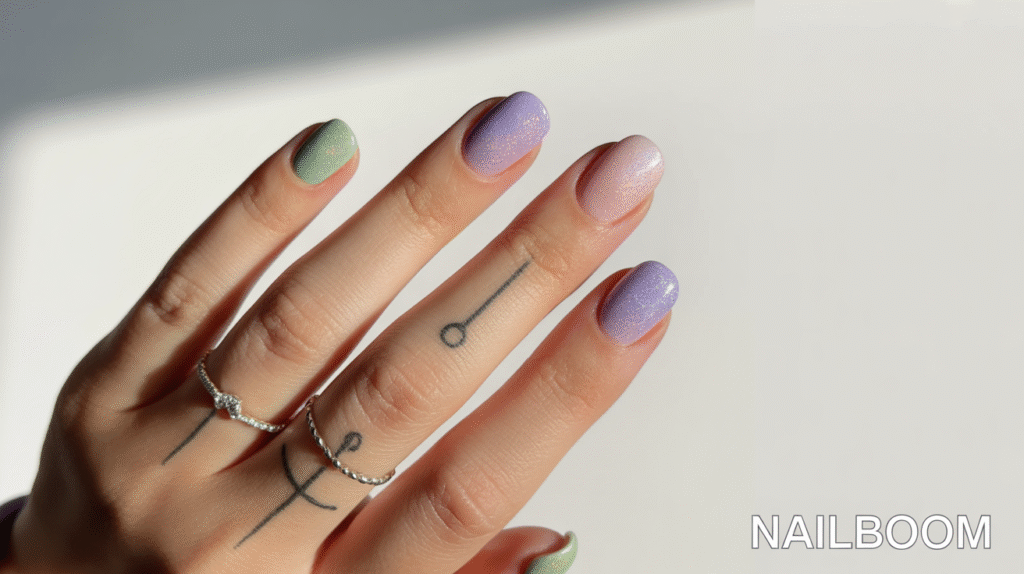
Ombre glitter nails are perfect for beginners who want a chic, eye-catching look without spending hours in a salon. This design gradually blends two complementary colors, typically starting with a neutral or pastel base and fading into a glittery tip. The key is to use a makeup sponge or nail brush to dab the glitter gently, creating a smooth gradient effect. This style is versatile—it works beautifully for both short and long nails and can be customized with your favorite color combos.
To achieve a flawless ombre glitter look, start by applying a base coat to protect your nails. Then, choose a light base polish and let it dry completely. Using a small sponge, dab glitter polish from the tip of your nail, blending it downwards for a gradual fade. Finish with a glossy topcoat to lock in the sparkle and add dimension. This simple technique ensures that even beginners can create a salon-worthy gradient without any mess.
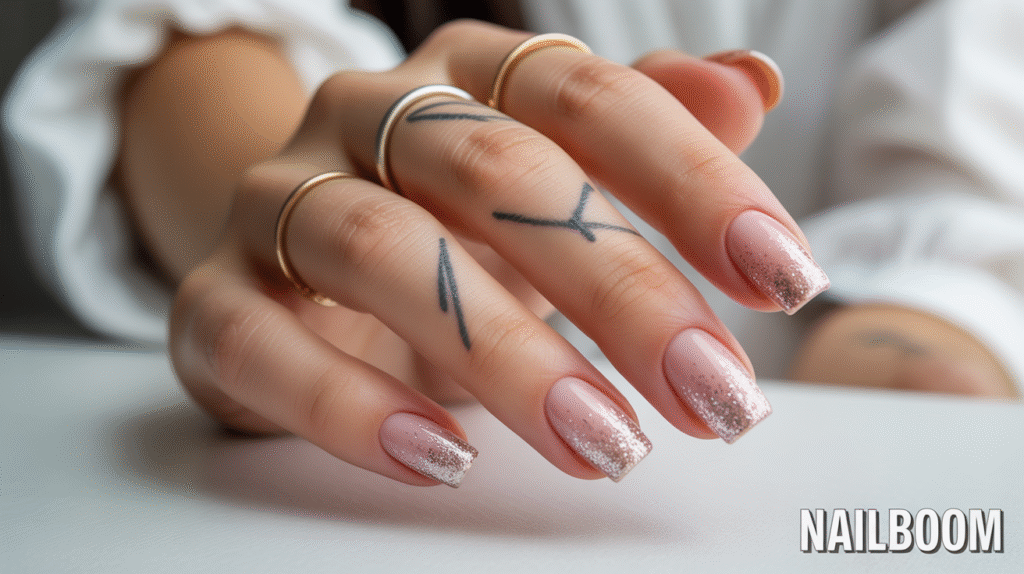
For added personality, accessorize your nails with subtle details like minimalistic finger tattoos or delicate rings. These small touches highlight your hands and make your glitter nails pop in photos, perfect for sharing on Pinterest or Instagram. The combination of ombre sparkle, personal accessories, and careful finishing creates a sophisticated yet playful look that’s perfect for any occasion.
2: Glitter Accent Nails
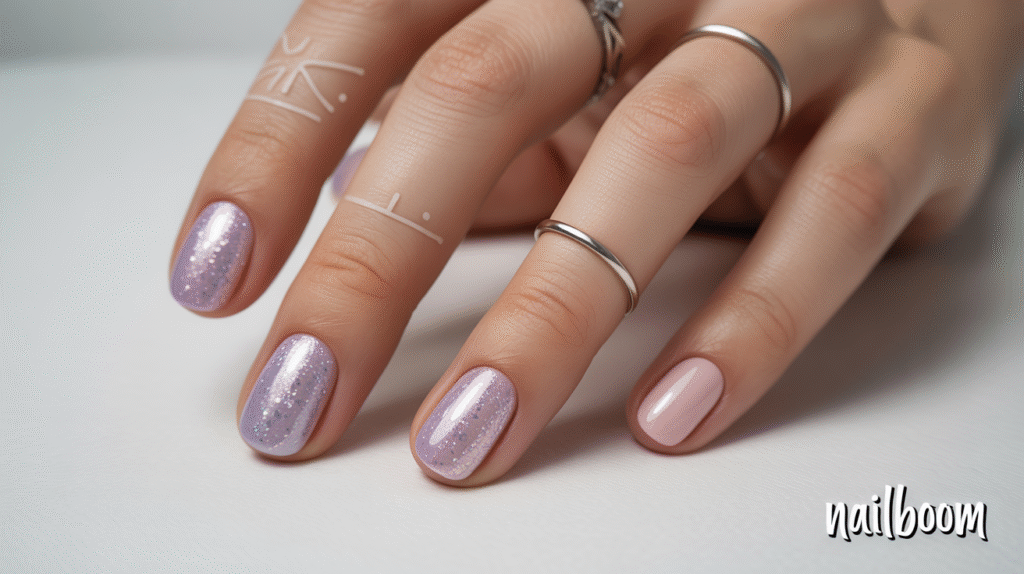
Glitter accent nails are a fun and beginner-friendly way to add sparkle without overwhelming your entire manicure. Instead of painting all your nails with glitter, choose one or two fingers—commonly the ring finger or middle finger—to feature dazzling glitter polish. This subtle yet stylish approach draws attention to your nails while keeping the overall look chic and wearable for everyday outfits or special occasions.
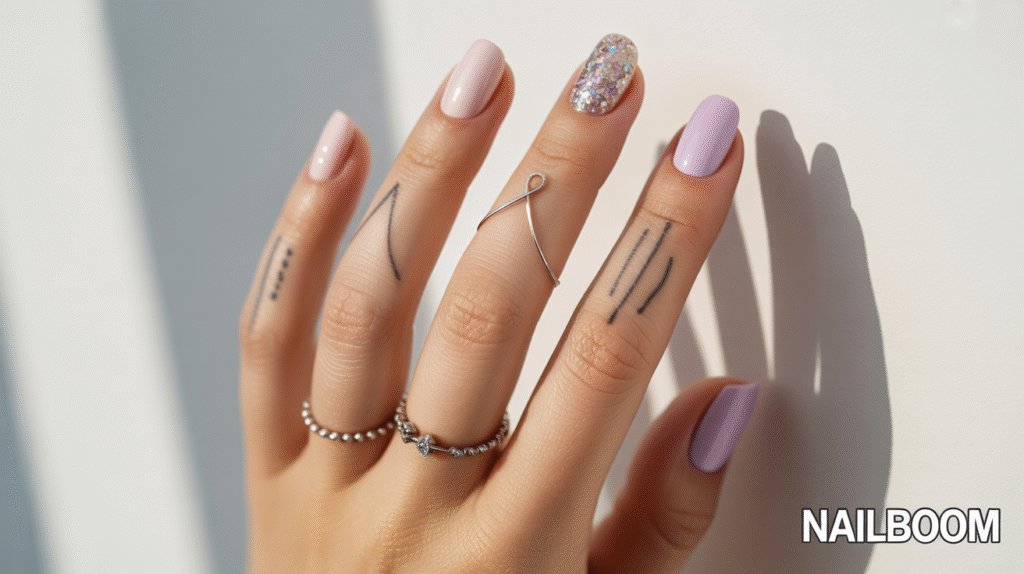
Start by painting all your nails with a neutral or soft pastel base color. Then, pick your accent nail and apply a glitter polish over it, layering until you achieve the desired sparkle. You can mix fine glitter with chunkier glitter for depth, or even add a tiny rhinestone or two for an extra pop. Finish all nails with a glossy topcoat to seal the design, smooth out textures, and ensure your accent nails shine beautifully under the light.

Glitter accent nails pair perfectly with accessories like delicate rings or small finger tattoos. These little details complement the glitter, giving your hands a polished, stylish look that’s perfect for photos. This design is incredibly versatile—you can switch up the glitter colors or base shades to match your mood, outfit, or season, making it a go-to option for beginners who love variety.
3: Full Glitter Nails for Maximum Sparkle
If you’re ready to go all out, full glitter nails are the ultimate statement look. This design covers every nail with shimmering glitter, creating a bold, dazzling effect that’s perfect for parties, holidays, or special events. While it may seem intimidating for beginners, with the right technique and tools, achieving full glitter coverage is surprisingly easy and extremely rewarding.
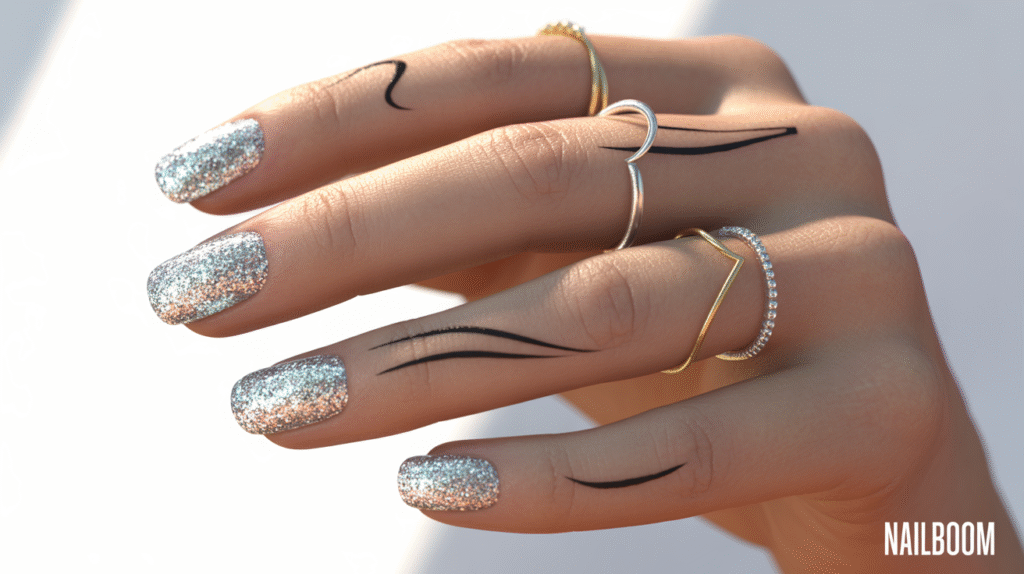
Begin with a base coat to protect your nails and prevent staining. Then, choose a glitter polish that matches your preferred color theme—silver, gold, rose gold, or multicolor glitter all work beautifully. Apply the glitter polish in thin layers, letting each coat dry slightly before adding the next. For extra sparkle and even distribution, use a small makeup sponge to press the glitter onto the nail, ensuring full coverage without a thick, uneven finish. Seal your masterpiece with a clear topcoat for shine and long-lasting wear.
Accessorizing full glitter nails with delicate rings or subtle finger tattoos adds an extra layer of elegance. The contrast between bold, sparkling nails and minimalist hand accessories makes the nails pop even more, perfect for close-up Pinterest shots or social media posts. This all-over glitter design is sure to turn heads and elevate your nail game, showing that even beginners can create glamorous, professional-looking manicures at home.
4: Glitter French Tips
Glitter French tips are a modern twist on the classic French manicure, perfect for beginners who want a subtle sparkle with a touch of elegance. Instead of painting the entire nail, only the tips are coated with glitter, creating a chic contrast with a neutral or soft-colored base. This style is ideal for work, casual outings, or special occasions because it’s understated yet eye-catching.
To create this look, start with a base coat followed by a neutral or pastel nail polish. Once dry, use a fine glitter polish or loose glitter to outline the tips of your nails. You can apply it freehand with a small brush or use nail guides for precise lines. Finish with a glossy topcoat to smooth out the glitter, add shine, and ensure your French tips last longer without chipping.
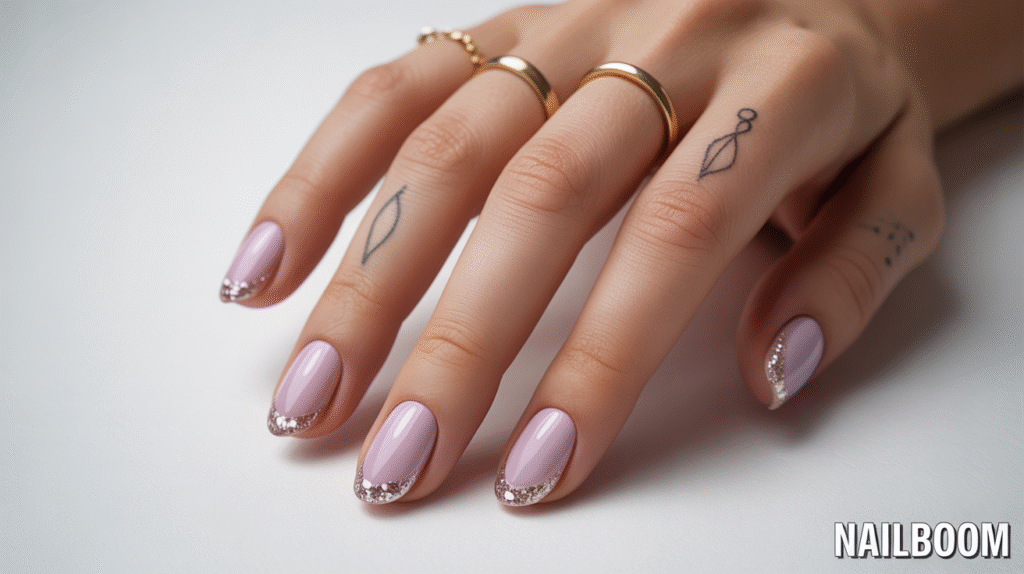
Adding delicate finger accessories, such as rings and minimal tattoos, elevates this look and makes your hands photo-ready. The combination of sparkling tips with a clean base and subtle hand details makes this design perfect for Pinterest-worthy photos. This style offers beginners an easy way to experiment with glitter without fully committing to a bold, full-glitter manicure.
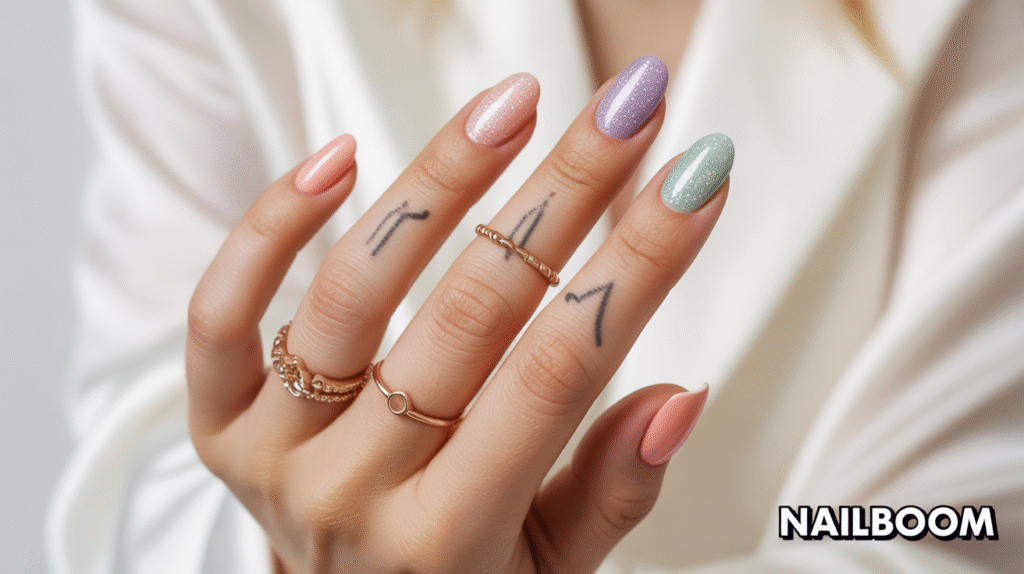
5: Glitter Gradient Nails with Two Tones
Two-tone glitter gradient nails are perfect for beginners who want a playful yet stylish look. This design blends two complementary colors with glitter, creating a smooth transition from one shade to another. It’s a creative way to add dimension to your nails without being overly complicated, and it works beautifully for both casual and special occasions.
Start by applying a base coat and your lighter nail color. Once dry, choose a second, darker shade and a glitter polish that complements both colors. Using a small sponge or brush, gently dab the darker color mixed with glitter from the tip towards the middle of your nail, blending it into the lighter base for a seamless gradient. Seal your design with a clear topcoat to smooth out the texture and enhance the sparkle.
Accessorize this look with minimalistic rings and subtle finger tattoos to draw attention to the gradient effect. The combination of glitter, gradient colors, and hand accessories makes this style perfect for Pinterest photography. It’s a versatile design that allows beginners to experiment with color, texture, and shine while keeping their manicure elegant and visually appealing.
6: Holographic Glitter Nails
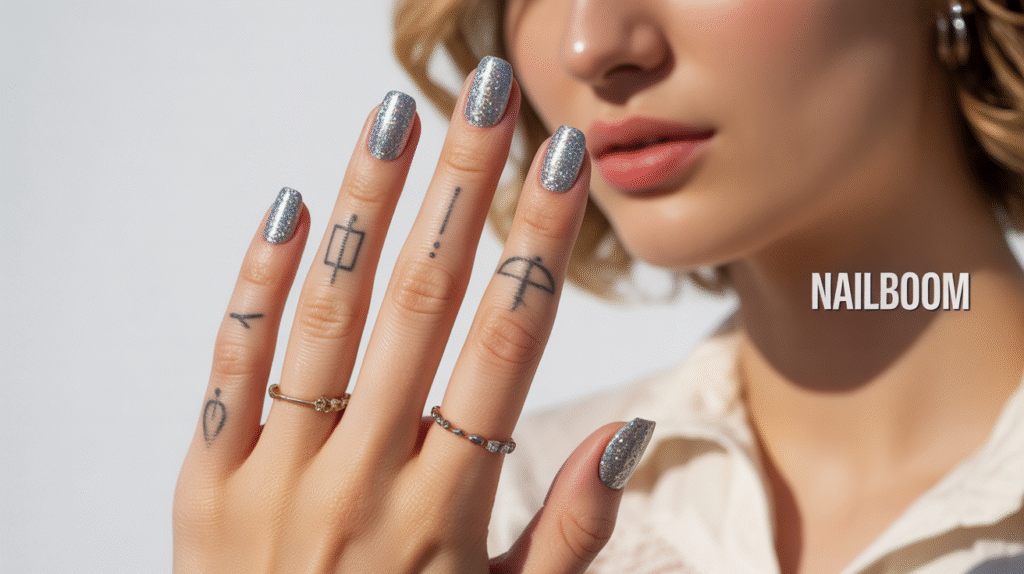
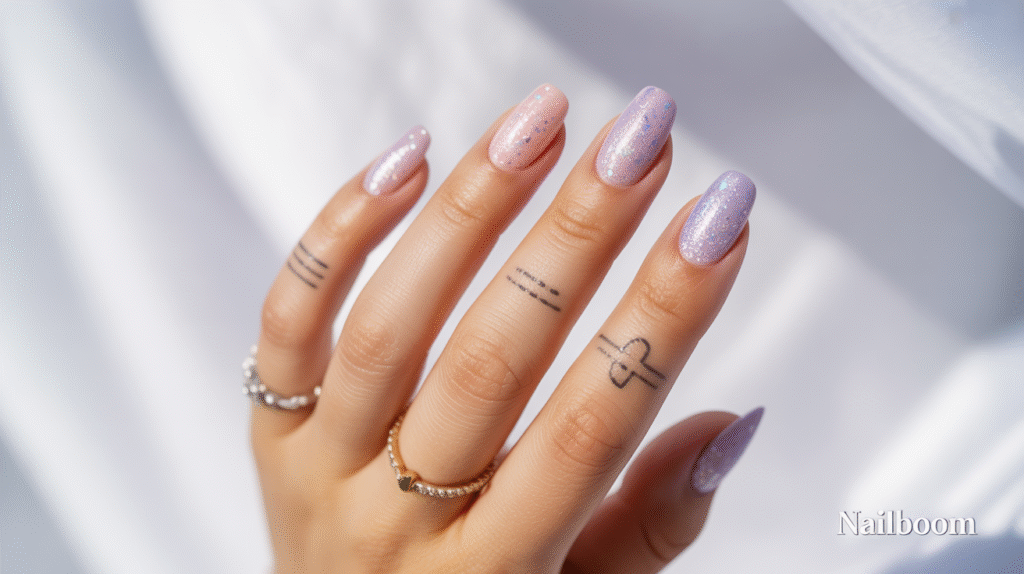
Holographic glitter nails are a stunning choice for beginners who want their nails to catch the light in every direction. This design uses holographic glitter polish to create a rainbow-like effect that shimmers beautifully in different lighting. It’s a simple yet striking way to elevate your manicure, perfect for photos, parties, or any day you want your nails to stand out.
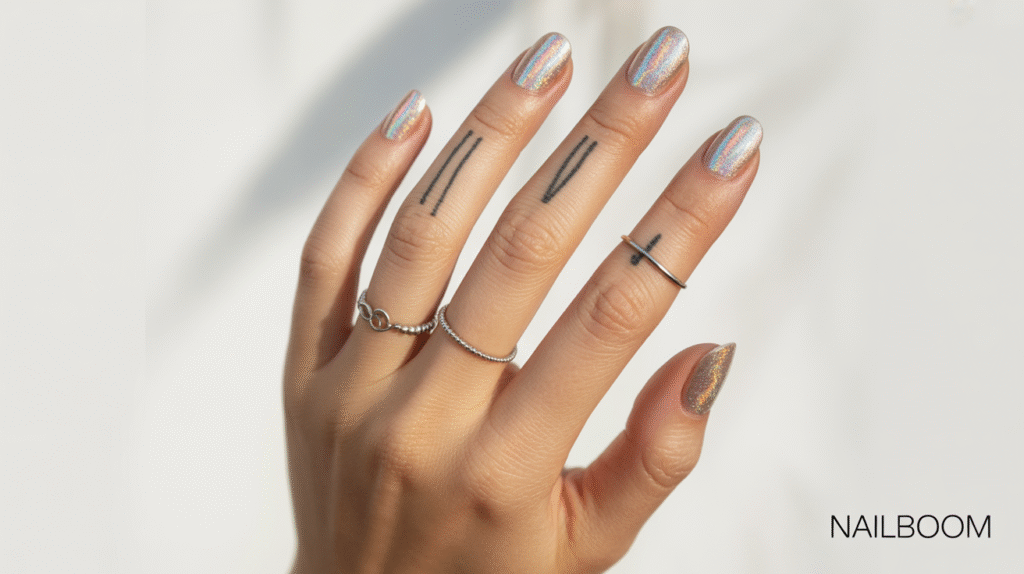
To create this look, start with a base coat to protect your nails. Apply a neutral or soft-colored base polish if desired, then layer the holographic glitter polish on top. For more intensity, add multiple thin coats rather than a single thick layer. Seal your nails with a glossy topcoat to enhance the holographic effect, smooth the texture, and ensure long-lasting shine.

Accessorizing with delicate rings or subtle finger tattoos adds a stylish, personalized touch. The holographic shimmer combined with minimalistic hand accessories makes the nails visually dynamic, perfect for Pinterest or social media posts. Even beginners can achieve a mesmerizing, professional-looking manicure with this easy technique, making it a must-try for glitter lovers.
7: Glitter Stripes and Geometric Designs
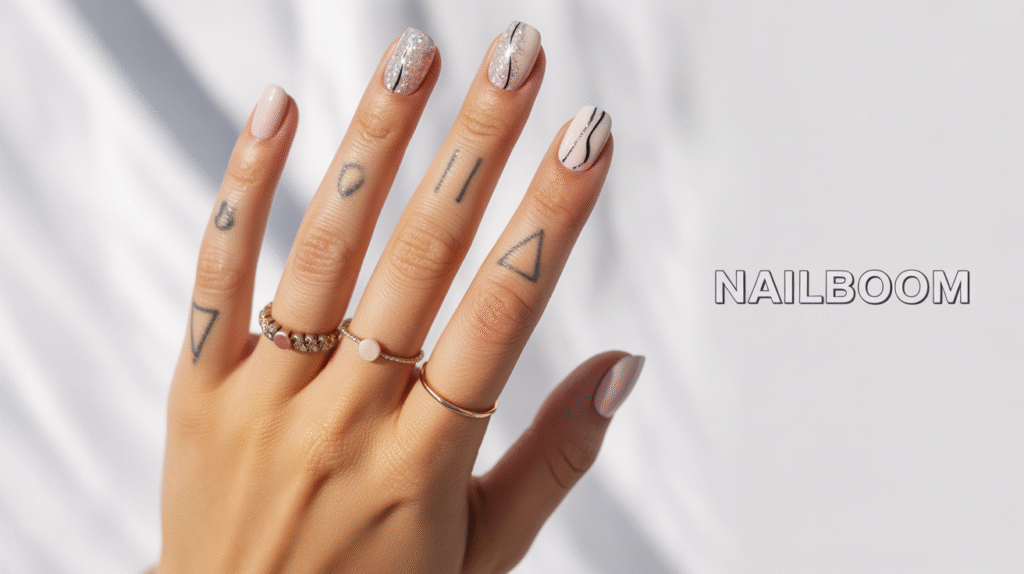
Glitter stripes and geometric designs are perfect for beginners who want to add a modern, artistic touch to their nails. This style combines clean lines or shapes with sparkling glitter accents, creating a contemporary look that stands out. You can play with vertical, horizontal, or diagonal stripes, triangles, or even minimalist abstract shapes, making each nail unique and Pinterest-ready.
To achieve this look, start with a base coat and a neutral or pastel base color. Use thin nail brushes, striping tape, or stencils to create clean geometric shapes or stripes. Fill selected sections with glitter polish for a striking contrast. Finish with a clear topcoat to smooth the surface, enhance the sparkle, and protect your design from chipping. This technique allows you to mix and match patterns across nails for a playful yet polished manicure.

Pairing these nails with delicate rings or minimalistic finger tattoos enhances the overall effect. The contrast of geometric precision with sparkling glitter creates a visually dynamic look that’s ideal for close-up photos on Pinterest. Even beginners can master this style with a little patience, turning their nails into miniature works of art that are both trendy and versatile.
8: Glitter Polka Dot Nails
Glitter polka dot nails are a playful and beginner-friendly way to add sparkle without overwhelming your manicure. This design features small glitter dots scattered across a neutral or pastel base, creating a fun, whimsical look that’s perfect for everyday wear or casual events. The best part is that it’s simple to achieve, even for those new to nail art.

Start with a base coat to protect your nails, followed by a neutral or pastel polish of your choice. Using a small dotting tool or the tip of a bobby pin, apply tiny dots of glitter polish randomly or in a pattern across each nail. You can vary the size and placement of the dots for a more dynamic look. Finish with a clear topcoat to seal in the glitter and ensure your design stays smooth and long-lasting.
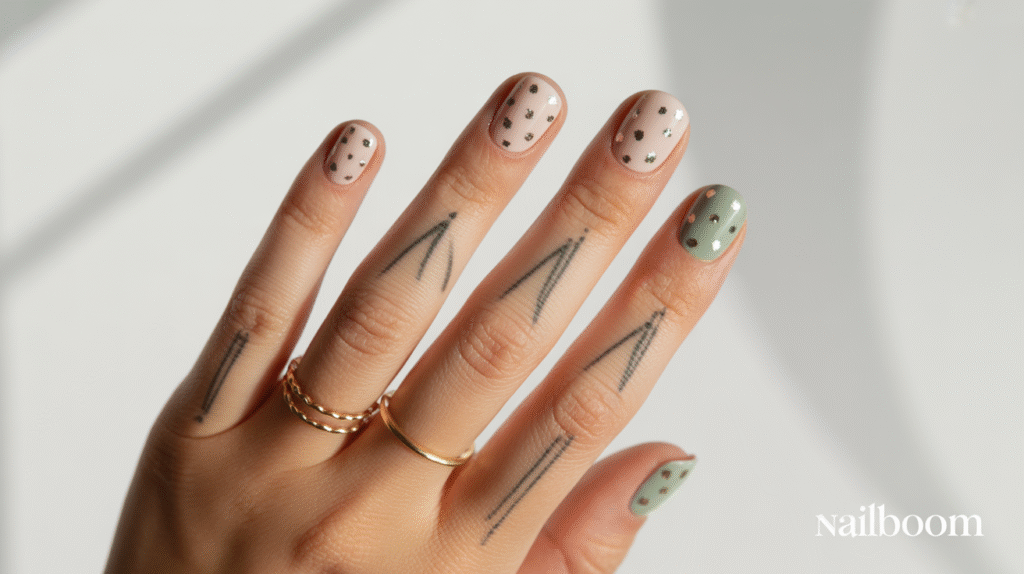
Adding subtle accessories like rings or minimalistic finger tattoos enhances the charm of this design. The contrast of soft base colors with sparkling dots draws attention to your nails without being overpowering. This style is perfect for Pinterest photos, showing off your creativity in a fun and approachable way, and it’s a great choice for beginners who want stylish nails with minimal effort.
9: Glitter Ombre with Matte Finish
Glitter ombre nails with a matte finish are perfect for beginners who want a modern twist on traditional sparkle. This design combines the soft gradient of an ombre with glitter accents, but the matte topcoat gives it a sophisticated, velvety look. The contrast between glitter sparkle and matte polish creates a unique, eye-catching effect that works for any occasion.
To achieve this look, start with a base coat to protect your nails. Apply a neutral or pastel base color, then create a subtle glitter ombre using a makeup sponge or brush, blending the glitter from the tip downward. Once dry, carefully apply a matte topcoat to seal the design. This will tone down the shine slightly while still letting the glitter sparkle peek through, giving your nails a chic, modern aesthetic.
Accessorize with delicate rings or minimalistic finger tattoos to complement the design. The combination of matte and glitter, along with personal hand accessories, adds dimension and elegance to your manicure. This style is perfect for Pinterest shots, highlighting your creative use of textures and giving your nails a sophisticated yet playful look that’s easy for beginners to recreate.
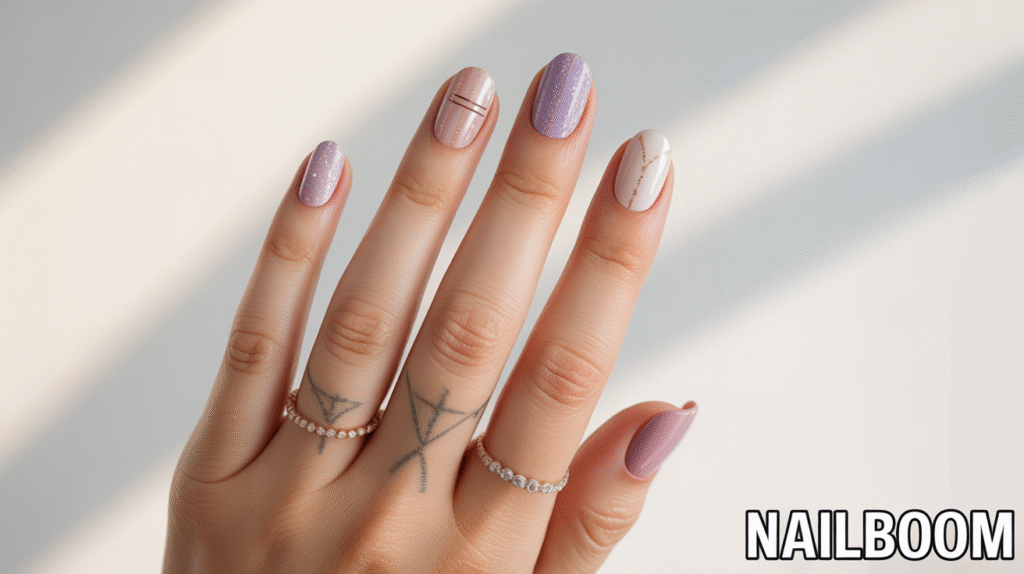
10: Glitter Nail Art with Minimalist Lines
Glitter nail art with minimalist lines is perfect for beginners who want a stylish, contemporary manicure. This design combines sparkling glitter with clean, simple lines or stripes, creating a balanced, modern look. It’s ideal for anyone who loves subtle yet sophisticated nail art that’s easy to replicate at home.
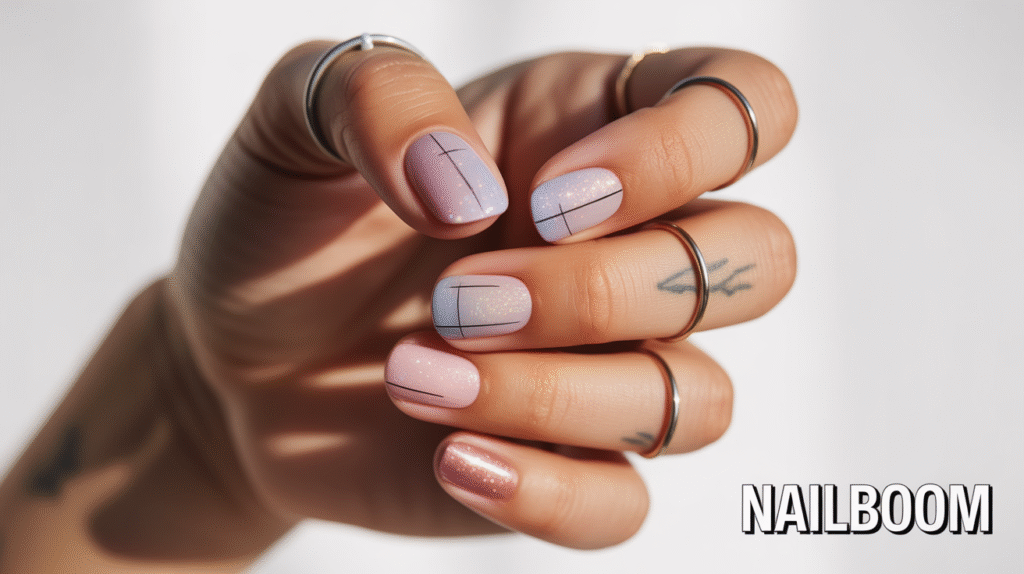
To create this design, start with a base coat and a neutral or pastel nail polish. Once dry, use a thin nail art brush or striping tape to draw minimalist lines across the nails. Apply glitter polish along these lines or on select sections of the nails for a sparkling accent. Finish with a clear topcoat to seal the design, enhance the glitter, and ensure a smooth, long-lasting finish.
Pairing this design with delicate rings and minimalistic finger tattoos adds elegance and personality. The contrast between the soft base, sharp lines, and sparkling glitter makes the nails visually striking, perfect for Pinterest photography. Even beginners can achieve a chic, professional-looking manicure with this simple yet trendy approach.
Final Thoughts
Glitter nails are a fun and versatile way to express your personal style, and as these tutorials show, you don’t need to be a professional to create stunning results. From subtle accent nails to full glitter coverage, each design can be customized with your favorite colors, textures, and accessories like delicate rings or minimalistic finger tattoos.
Remember, practice and patience are key. Start with simpler designs like glitter accents or polka dots, then gradually experiment with ombre, geometric patterns, or holographic finishes. With the right base coat, tools, and topcoat, even beginners can achieve salon-quality results at home.

Whether you’re creating nails for everyday wear, special occasions, or Pinterest photos, these easy glitter nail tutorials provide step-by-step guidance to make your manicure shine. Don’t be afraid to mix colors, try different textures, and add small details to make each design uniquely yours. Sparkle, creativity, and confidence are all at your fingertips!