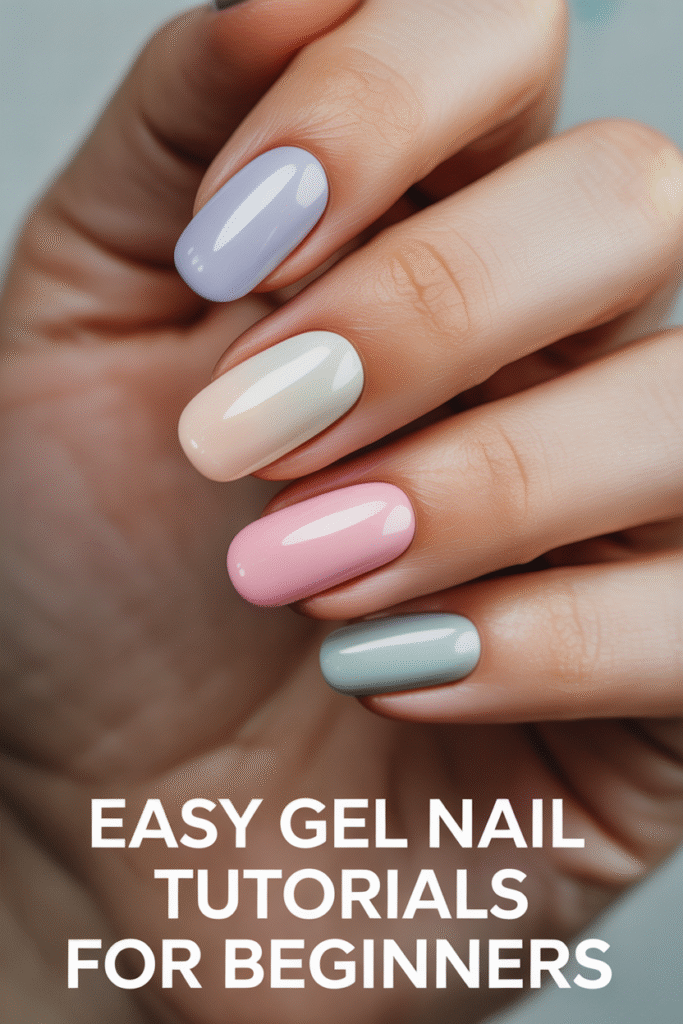
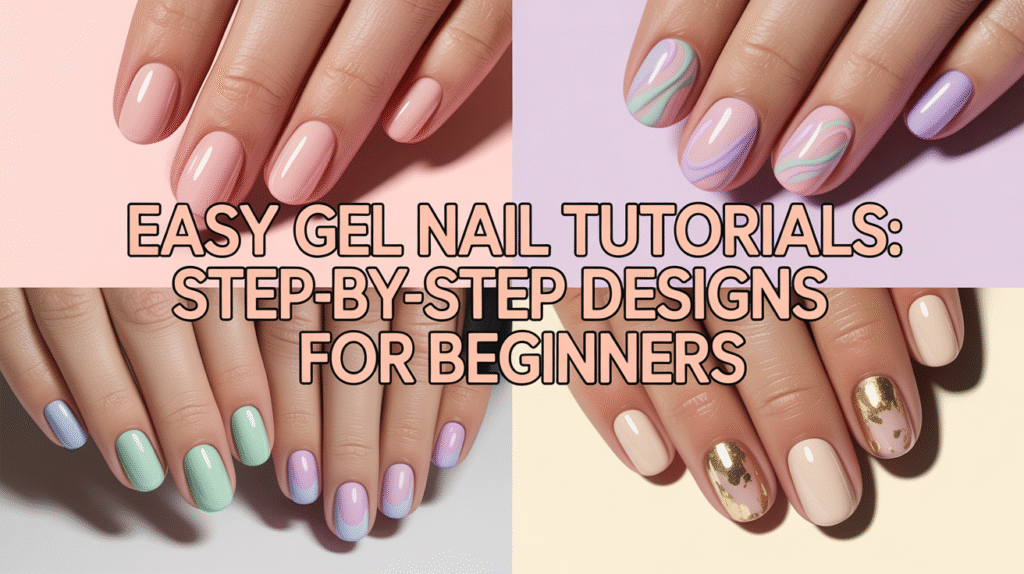
Easy Gel Nail Tutorials for Beginners ,If you’re new to gel nails and want gorgeous, salon-quality results right at home, you’re in the perfect place! Gel nails may look complicated, but with the right guidance, they’re surprisingly beginner-friendly. Whether you’re aiming for glossy simplicity, trendy designs, or long-lasting manicures that won’t chip, gel polish gives you all the flexibility you need.
Easy Gel Nail Tutorials

One of the best parts about gel nails is how forgiving they are. You can build layers slowly, cure between steps, and fix small mistakes with ease. Plus, the finish stays shiny and strong for weeks — perfect for anyone who wants beautiful nails without constant touch-ups. These tutorials will walk you through step-by-step techniques so you can follow along confidently.
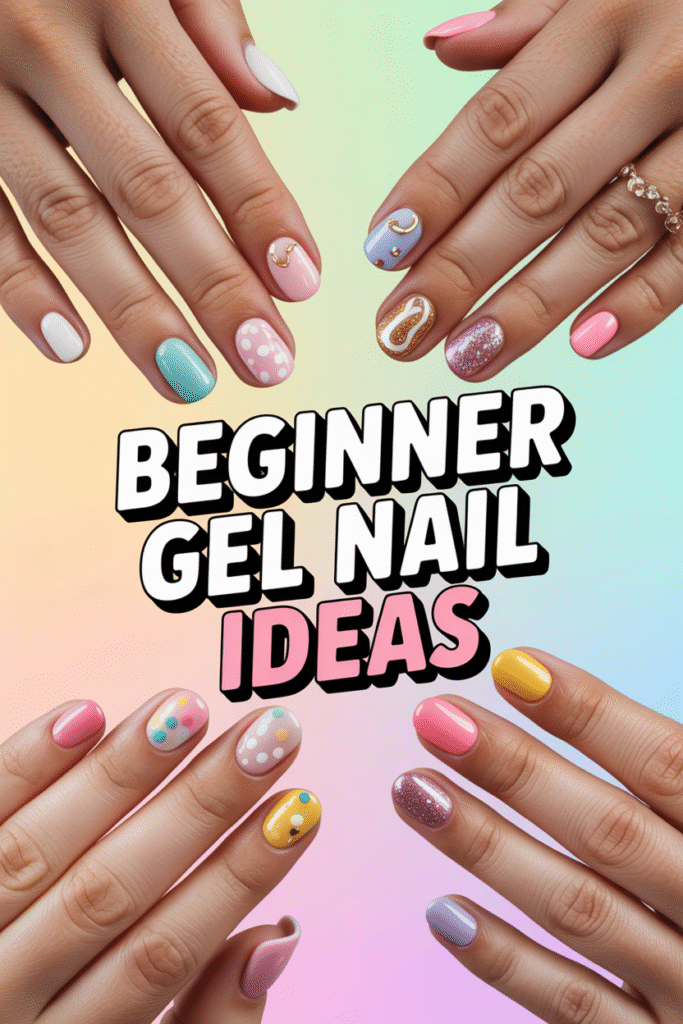
From minimalist looks to playful patterns, the designs we’ll cover are ideal for absolute beginners. Each idea is crafted to be easy to recreate, even if you’ve never picked up a gel brush before. So grab your gel kit, switch on your lamp, and get ready to create stunning nails you’ll be proud to show off!
1: Simple Nude Gel Nails (Beginner-Friendly Classic)
Nude gel nails are one of the easiest and most timeless designs for beginners. They look clean, elegant, and go with absolutely everything — whether you prefer a soft pink nude, a warm beige, or a sheer natural shade. This look helps you practice smooth application, even strokes, and curing techniques without worrying about intricate designs.
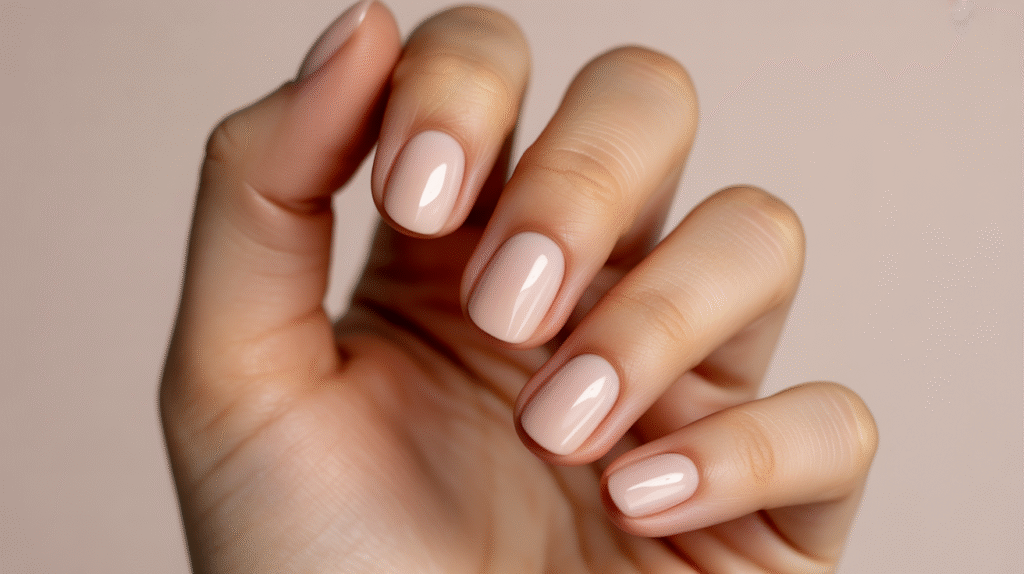
Start by prepping your nails: gently push back the cuticles, shape the tips with a file, and lightly buff the surface so the gel adheres well. Apply a thin layer of base coat and cure it under your UV/LED lamp. Then apply your nude gel polish in two thin layers, curing after each one. Finish with a glossy top coat and cure once more. The final result is a professional-looking manicure that’s perfect for everyday wear.
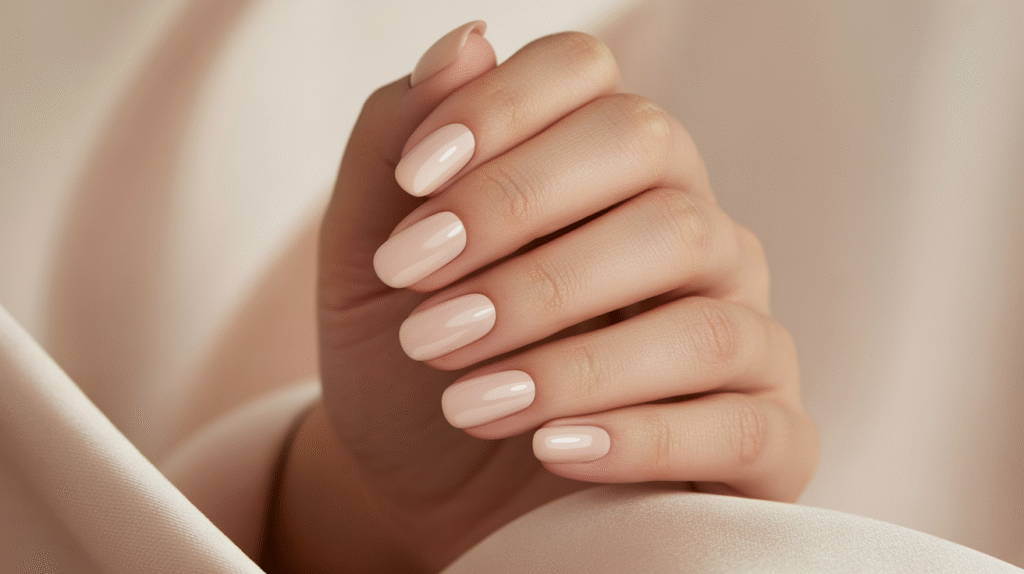
What’s great about nude gel nails is how forgiving they are—small streaks aren’t noticeable, and the soft color helps beginners build confidence. It’s also a perfect foundation for future nail art, meaning you can add simple designs on top later if you choose. This style is the ultimate starting point for anyone learning gel nails.
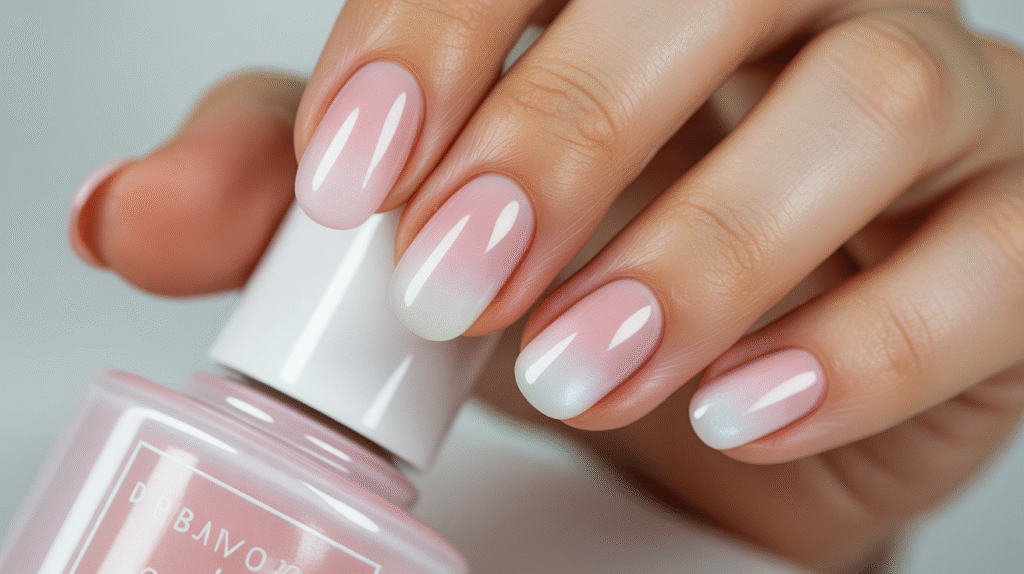
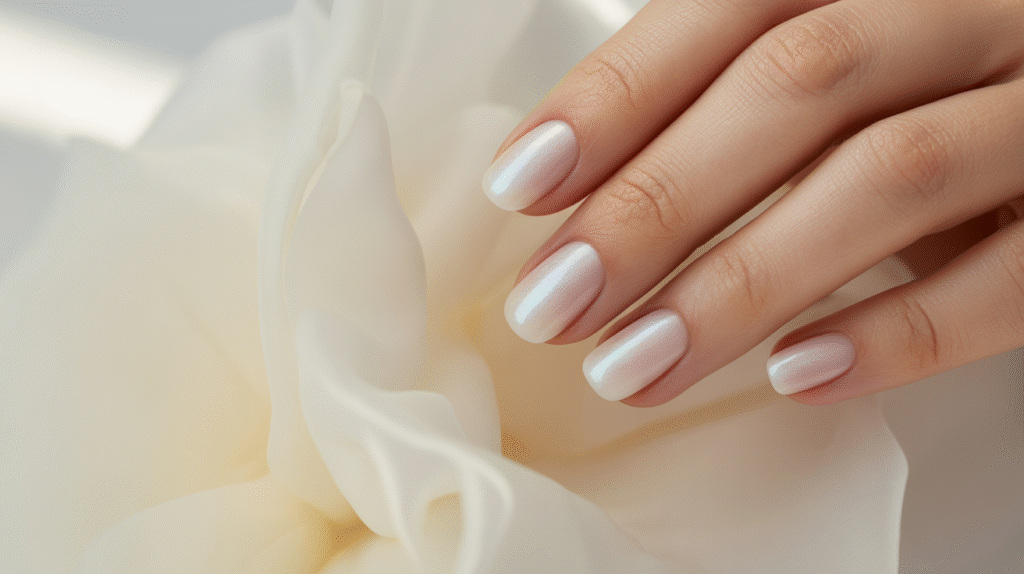
2: Soft Pink Gradient (Easy Baby Boomer Style)
A soft pink gradient—often called the baby boomer effect—is a beautiful, subtle design that looks advanced but is surprisingly beginner-friendly. This look blends a natural pink base into a soft white tip, creating a dreamy, airbrushed finish. It’s perfect for anyone wanting a feminine, polished manicure without the complexity of detailed art.
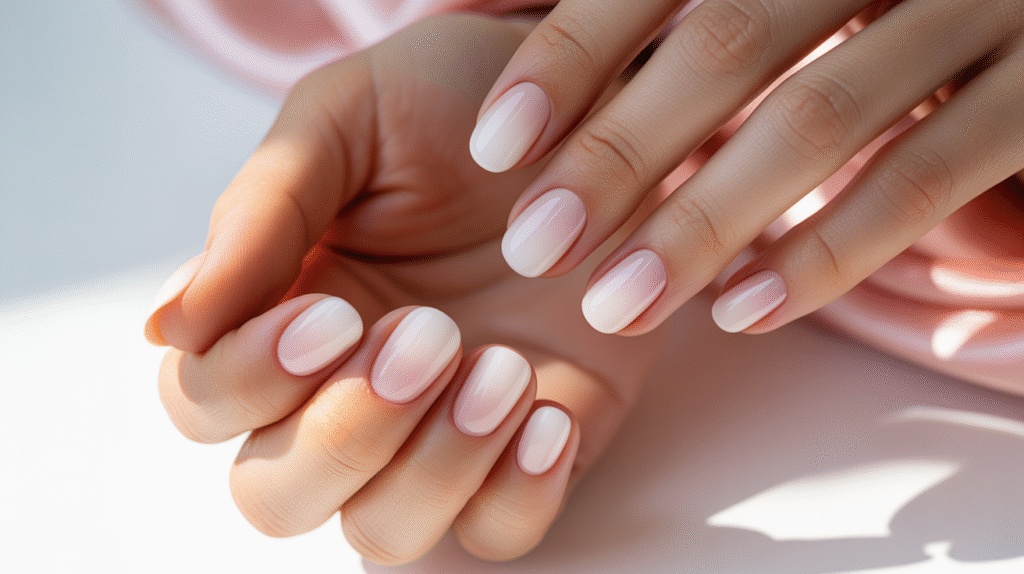
Start by applying a thin layer of base coat and curing it. Then apply a sheer pink gel polish as your base color. Cure, and prepare your white gel polish for the gradient. The simplest beginner method is the sponge technique: dab a small amount of white polish onto a cosmetic sponge and gently press it onto the tips of your nails. Build the gradient slowly, adding thin layers and curing in between to avoid smudging. Once you’re happy with the blend, seal it with a glossy top coat and cure.
This gradient effect looks stunning on short, medium, or long nails and works wonderfully for everyday wear, weddings, or events. It also pairs well with small accents like glitter or subtle crystals if you want to elevate it later. For beginners, it’s a fantastic introduction to blending and layering gel polish.
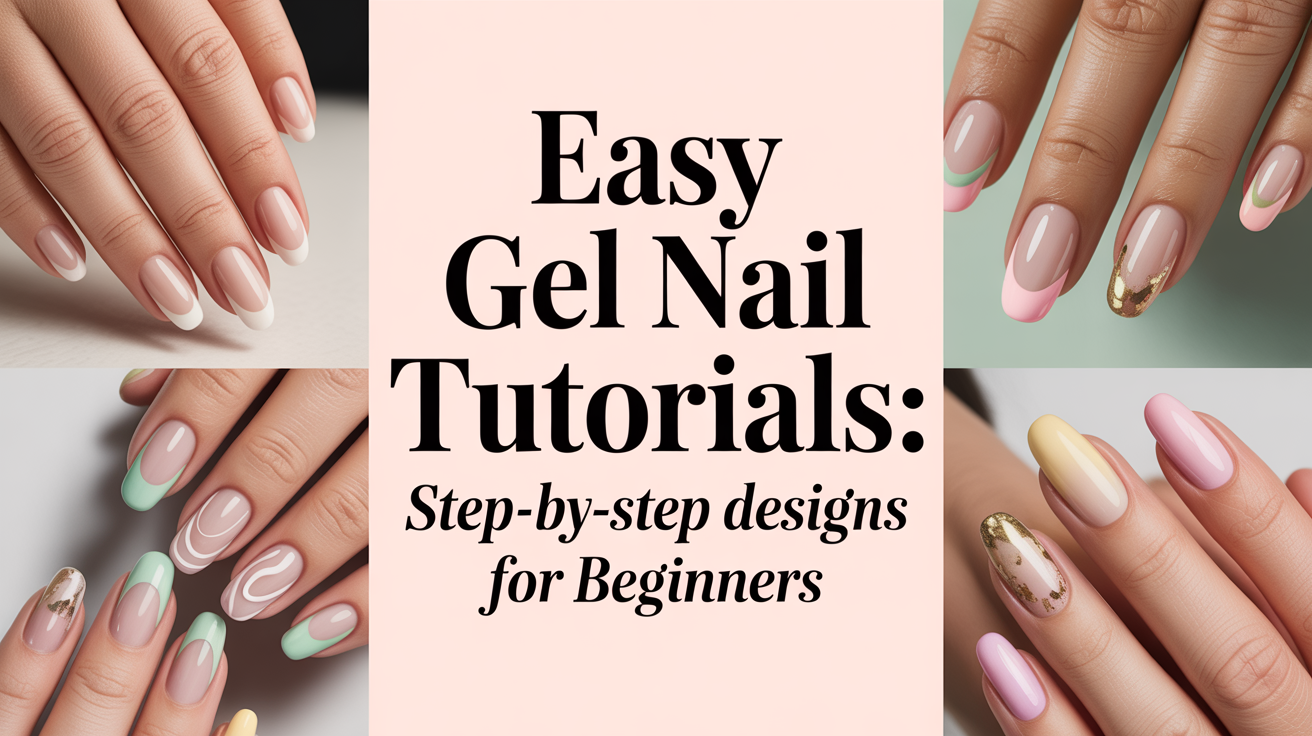
3: Pastel French Tips (Beginner-Friendly Twist on a Classic)
Pastel French tips are a fun and simple way to add color while still keeping your nails clean and classy. They give the traditional French manicure a fresh, modern twist—perfect for spring, summer, or anytime you want something cute but not overwhelming. Even beginners can achieve this look with the help of guides or a steady hand.

Start with your favorite nude or sheer pink gel base and cure it. Once the surface is ready, choose your pastel shades—mint green, lavender, baby blue, peach, or soft yellow all work beautifully. Using a thin liner brush or French tip guides, paint the tip of each nail with your chosen color. Keep the strokes smooth and thin to maintain that crisp French look. Cure, then add a second coat if needed. Finish with a glossy top coat and cure for long-lasting shine.
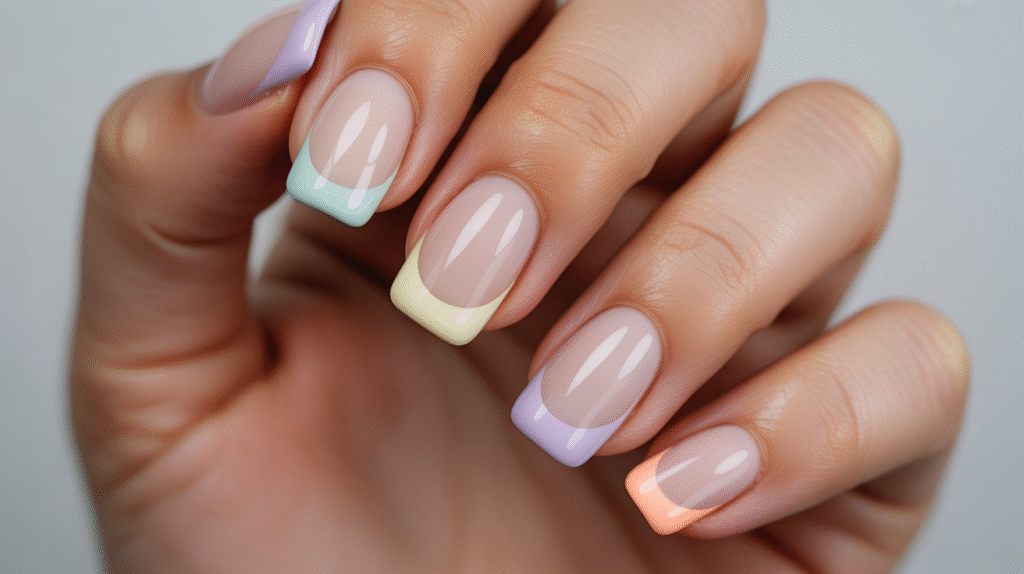
This design is great for beginners because the tips don’t require a full-nail polish application. You can also experiment by alternating colors on each nail, creating a soft rainbow effect that looks adorable and Pinterest-perfect. It’s playful yet minimal and works well on both short and long nails.
4: Glitter Accent Nail (Sparkly But Simple for Beginners)
A glitter accent nail is one of the easiest ways to elevate your gel manicure without needing any artistic skills. With just one glittery nail per hand, you get a touch of glamour while keeping the overall look simple and beginner-friendly. This is perfect for events, holidays, or whenever you want a little sparkle without going overboard.
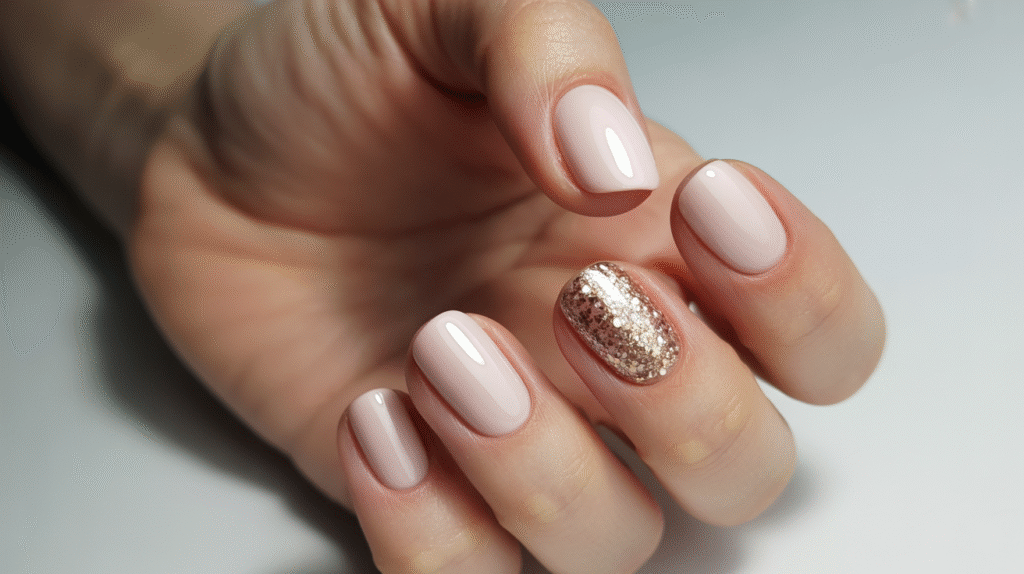
Start by applying your chosen base shade—nude, pink, white, or even a soft pastel works perfectly. Cure each layer thoroughly. Then choose your glitter gel polish (fine glitter is easier for beginners than chunky glitter). Apply it to your accent nail, usually the ring finger, and cure. You can build intensity by adding a second layer if you want more sparkle. For the rest of the nails, finish with a glossy top coat. Don’t forget to seal the glitter nail with an extra top coat layer to keep it smooth and long-lasting.
This look is great because it pairs well with any gel design you practice later—ombre, French tips, solid colors, or even nail art. It’s an easy, confidence-boosting way to add something eye-catching to your manicure while keeping the steps simple and stress-free.
5: White Swirl Nail Art (Beginner-Friendly Line Design)
White swirl designs look trendy, modern, and surprisingly easy to recreate—even if you’ve never tried nail art before. This style uses thin, flowing lines to add movement and elegance to a simple gel base. It’s beginner-friendly because the lines don’t need to be perfect; the organic, abstract look is part of the charm.
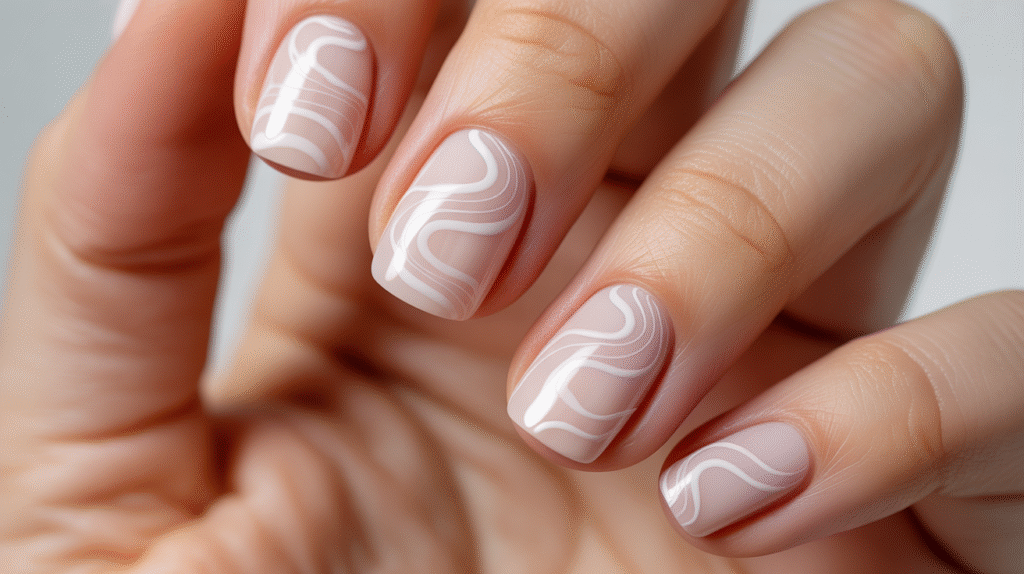
Begin by applying a nude, sheer pink, or milky-white gel base and curing it. Once the nails are ready, grab a thin liner brush and white gel polish. Gently paint soft, wavy lines across each nail—some can curve from the side, some can twist through the middle, and others can stay minimal with a single swoop. Cure after each nail to prevent smudging. If you want to add depth, create a second line next to the first or add a tiny sparkle of white glitter. Seal the look with a glossy top coat and cure.

This design looks gorgeous on all nail lengths and shapes, especially almond, oval, and square. It’s a perfect way to practice detail work without the pressure of symmetry or precision. The end result is a trendy Pinterest-ready look that feels both classy and playful.
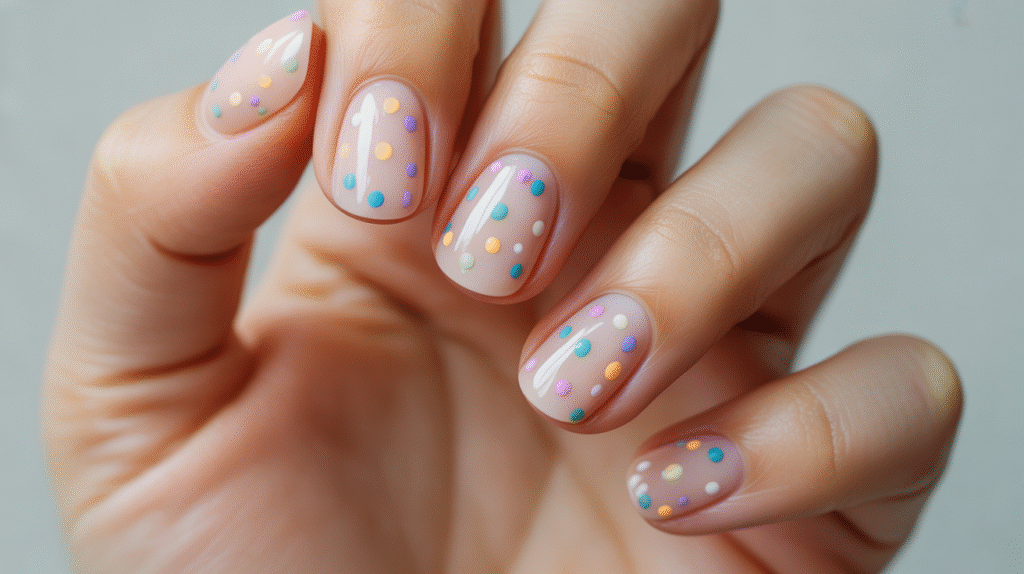
6: Dot Flower Nail Art (Cute & Perfect for Beginners)
Dot flowers are one of the easiest nail art designs for beginners—you don’t need a steady hand, artistic skill, or fancy tools. With just a dotting tool (or even the end of a bobby pin), you can create adorable floral patterns that look neat, balanced, and incredibly cute. This design is perfect for spring, summer, or anytime you want a soft and playful manicure.
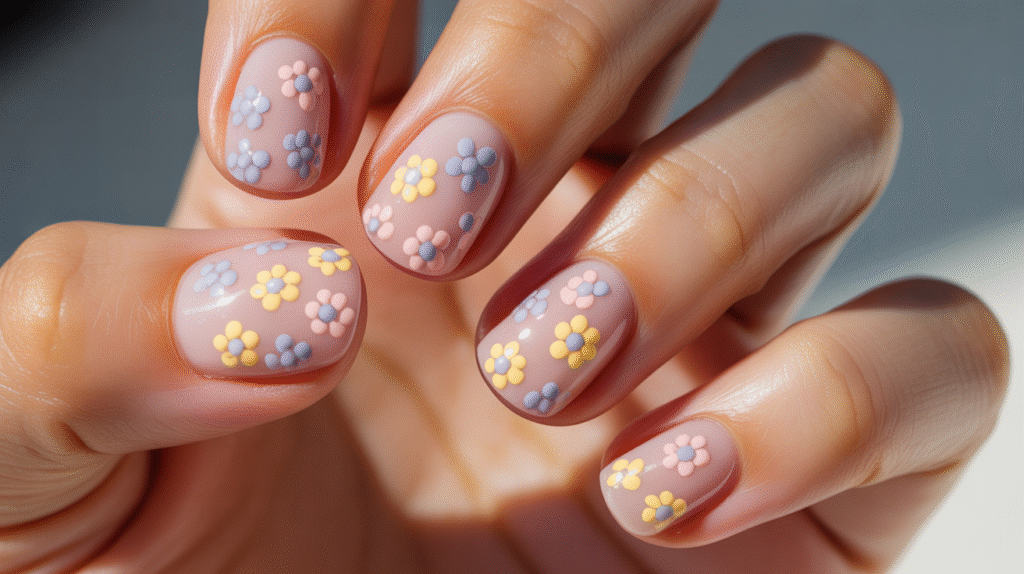
Start with a light gel base color, such as pastel pink, mint, or baby blue, and cure it. Choose two or three colors for your flowers—white, yellow, lavender, and peach work beautifully. Using your dotting tool, apply five small dots in a circle to create the petals. Add a contrasting dot in the center to complete the flower. You can place one flower near the cuticle, a small cluster near the tip, or scatter tiny flowers across all nails. Cure each layer as needed to keep the design crisp. Finish with a glossy top coat to seal the flowers and prevent raised bumps.
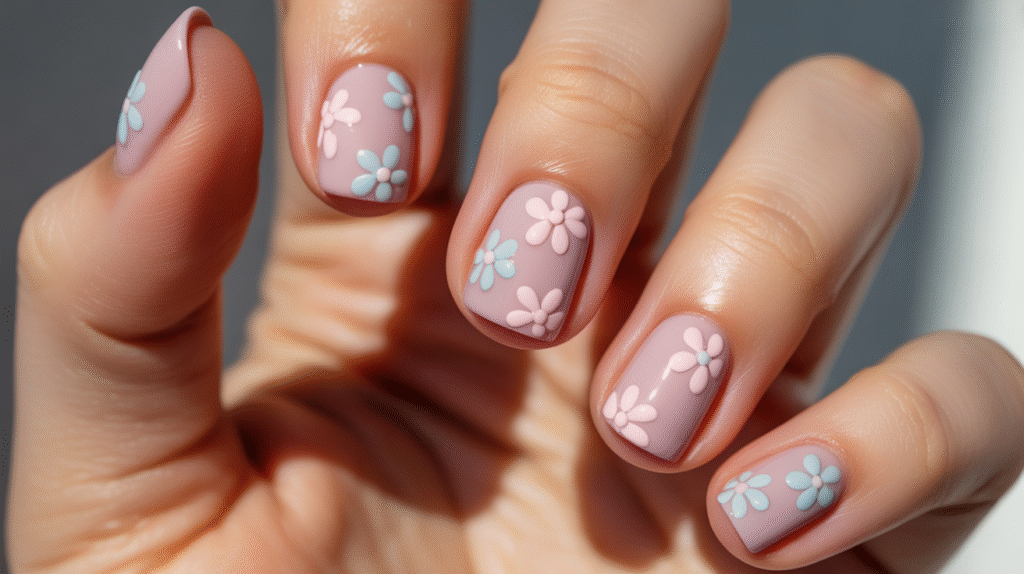
This design is great for beginners because dots are forgiving and easy to correct. Even imperfections look cute! You can also mix flowers with plain nails to create a balanced, Pinterest-worthy look that feels fresh and youthful.
7: Metallic Stripe Accent (Chic & Surprisingly Easy)
Metallic stripe accents add a sleek, modern touch to any gel manicure while still being incredibly beginner-friendly. With nail striping tape or metallic gel, you can create clean, eye-catching lines that instantly elevate your design. This is perfect for anyone who wants a polished, professional-looking result without complicated techniques.
Begin by applying your base color—nude, white, gray, or pastel shades work beautifully with metallic accents. Cure the base. If you’re using metallic striping tape, cut thin pieces and gently place them across the nail horizontally, vertically, or diagonally. Press the tape down firmly, then trim the ends so they align smoothly with your nail edges. Seal with two layers of top coat, curing between each layer to lock everything in place. If you’re using metallic gel polish, use a thin liner brush to paint your stripes and cure before applying the top coat.
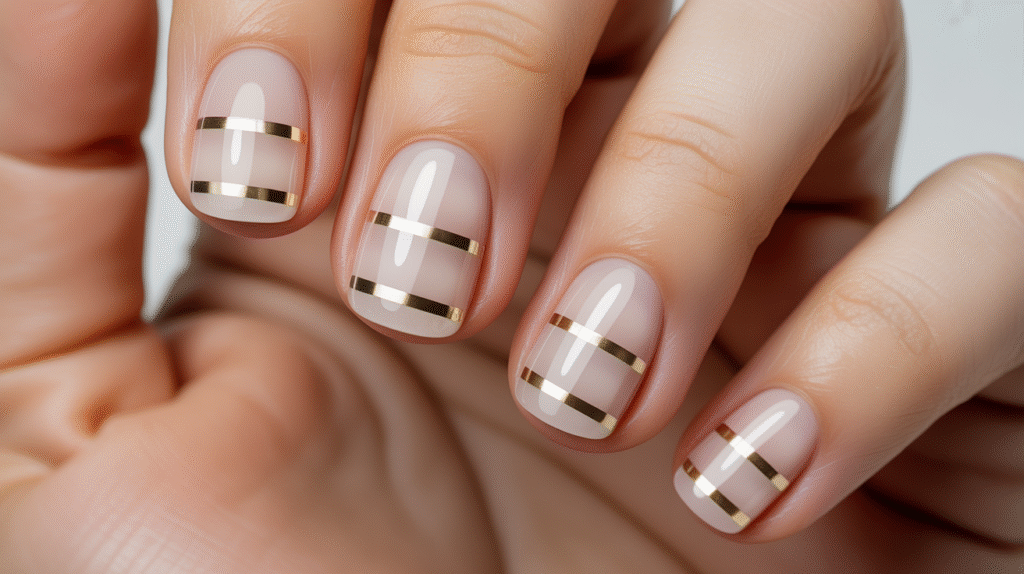
This look is amazing because it’s minimal yet bold. The metallic lines catch light beautifully and pair well with nearly any nail color or style. You can add one stripe on the ring finger for a subtle accent or decorate all your nails for a more dramatic effect. It’s a great way for beginners to practice precision without feeling overwhelmed.
8: Milky White Gel Nails (Soft, Clean & Beginner-Proof)
Milky white gel nails are one of the most popular minimalist styles—and they’re perfect for beginners. This look gives your nails a soft, cloudy finish that feels clean, fresh, and effortlessly chic. Unlike pure opaque white, milky white is sheer and buildable, which makes it far more forgiving during application. Even if your strokes aren’t perfect, the semi-transparent formula smooths everything out beautifully.
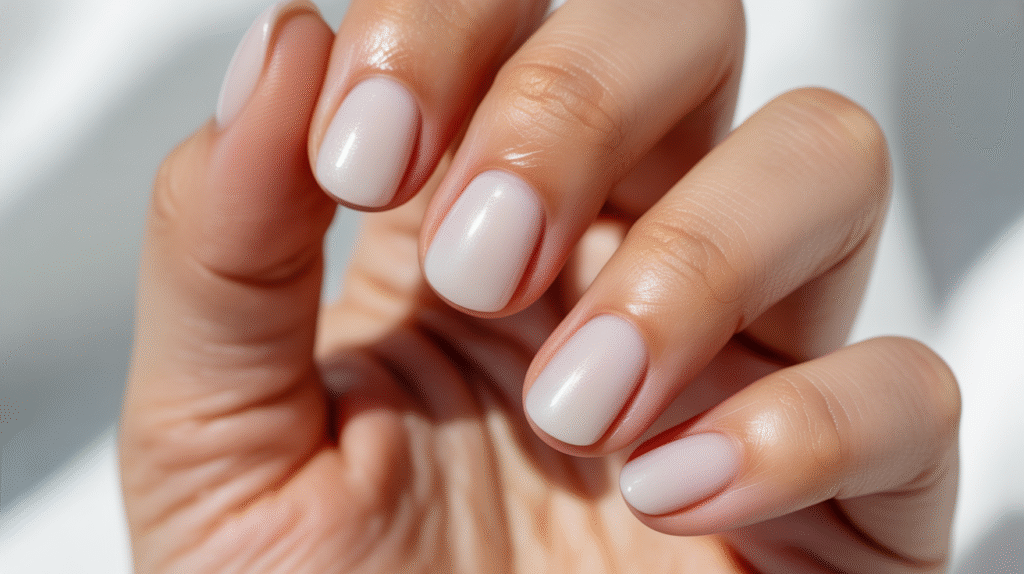
Start by preparing your nails, applying a thin layer of base coat, and curing it. Choose a milky white gel polish or mix a tiny amount of opaque white gel with a clear builder gel for a custom blend. Apply the polish in very thin layers, curing after each one. You can stop after one coat for a super sheer look or add two to three layers for a stronger milky effect. Keep each layer thin to avoid bulkiness. Finish with a glossy top coat and cure for a clean, glass-like shine.
This style works on every nail shape and length—from short square nails to long almond ones. It’s also a great base for future designs like chrome accents, micro-French tips, minimal line art, or tiny gems. If you’re a beginner who wants something elegant, neutral, and easy to apply, milky white gel nails are the perfect choice.
9: Simple Polka Dot Nails (Fun, Fast & Totally Beginner-Friendly)
Polka dot gel nails are one of the easiest nail art designs you can try—perfect if you’re just starting out and want something cute without any pressure. This design uses simple dots placed evenly (or playfully!) across your nails, and you can mix colors, sizes, or patterns to match your style. It’s quick, customizable, and nearly impossible to mess up.
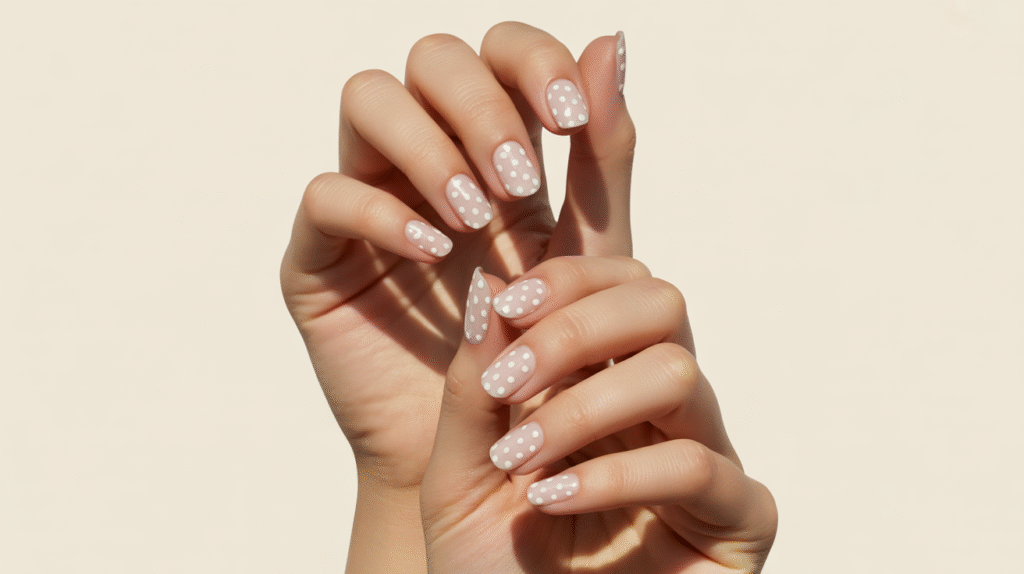
Begin by applying a base color of your choice—pastels, white, nude, or even a soft pink all look adorable with polka dots. Cure your base. Next, choose one or two contrasting gel colors for your dots. Use a dotting tool or the end of a bobby pin, dip it into the gel polish, and gently press it onto the nail to create small circles. You can follow a pattern—like evenly spaced dots—or keep it fun and random. Add dots to just one accent nail, or decorate all your nails depending on how bold you want to go. Cure once you’re happy with the design, then seal everything with a glossy top coat.
This design is great for beginners because the dots don’t need to be perfect—the charm comes from their simplicity. You can also make mini designs like heart-shaped dots, alternating colors, or diagonal dot trails for added personality. Polka dots are fast, adorable, and highly Pinterest-friendly, making them a go-to idea for first-time gel nail artists.
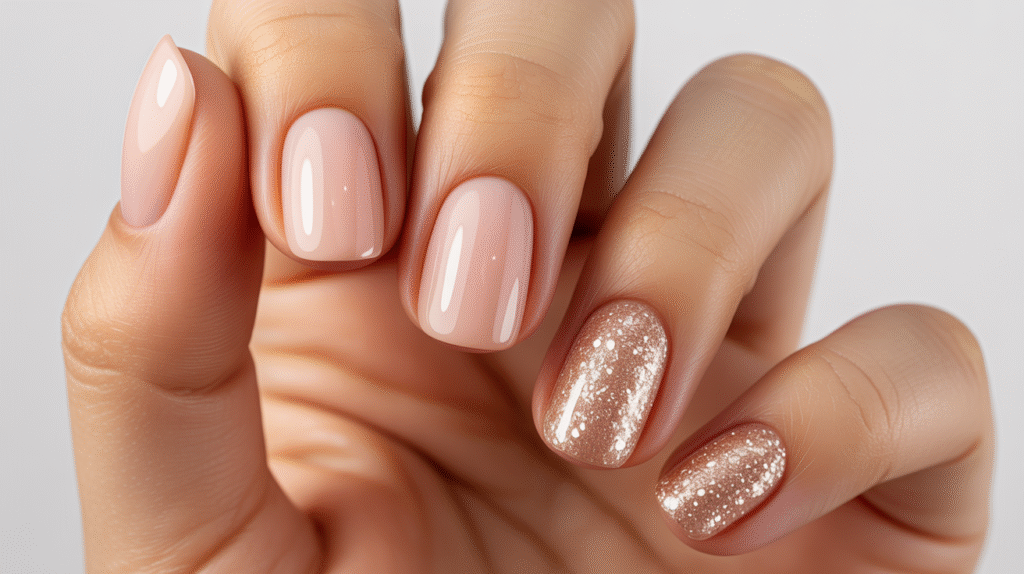
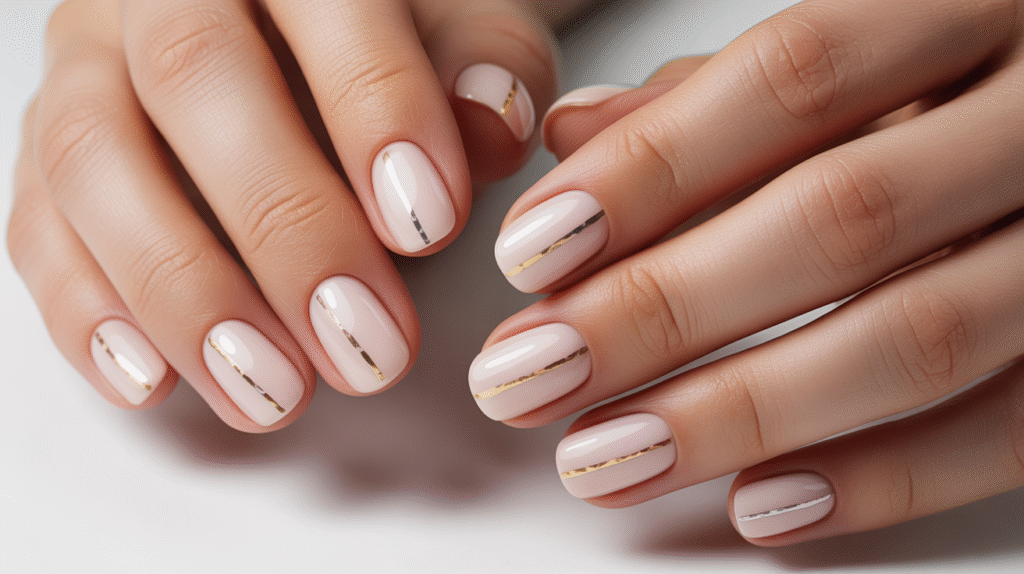
10: Minimal Gold Flake Nails (Elegant & Beginner-Friendly Accent)
Gold flake nails add an elegant, luxurious touch to any gel manicure—yet the technique is incredibly simple, making it ideal for beginners. The beauty of gold flakes is that they look high-end without requiring precise lines or artistic skills. Their irregular, organic shape allows you to place them wherever you like, creating a soft, scattered, dreamy effect.
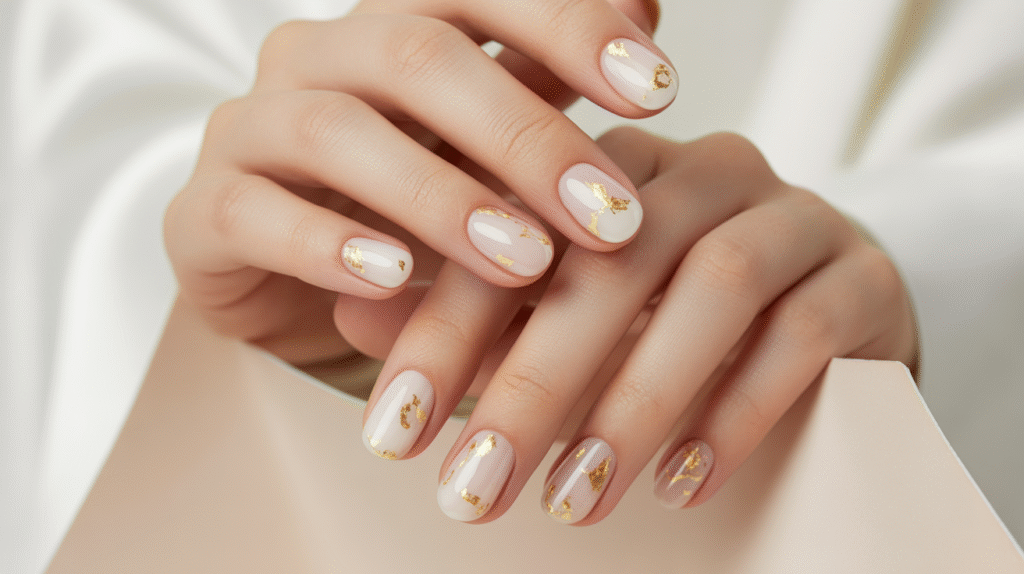
Start with your base color—milky white, nude, blush pink, or soft beige work beautifully with gold accents. Cure your base coat. Next, apply a thin layer of top coat without curing it. Using tweezers or a silicone nail tool, gently place small pieces of gold foil onto the tacky surface. You can create a single accent nail, cluster flakes near the cuticle, or spread tiny pieces across all nails for a delicate shimmer. Once you’re happy with the placement, cure to lock them in place. Finish with one to two layers of top coat to smooth out the texture and secure the flakes.
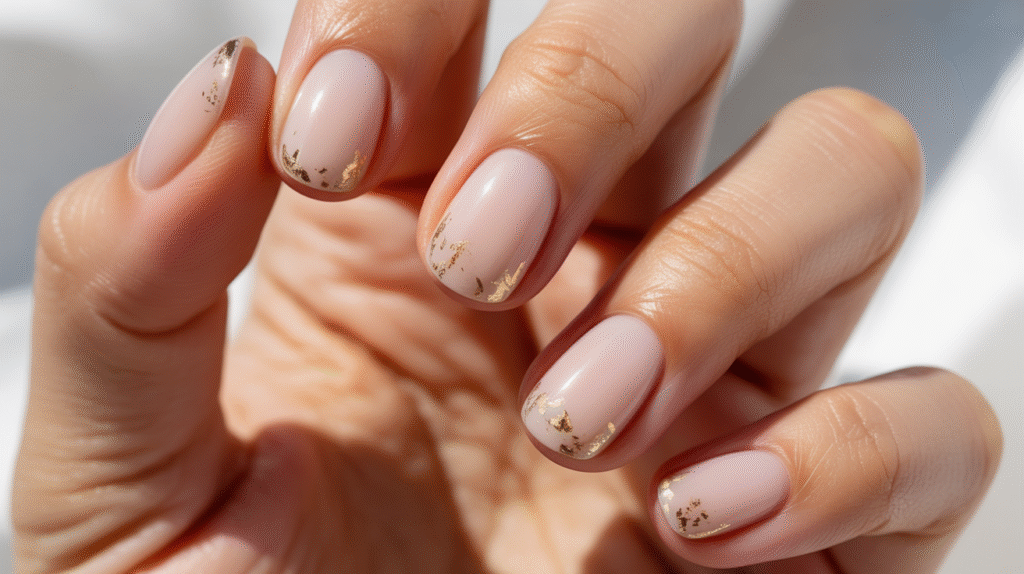
This design looks elegant, expensive, and Pinterest-perfect. It’s a great option for beginners who want something eye-catching but low-effort. Gold flakes pair beautifully with most gel colors and can be dressed up or down for any season or occasion. The final look feels modern, soft, and wonderfully refined.
Final Thoughts
Creating beautiful gel nails at home doesn’t have to be intimidating—especially when you start with beginner-friendly designs like these. Each idea in this guide is intentionally simple, approachable, and designed to help you build confidence with gel polish step by step. From soft gradients to minimal accents, these looks prove that you don’t need complicated tools or advanced techniques to achieve stunning, salon-quality results.
As you practice, you’ll naturally get better at controlling your brush strokes, curing properly, and layering your gel for a smooth finish. The best part? Gel nails are flexible and forgiving, so you can experiment with colors, textures, and small details until you find your favorite style. Whether you love minimal designs or something more playful, the possibilities are endless.

So grab your gel kit, try out these ideas, and enjoy the process of learning and creating. With patience and practice, you’ll be crafting gorgeous gel nails that look both professional and Pinterest-worthy—right from the comfort of your home.