If you’ve been wanting to try easy acrylic nail tutorials but feel intimidated by the process, you’re not alone! Acrylics can look complex, but with the right guidance—and beginner-friendly tutorials—you can create gorgeous, salon-style nails right at home. Whether you love soft pastels, bold statement tips, or simple minimal designs, acrylics offer endless possibilities for creativity and self-expression.
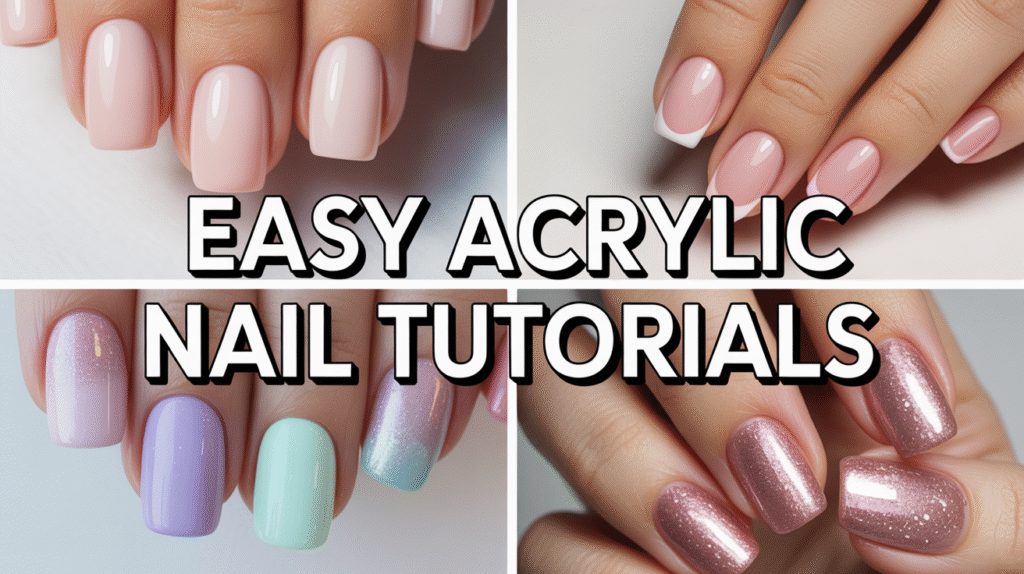
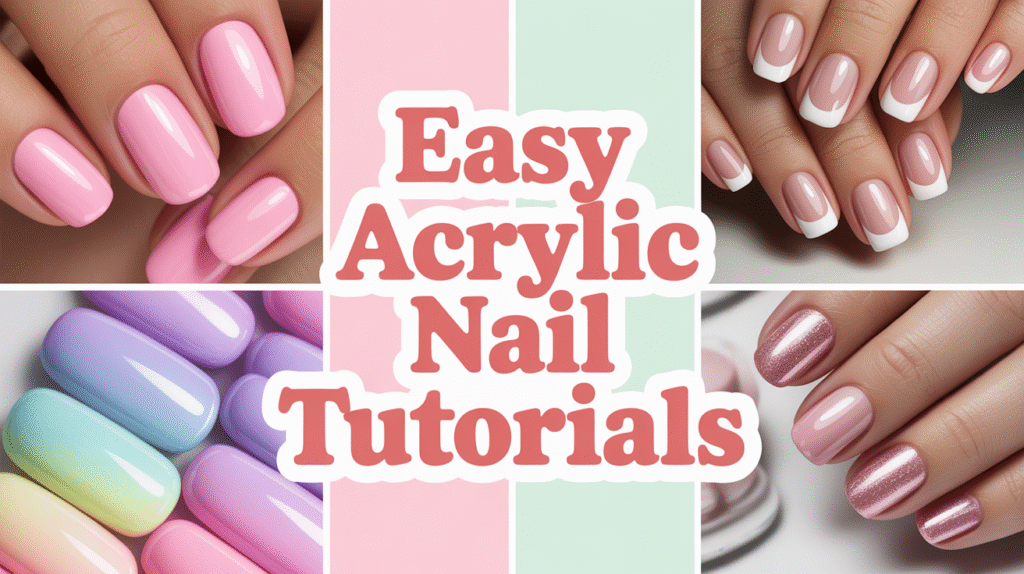
Easy Acrylic Nail Tutorials
This guide is designed specifically for beginners who want clear, easy-to-follow steps. Each tutorial breaks down the process into simple actions so you can learn at your own pace and build confidence as you go. No overwhelming terminology, no complicated tools—just approachable designs that turn out beautiful every time.
By the end of this blog, you’ll know how to prep your nails properly, apply acrylic smoothly, shape with precision, and create stylish beginner-friendly nail looks. Get ready to unlock your inner nail artist—your prettiest set ever starts right here!
1: Soft Pink Beginner Acrylics (Perfect for Your First Set)
If you’re brand new to acrylics, starting with a soft pink set is the easiest and most confidence-boosting choice. Light pink acrylic is very forgiving, blends beautifully, and gives your nails a clean, polished look even if your application isn’t perfect yet. It also complements all nail shapes, making it an ideal starter design for beginners.
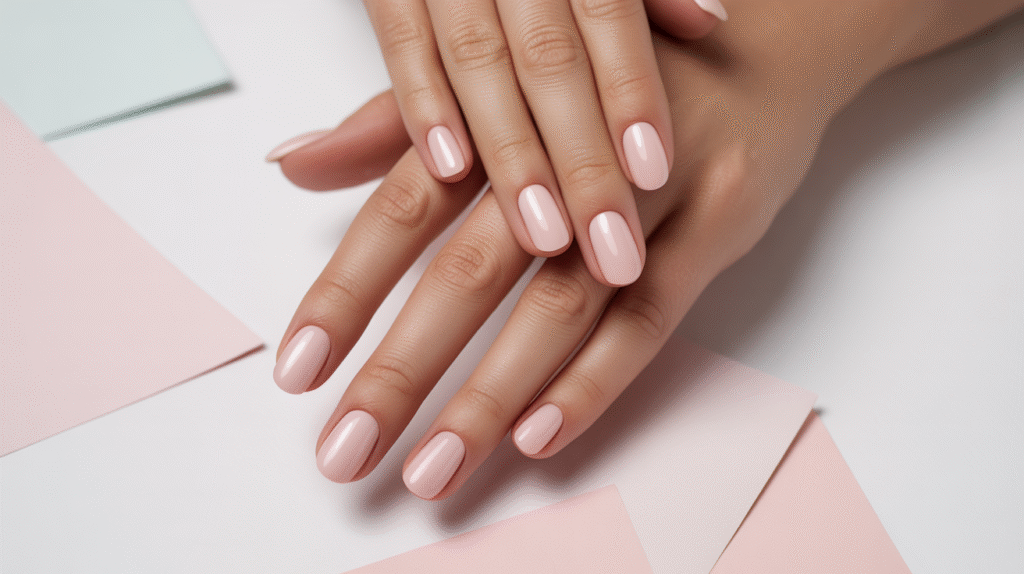
Begin by prepping your nails—push back cuticles, lightly buff the surface, and wipe with alcohol to remove oils. Apply your tips (if using) and shape them into your desired length. Then, using a small to medium acrylic bead, start near the cuticle and gently blend the product downward. Soft pink acrylic is great because it self-levels easily, helping you practice your bead control without harsh color lines.
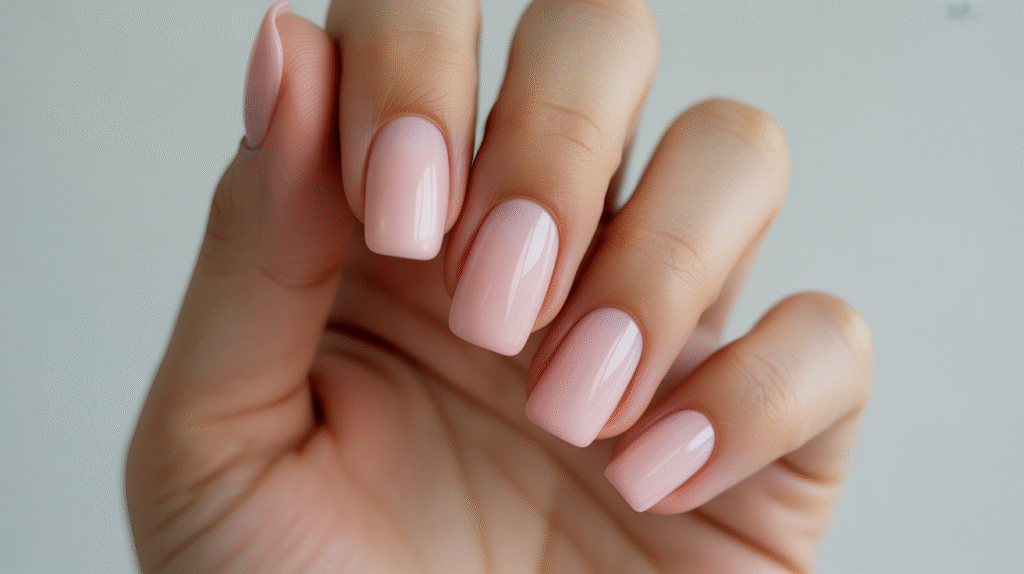
Finish with a glossy top coat to bring the whole look together. The result? A natural, elegant acrylic set that matches anything you wear and helps you master the basics before moving on to more advanced designs. Perfect for everyday wear, photos, and Pinterest-worthy nails!
2: Simple French Tip Acrylics (Classic & Beginner-Friendly)
A French tip is one of the most iconic nail designs—and the good news is, it’s much easier to achieve with acrylics than many beginners think. The structure of acrylic helps you create a crisp, clean smile line without the stress of shaky polish lines. It’s a timeless look that instantly elevates your nails and works for any occasion.
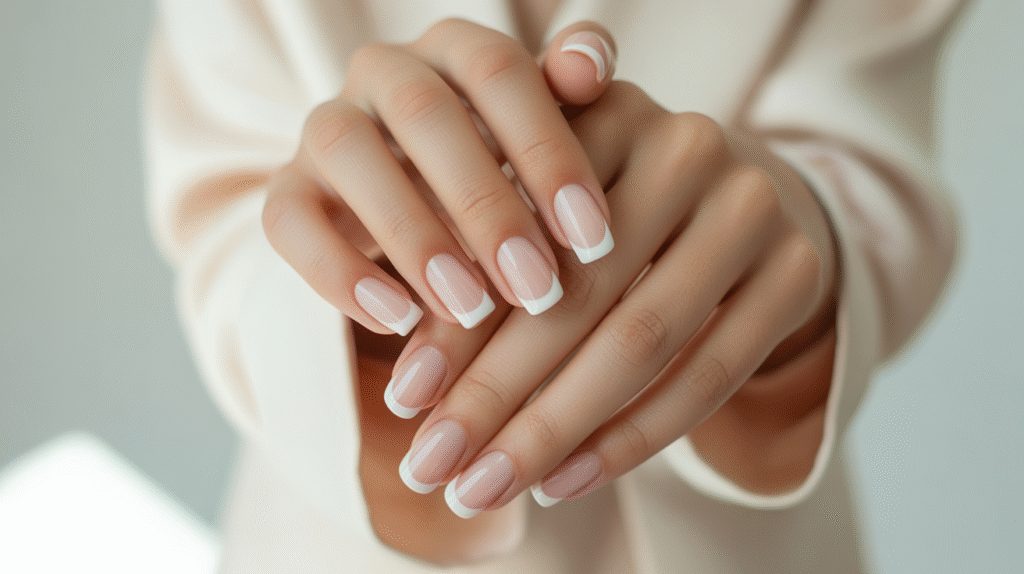
Start by applying a clear or soft nude acrylic base. Keep it thin and smooth so the white tips sit nicely on top. Once the base layer is set, use white acrylic to build the tip. Use a medium bead and gently sculpt the white portion into a rounded, even shape. You can clean up the smile line with a brush dipped lightly in acetone or monomer to perfect the curve.

Seal everything with a glossy top coat, and you’ve just created your first set of classic French acrylics. Simple, chic, and endlessly photogenic—this look gives you a foundation for mastering precision and bead placement while still being totally beginner-friendly.
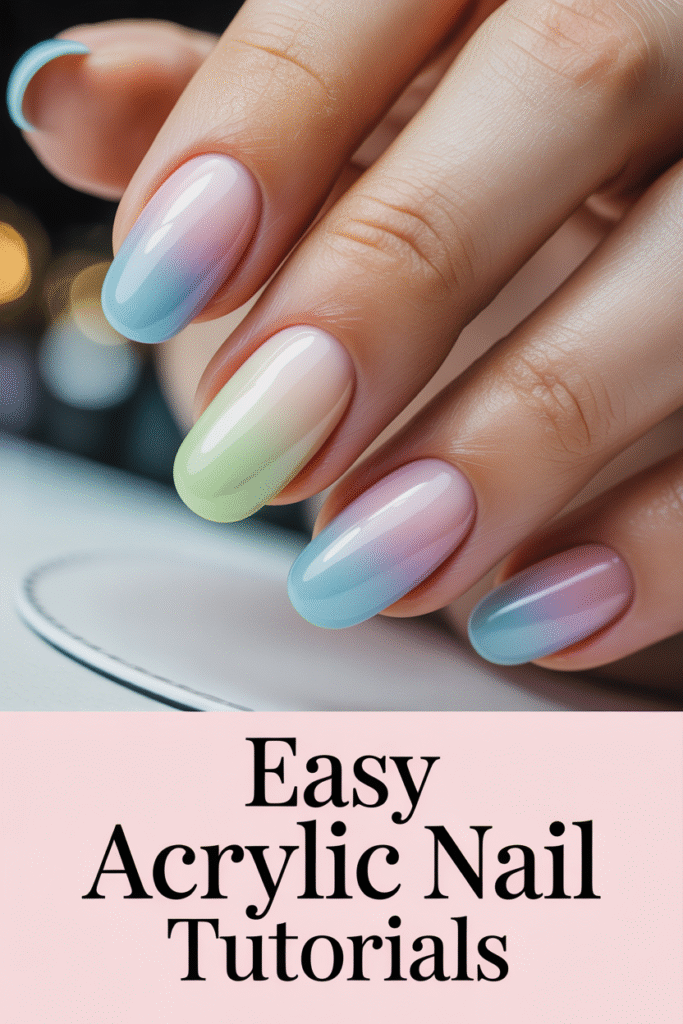
3: Pastel Ombre Acrylic Nails (Easy Blend for Beginners)
Ombre nails look advanced, but with acrylics, they’re surprisingly beginner-friendly—especially when using soft pastel colors. Pastels blend smoothly, making it easier to achieve that dreamy gradient without harsh lines. This design is perfect if you want something pretty, soft, and Instagram-worthy without needing advanced shaping or detailed artwork.
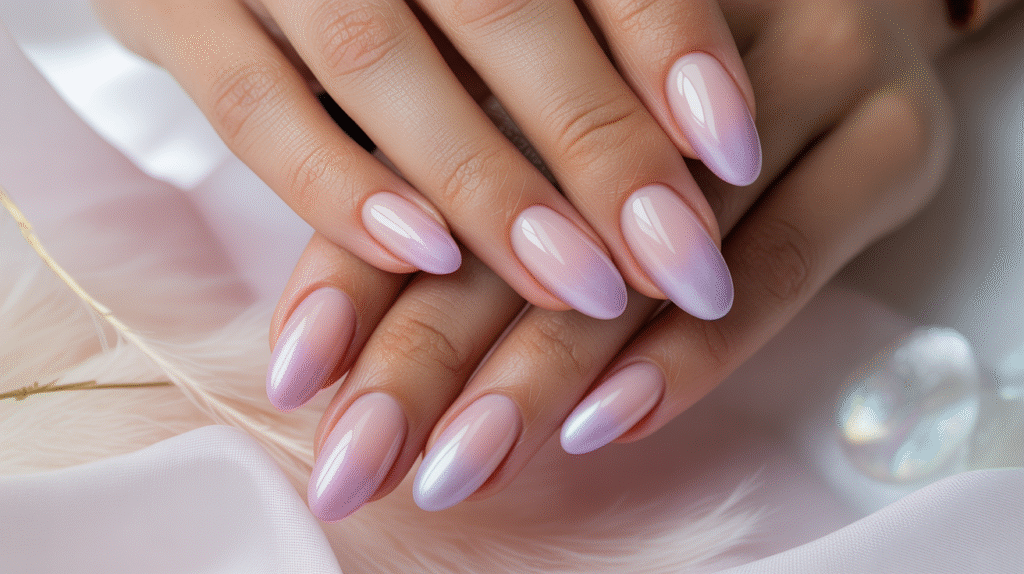
Begin by choosing two pastel acrylic colors—popular combos include baby blue + white, lavender + pink, or mint + nude. Apply your lighter shade near the cuticle and the darker shade toward the tip. As you work, gently feather the two colors together using small beads and light strokes. Acrylic gives you more control than polish, allowing the colors to melt into each other for a flawless ombre effect.
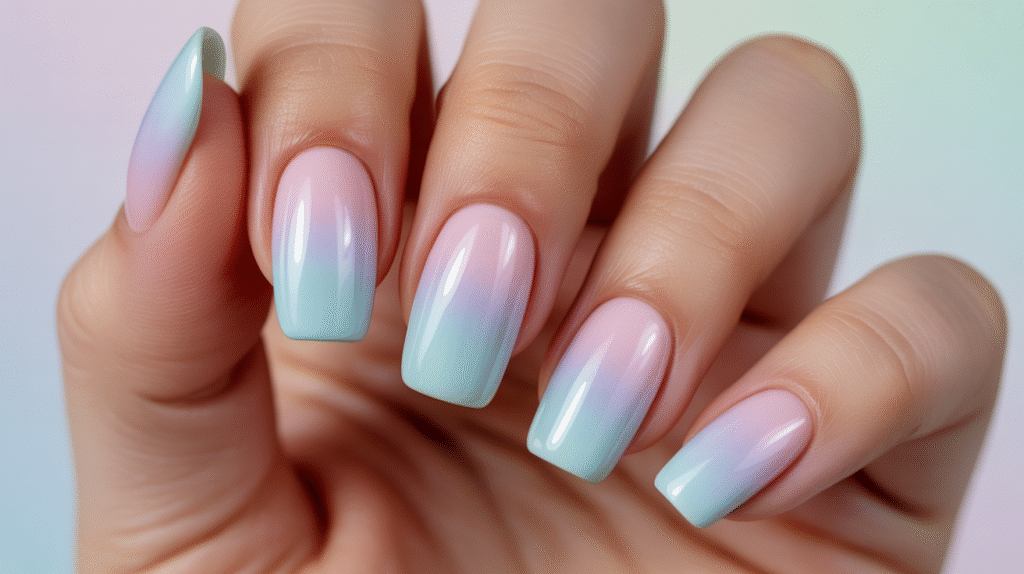
Finish by capping everything with a clear acrylic layer and a glossy top coat. The result is a soft, blended pastel gradient that looks salon-level but is easy for beginners to master. This style photographs beautifully and always performs well on Pinterest because of its soft, dreamy aesthetic.
4: Glitter Accent Acrylic Nails (Beginner-Friendly Sparkle)
If you want an easy way to make your acrylic set look glamorous with very little effort, glitter accents are the perfect choice. Glitter acrylics are incredibly beginner-friendly because the reflective particles hide small imperfections, making your work appear smoother and more professional. Just a touch of sparkle can transform a simple set into a dazzling, eye-catching design.
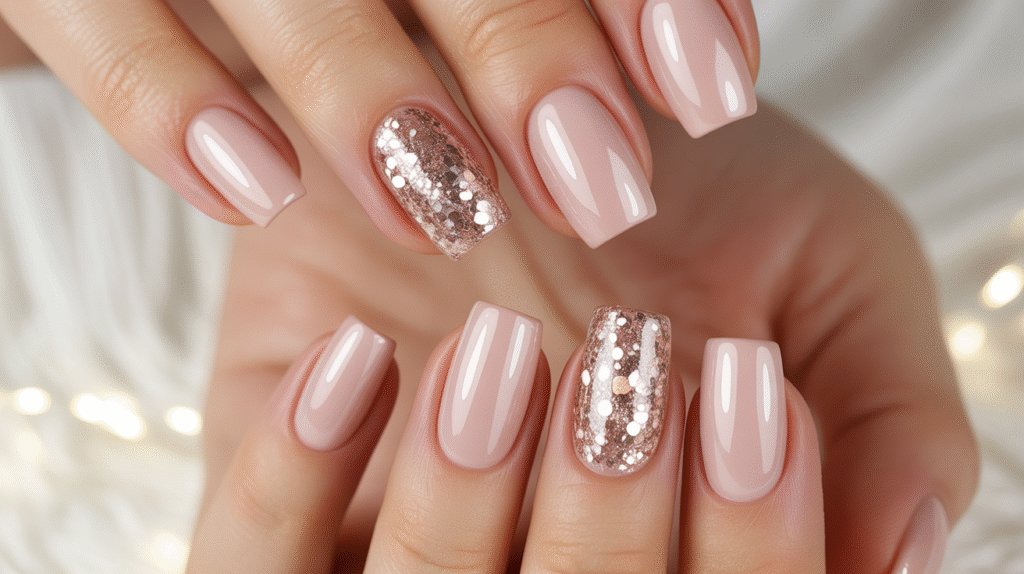
Start by creating a basic acrylic base in nude, pink, or clear—whatever complements your glitter choice. Once the base is set, choose one or two accent nails (usually the ring finger and middle finger). Apply a thin layer of glitter acrylic, gently patting it into place for an even distribution of sparkles. You can choose chunky glitter for bold dimension or fine glitter for a softer shimmer.
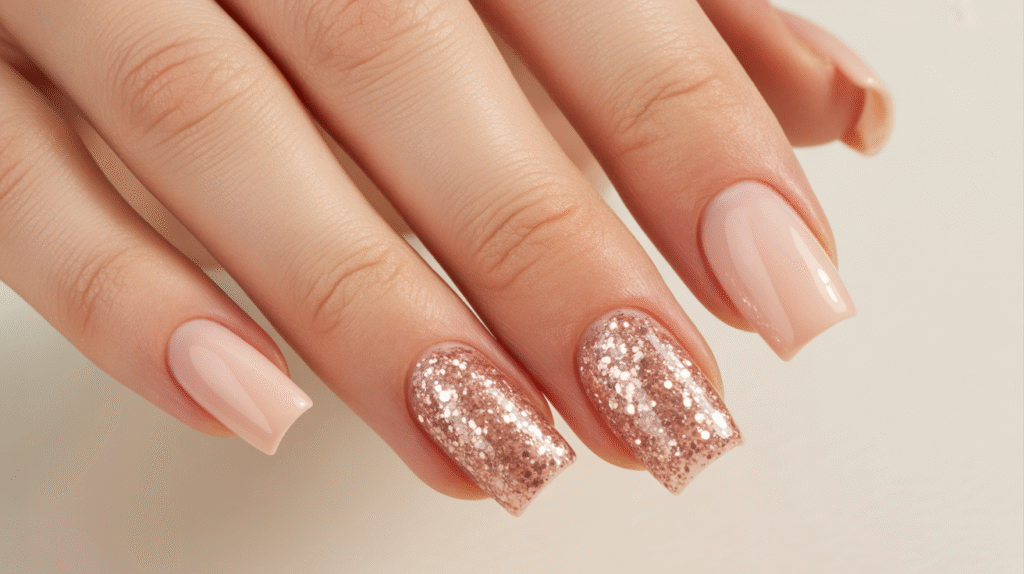
Finish the set by capping the glitter nails with clear acrylic to seal the sparkle and provide a smooth surface. After filing and shaping, apply a glossy top coat to enhance the shine. This style is perfect for beginners because it’s nearly impossible to mess up—and the result is a Pinterest-ready look that sparkles beautifully in photos.
5: Marble Swirl Acrylic Nails (Easy Artistic Look for Beginners)
Marble nails look artistic and high-end, but they’re actually very beginner-friendly when done with acrylic. The beauty of marble designs is that they’re meant to look natural and imperfect—so even if your swirls aren’t identical, the result still appears intentional and stylish. This makes marble the perfect entry-level “art” look for beginners who want something unique without needing precision painting skills.
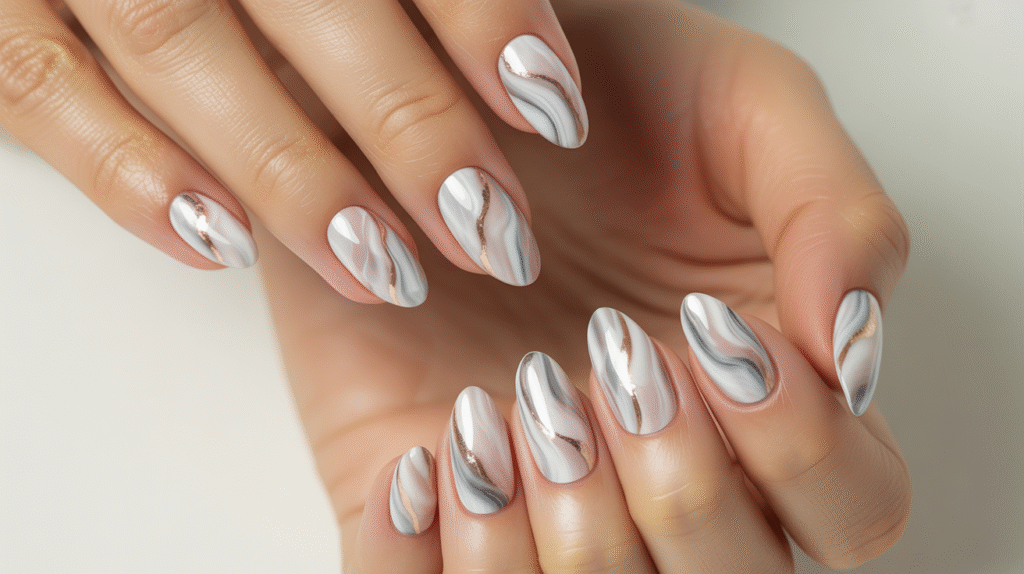
Start with a light base color like white, nude, or light gray. Once the base acrylic is set, use very small beads of two or three complementary colors—such as gray, gold, or soft pink. Place the beads randomly across the nail and gently swirl them using the tip of your brush. The key is to make soft, wispy lines that mimic natural stone patterns while keeping the colors subtle and blended.
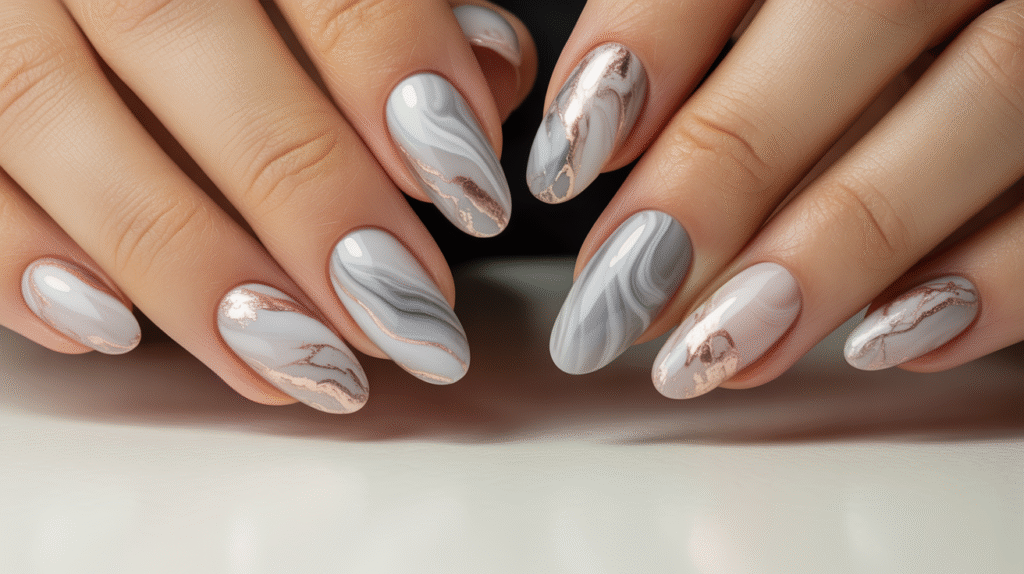
After achieving your marble effect, cap the nail with clear acrylic to lock in the design and create a smooth surface. File, shape, and apply a glossy top coat to bring out the dimension in the swirls. The final look is classy, elegant, and surprisingly easy to achieve—perfect for Pinterest boards and anyone who loves a chic, modern nail aesthetic.
6: Simple Rhinestone Accent Acrylics (Beginner-Friendly Glam)
Rhinestones may look advanced, but they’re one of the easiest ways for beginners to elevate a basic acrylic set. Just a few strategically placed stones can transform simple nails into a glamorous, eye-catching design without requiring any drawing or complex techniques. This style is perfect if you want your nails to look elegant, sparkly, and polished with minimal effort.
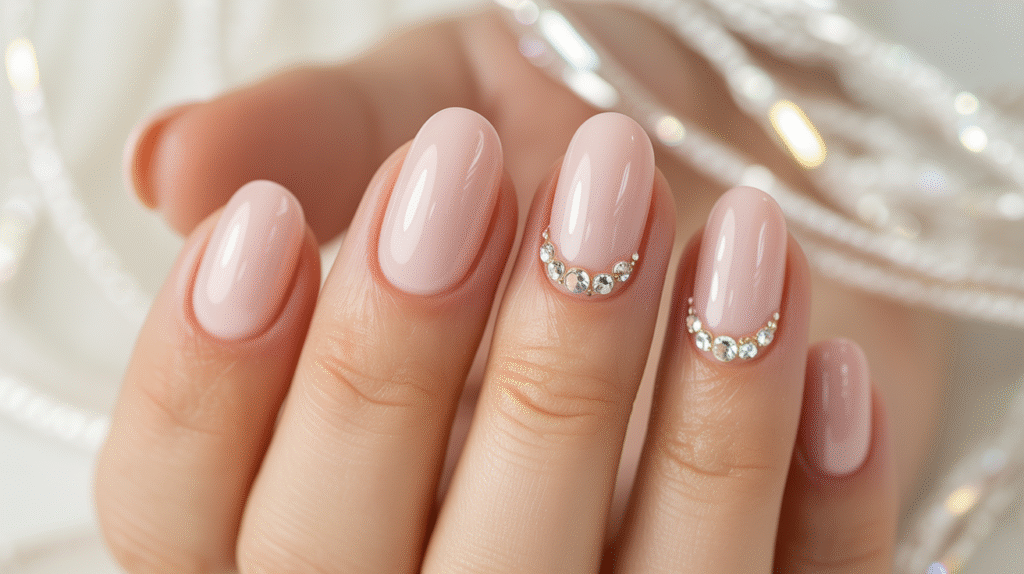
Start by creating a classic base—soft pink, nude, or even clear acrylic works beautifully. Once your acrylic is set and shaped, apply a small dot of nail glue or top coat where you want the stones to sit. For beginners, the safest and easiest placements include: a single small rhinestone near the cuticle, a tiny cluster on the ring finger, or a subtle line of mini stones along one side of the nail. These placements enhance your nails without looking too busy or complicated.
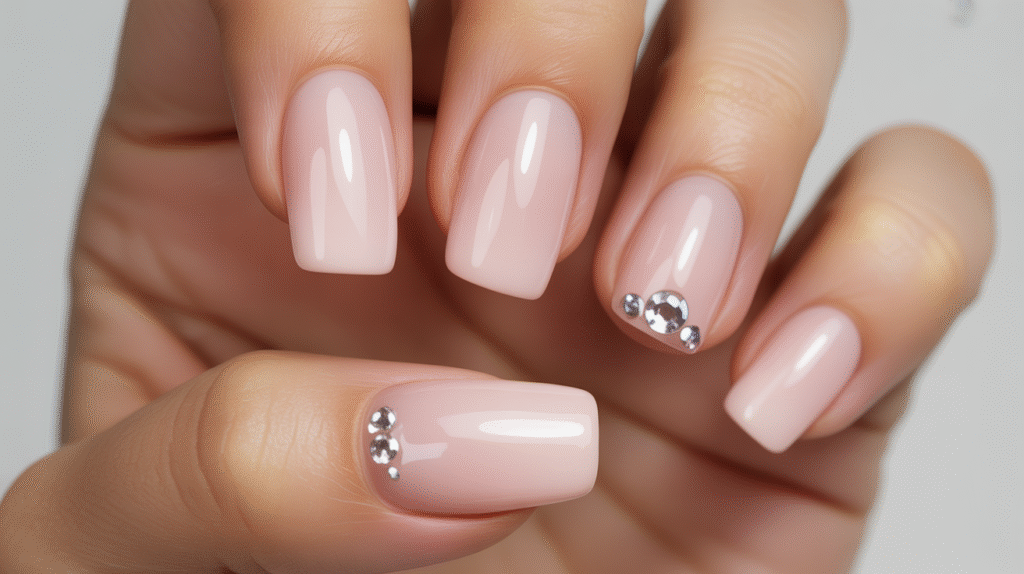
After placing the rhinestones, seal around them (not over them) with a glossy top coat to ensure they stay secure. The final result is a chic, sparkly set that catches the light beautifully and instantly elevates your acrylics. Rhinestone accents always perform well on Pinterest due to their classy yet simple look—perfect for beginners who want a touch of glam.
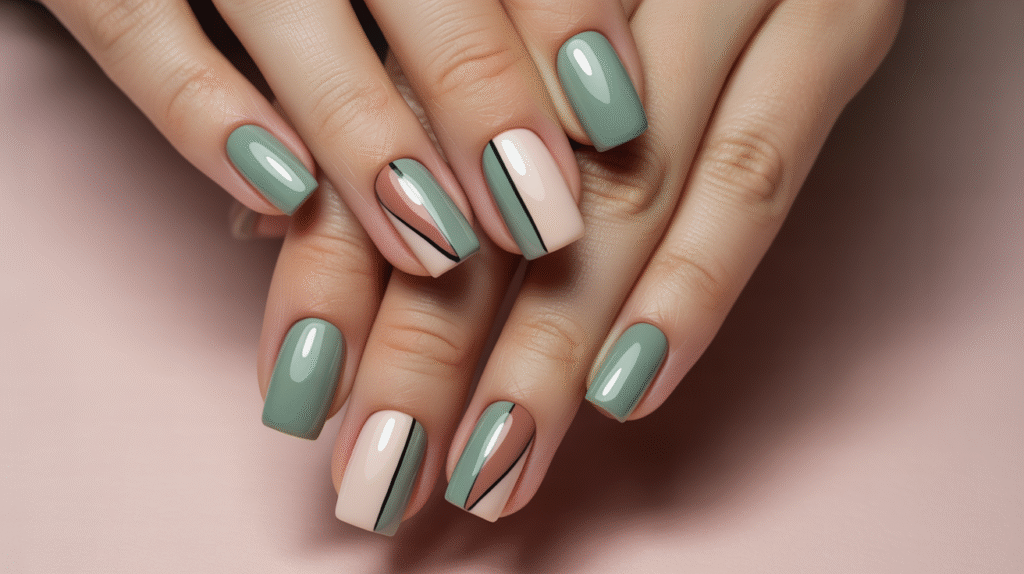
7: Nude Acrylic Nails with Minimal Line Art (Beginner-Friendly Chic Look)
Minimal line art is one of the trendiest nail styles right now—and luckily, it’s also one of the easiest for beginners. With a nude acrylic base and just a few simple lines, you can create a modern, aesthetic design that looks straight out of a Pinterest mood board. The best part? Minimal lines don’t need to be perfect; the beauty is in the simplicity.
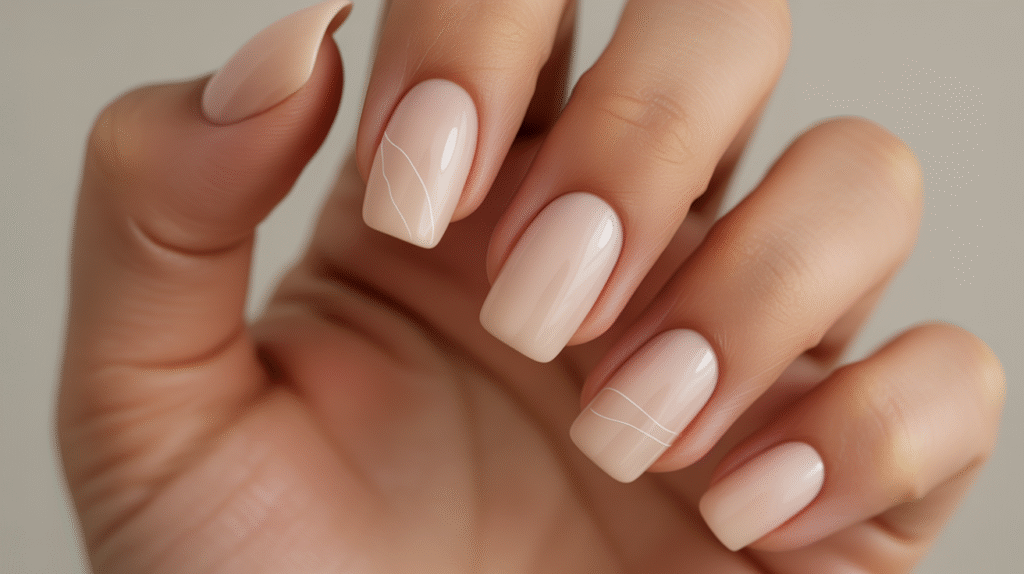
Begin with a nude or soft beige acrylic base. Keep the surface smooth and even, since minimal designs look best on a clean canvas. Once the acrylic is shaped and filed, use a fine nail art brush and gel polish (or acrylic paint) to draw simple, thin lines. Popular beginner-friendly options include: a single curved line on the ring finger, a diagonal stripe near the tip, or two tiny parallel lines near the cuticle. These small details add elegance without requiring artistic skill.
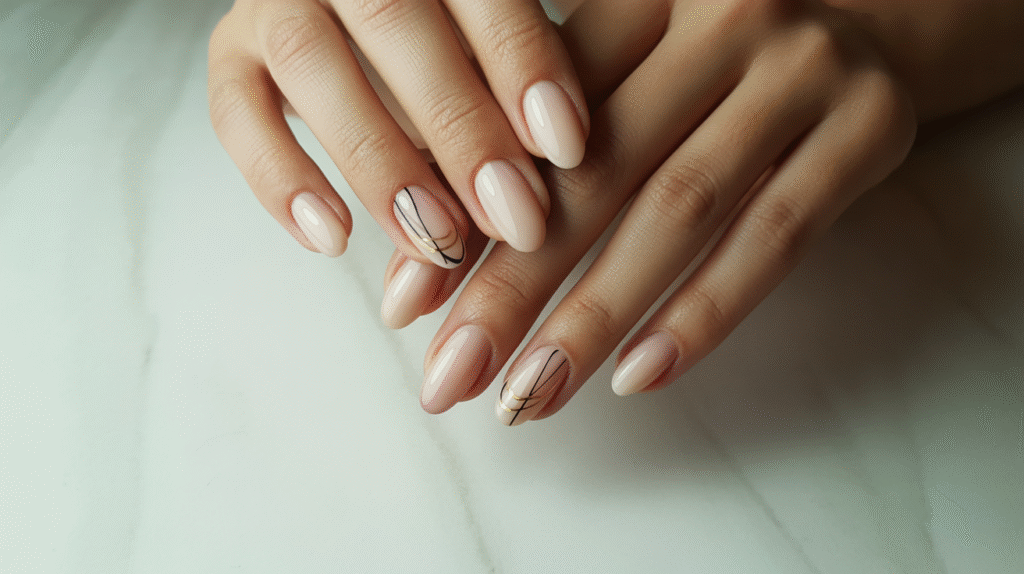
Seal your artwork with a glossy or matte top coat, depending on your style. The final look is minimalistic yet eye-catching—perfect for everyday wear or a chic, sophisticated vibe. This design photographs beautifully and pairs well with neutral fashion, making it a strong performer on Pinterest.
8: Simple Color-Block Acrylic Nails (Easy Modern Style for Beginners)
Color-block nails are bold, trendy, and surprisingly easy to recreate—even if you’re brand new to acrylics. The clean, geometric look is achieved using straightforward sections of color, making it perfect for beginners who want something modern without complicated artwork. With just two or three colors, you can create a stylish design that looks professionally done.
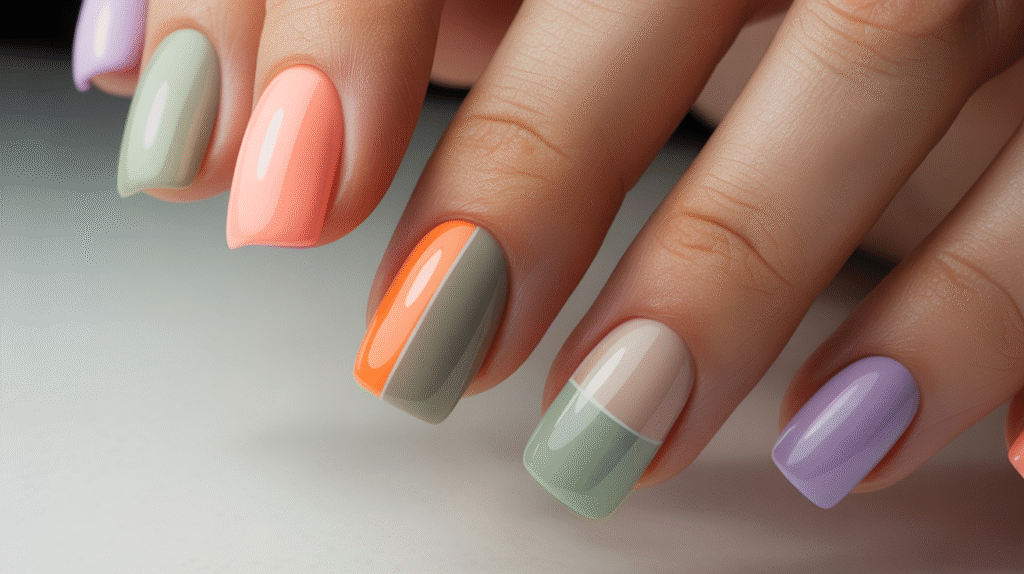
Begin by applying a base acrylic color—nude, white, or soft pink works beautifully. Once the base is shaped and filed, choose your block colors. Pastels, earthy tones, or bold contrasting shades like black and beige are all beginner-friendly choices. Using gel polish or acrylic paint, paint small sections or half-nail blocks with a flat brush. You can create vertical halves, diagonal blocks, or simple rectangles—every option looks clean and chic.
Seal the design with a glossy top coat, making sure the lines look smooth and crisp. Color-block nails always photograph beautifully because of their bold edges and trendy combinations. They’re perfect for beginner nail artists who want to experiment with color while keeping the technique simple and easy to control.
9: Simple Floral Acrylic Nails (Easy Dot-Flower Technique for Beginners)
Floral nails may look detailed and complex, but with the dot-flower method, they’re incredibly beginner-friendly. Instead of drawing petals, you use tiny dots to create cute, simple flowers that look delicate and feminine. This design pairs beautifully with short or long acrylics and works with any color palette, making it a versatile favorite for beginners.
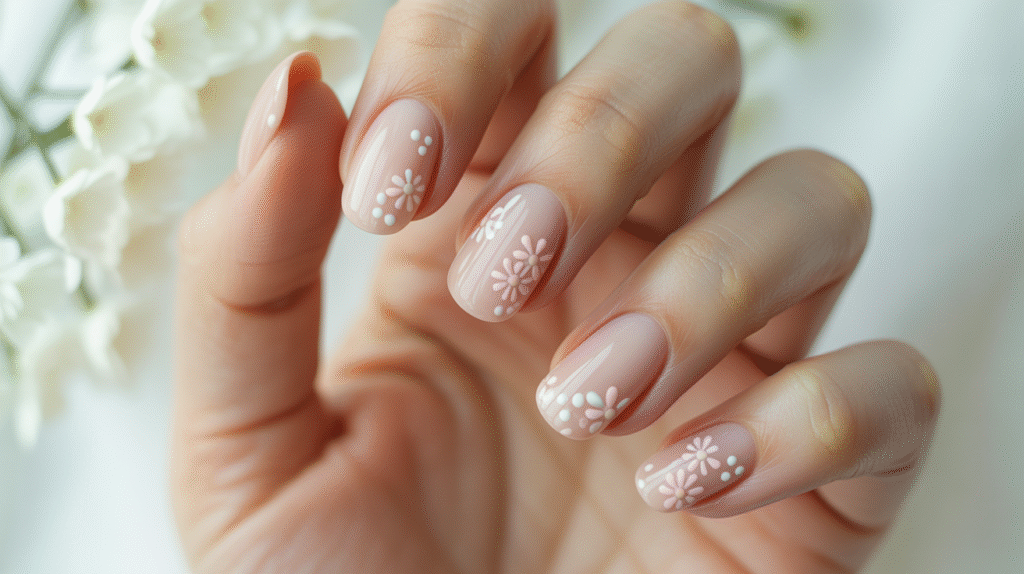
Start with a soft base acrylic color—nude, white, baby pink, or a pastel shade works best. After filing and shaping your acrylics, grab a dotting tool (or the tip of a bobby pin). Use gel polish to place five tiny dots in a circle to form a flower, then a contrasting dot in the center. You can add one flower per accent nail or several small flowers scattered across the set for a more playful look. The dot method ensures the petals stay even without needing artistic drawing skills.
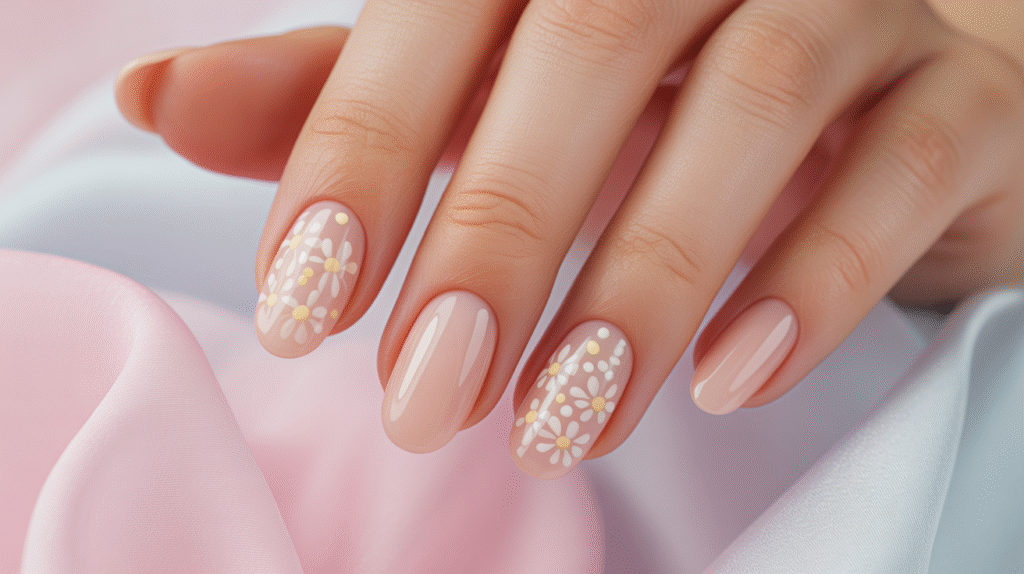
Finish with a glossy top coat to enhance the colors and seal your floral design. The result is a sweet, Pinterest-perfect look that feels soft, pretty, and polished. Beginners love this technique because it’s easy, fast, and always turns out adorable—even if the dots aren’t perfectly aligned.
10: Clear Acrylic Nails with Encapsulated Designs (Beginner-Friendly Creative Style)
Encapsulated acrylic nails look advanced, but the technique is surprisingly simple—and perfect for beginners who want to try something artistic without freehand drawing. The concept is easy: place small decorative elements inside a layer of clear acrylic so they look suspended inside the nail. It’s creative, eye-catching, and hard to mess up!
Start by applying a thin clear base layer. Then choose your encapsulated pieces—glitter flakes, tiny dried flowers, metallic foils, or iridescent shards are all beginner-friendly options. Place a few small pieces on the nail surface, arranging them gently with your brush or tweezers. Keep the pieces thin so they encapsulate smoothly.
Once you’re happy with your design, apply another layer of clear acrylic on top, making sure everything is fully sealed. After filing and shaping, finish with a glossy top coat to enhance the depth and dimension. The final result is a crystal-clear, multi-dimensional look that feels luxurious and photo-ready—perfect for Pinterest and for anyone wanting a fun, creative acrylic style that doesn’t require precision artwork.
Final Thoughts
Creating beautiful acrylic nails at home doesn’t have to be overwhelming—especially when you start with simple, beginner-friendly designs. Each idea in this guide is crafted to help you build skill step by step, from mastering basic application to experimenting with color, texture, and easy nail art techniques. With a little practice and the right tools, you’ll be amazed at how quickly your confidence grows.
Remember, acrylic nails are all about creativity and self-expression. Don’t stress over perfection—every set you create helps you improve your technique and discover your personal style. Whether you prefer soft, minimal looks or bold, sparkling designs, there’s a beginner tutorial here that’s perfect for you.
As you continue practicing, you may even find yourself trying more advanced styles—or creating your own unique designs. Save your favorite ideas, pin your inspiration, and keep experimenting. Your next set might just be your best yet!