Creating beautiful nails doesn’t have to be complicated—especially when you have the right techniques at your fingertips. Whether you’re a total beginner or just looking to improve your nail-painting game, learning the basics of nail polish application can instantly elevate your at-home manicure results. With a few simple steps and the right tools, even a novice can achieve glossy, clean, and salon-worthy nails without spending hours at a nail bar.
Easy Nail Polish Tutorials
Mastering nail polish application is really about understanding the small details: how to prep your nails correctly, how much polish to use, and how to apply it smoothly without streaks or smudges. These foundational techniques ensure that your polish lasts longer, dries evenly, and looks beautifully professional. And the best part? You don’t need expensive products—just patience, practice, and the right method.
In this beginner-friendly guide, we’ll walk you through easy nail polish tutorials with clear, step-by-step instructions. From prepping and shaping to applying base coats, color polish, and top coats, you’ll learn exactly how to create a flawless manicure at home. Whether you’re preparing for a special event or just want pretty nails for everyday life, these simple tips will help you feel confident and stylish every time you pick up a bottle of polish.
1: Perfect Beginner Nail Prep for a Smooth Polish Application
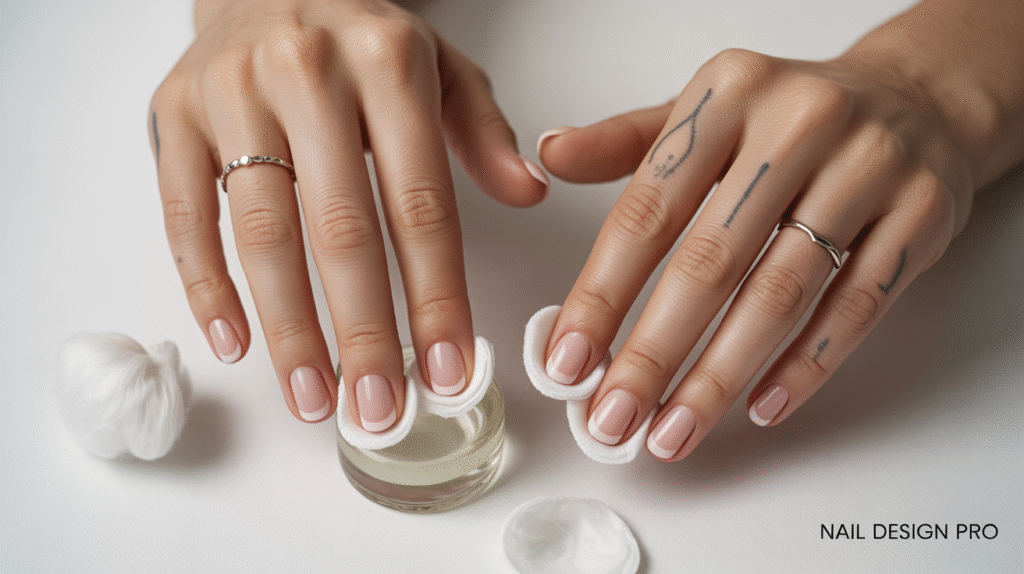
Preparing your nails is the foundation of a flawless manicure, especially for beginners. Before applying any polish, it’s important to start with clean, dry nails. Use a gentle nail polish remover—even if you don’t currently have polish on—to remove natural oils that can prevent the polish from sticking properly. Next, lightly shape your nails using a fine-grit file, creating smooth edges that support a clean polish application. This simple prep step makes all the difference in how long your manicure lasts.
Once your nails are shaped, focus on your cuticles. Gently push them back with a cuticle pusher to create a neat and open nail surface. Avoid cutting the cuticles if you’re a beginner; instead, soften them with warm water or cuticle oil. This gives your nails a cleaner, elongated appearance and helps the polish spread more evenly. Taking a few extra minutes to prep ensures your polish glides on effortlessly and dries without bumps or streaks.
Finally, apply a thin layer of base coat to protect your nails and create a smooth canvas for your color. A base coat helps polish adhere better and prevents staining—especially when using darker shades. Allow the base coat to fully dry before applying color. Proper prep might seem simple, but it’s the secret to turning a basic at-home manicure into a salon-level finish every time.
2: How to Apply Nail Polish Without Streaks (Beginner-Friendly Technique)
One of the biggest struggles beginners face is dealing with streaky polish. The secret to a smooth, even finish starts with using the right amount of product. Dip the brush into the bottle and wipe one side of it on the rim—this gives you the perfect amount of polish without overloading the brush. Begin by placing a small drop of polish near the center of your nail, close to the cuticle but not touching it. With gentle pressure, pull the polish upward to the tip of your nail, creating a smooth first stroke.
Next, focus on completing the nail in just three main strokes: one down the middle, and one on each side. This technique helps distribute the polish evenly and prevents thick, uneven patches. Work slowly and allow the brush to glide rather than press down too hard. If you need to go over an area again, do it lightly before the polish starts drying. Consistency and gentle brush control are key to avoiding streaks, especially with sheer or pastel shades.
Once your first coat is done, let it dry completely before applying the second coat. Rushing this step is the main reason streaks appear. A fully dried base allows the second coat to glide smoothly, creating a richer color and clean finish. By following this simple three-stroke technique and giving each coat enough time to settle, beginners can achieve a sleek, professional-looking manicure every time.
3: Choosing the Right Nail Polish Colors for Beginners
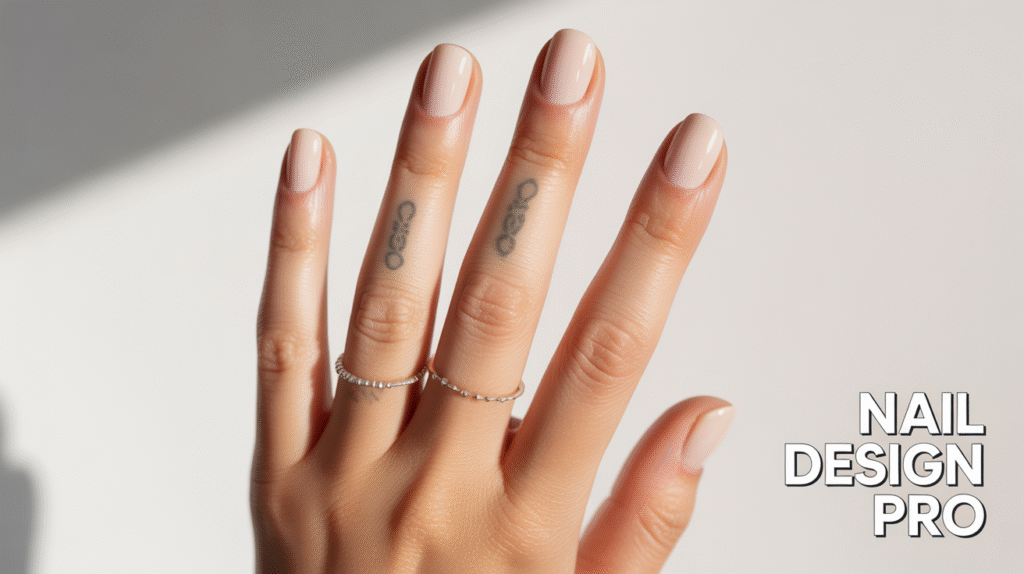
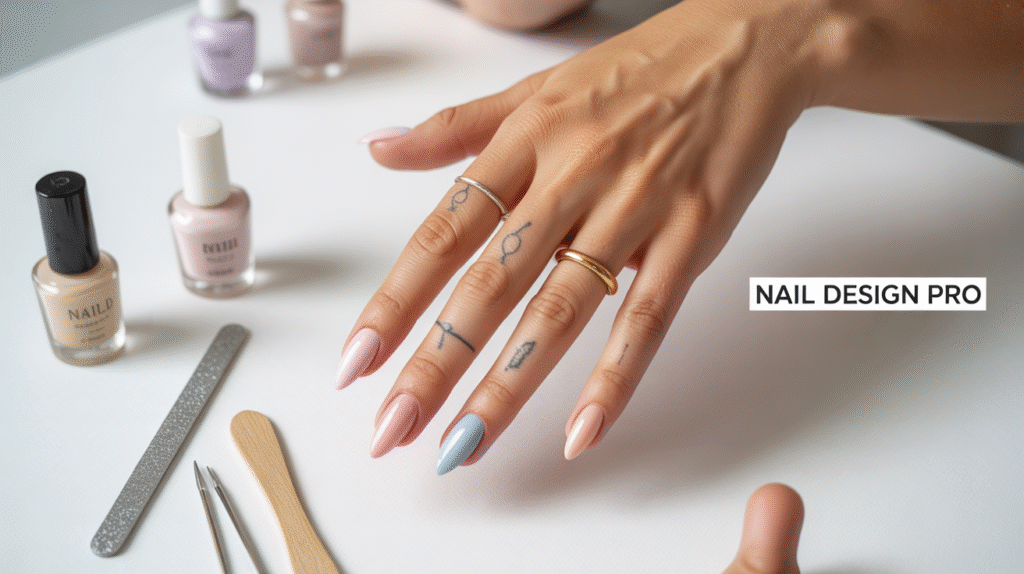
Selecting the perfect nail polish color can make a huge difference in how confident you feel about your manicure. For beginners, it’s best to start with neutral or pastel shades, as they are forgiving of minor mistakes and easier to maintain. Soft pinks, nudes, and light corals provide a clean, elegant look and complement any outfit. These shades also help you focus on mastering the application technique without worrying about bold colors highlighting small errors.

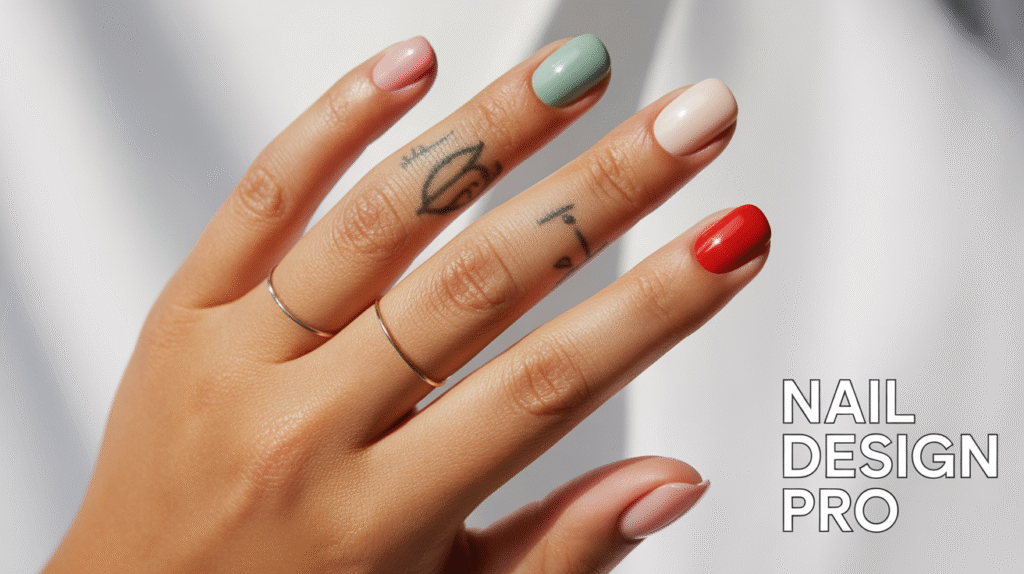
Once you’re comfortable with basic colors, experimenting with subtle variations can be exciting. Ombre effects, sheer glitters, or muted metallics allow you to play with creativity without overwhelming your skills. Choosing a palette that suits your skin tone is also important. Lighter shades can brighten your hands, while deeper shades like burgundy or navy add sophistication once you’re more confident in your polish application.
Remember, the key is to enjoy the process. Trying different colors is not just about aesthetics; it also helps you learn how different formulas behave, how long they take to dry, and how they respond to multiple coats. By starting simple and gradually exploring new shades, beginners can build a versatile nail collection while improving their technique, making every manicure a small but satisfying achievement.
4: Step-by-Step Top Coat Application for Long-Lasting Nails
Applying a top coat is one of the most important steps in creating a long-lasting manicure, yet beginners often skip it or apply it incorrectly. A good top coat protects your color, adds shine, and prevents chipping. After your colored polish has fully dried, gently apply a thin layer of top coat starting from the center of the nail near the cuticle, then sweep outward to the tip. Make sure to cover the edges of your nails as well, sealing the color completely for extra durability.
Timing is crucial when using a top coat. Applying it too early can cause smudging, while waiting too long can make the coat harder to spread evenly. Aim to apply your top coat once the color layers are completely dry to the touch. A high-quality, fast-drying top coat can also speed up the process while giving your nails a professional, glossy finish that looks freshly done for days.
For beginners, it’s also helpful to reapply a thin top coat every few days. This refreshes the shine and extends the life of your manicure, keeping it looking fresh and polished without much effort. By mastering the top coat step, even a beginner can enjoy vibrant, chip-free nails that maintain their salon-quality appearance from start to finish.
5: Easy Nail Art for Beginners – Dots, Stripes, and Simple Designs
Adding simple nail art can instantly elevate a basic manicure, and beginners don’t need complex techniques to create stylish designs. Start with easy patterns like dots, stripes, or tiny hearts. Using a dotting tool, toothpick, or even the tip of a bobby pin, you can create perfectly round dots or delicate accents. Start with a small amount of polish to avoid smudges, and remember that less is often more when it comes to minimalistic nail art.

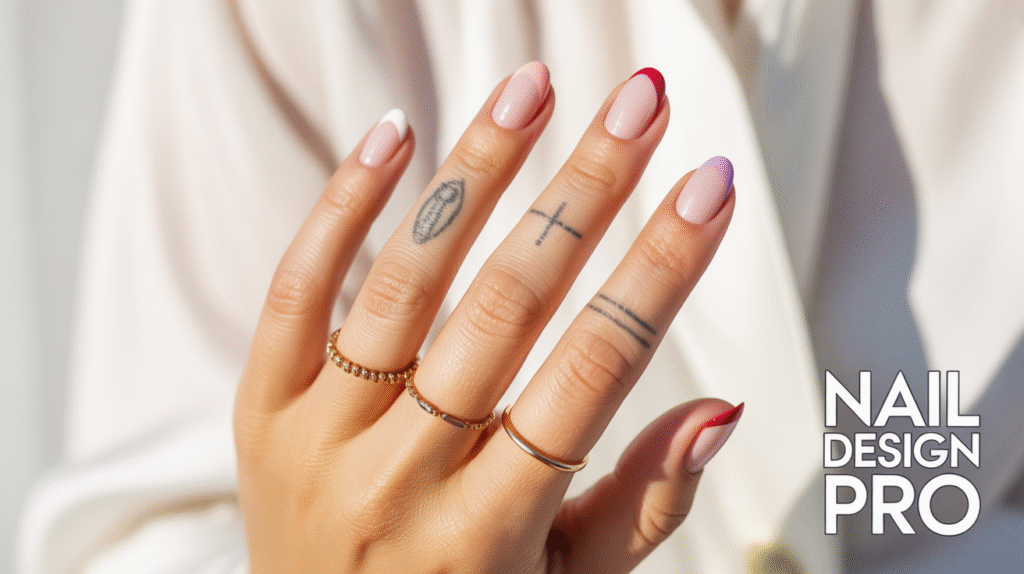
Stripes are another beginner-friendly option. You can use nail striping tape or a thin brush to add clean lines in contrasting colors. Horizontal, vertical, or diagonal stripes create a modern look while remaining simple to execute. Combining a neutral base with subtle accents ensures your nails look stylish without appearing overdone, making it perfect for everyday wear or special occasions.
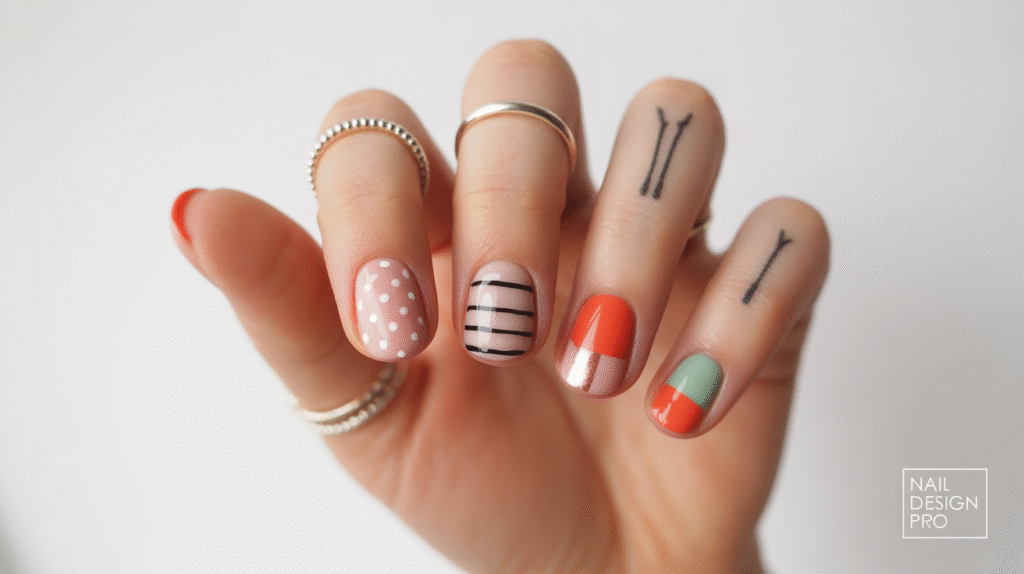
Finally, seal your nail art with a clear top coat to protect your designs and add a glossy finish. This not only prevents chipping but also smooths out minor imperfections in your patterns. With just a few simple tools and a bit of creativity, beginners can experiment with nail art, giving them confidence to explore more intricate designs as they gain experience.
6: Quick Fixes for Common Nail Polish Mistakes
Even beginners make small mistakes during nail polish application, but there are easy fixes that can save your manicure. One of the most common issues is polish smudging or getting on the skin around the nails. Use a small angled brush dipped in nail polish remover to carefully clean up the edges for a polished look. For streaks or uneven spots, gently apply a thin second layer once the first coat is fully dry to smooth out imperfections.
Another common problem is bubbles or clumps in the polish. This often happens when the polish is shaken too vigorously or applied too thickly. To fix bubbles, lightly buff the nail surface after it has dried and apply a thin top coat to even out the finish. Patience is key—allow each layer to dry completely before moving on to the next to maintain a flawless appearance.

Finally, if a nail chip occurs shortly after application, don’t panic. Clean the area and carefully reapply the color to the chipped spot, then seal it with a top coat. This trick extends the life of your manicure and keeps your nails looking neat. By learning these quick fixes, beginners can maintain beautiful nails without stress or frustration.
7: How to Dry Your Nails Quickly and Safely
One of the most common frustrations for beginners is waiting for nail polish to dry. Patience is important, but there are techniques to speed up the process without damaging your manicure. Start by applying thin coats rather than thick layers, as thin coats dry faster and evenly. Using a fast-drying top coat can also help seal in the color and reduce drying time while giving your nails a glossy finish.
Another effective method is using a gentle fan or cool air from a hairdryer on the lowest setting. Avoid hot air, as it can cause bubbles or uneven surfaces. You can also dip your nails in a bowl of cool water for a few minutes once your polish is semi-dry. This simple trick helps set the color and prevents smudging, making it perfect for beginners who want quick results.
Finally, remember to give your nails some extra care after drying. Avoid touching surfaces immediately and consider applying a thin layer of cuticle oil around your nails to keep them hydrated and healthy. By following these simple drying tips, beginners can enjoy their beautiful manicure faster while keeping nails smooth and long-lasting.
8: Maintaining Your Manicure Between Touch-Ups
Once you’ve achieved a perfect manicure, maintaining it is just as important as the initial application. Beginners often make the mistake of ignoring nail care between touch-ups, which can lead to chips or dullness. To keep your nails looking fresh, always apply a thin layer of top coat every couple of days. This helps maintain shine, protects the polish, and extends the life of your manicure without requiring a full redo.
Proper hand care also plays a significant role in nail longevity. Use gentle hand soap and lukewarm water, and avoid prolonged exposure to harsh chemicals or cleaning products without gloves. Moisturizing your hands and cuticles daily helps prevent dryness and peeling, keeping your nails smooth and strong. Even simple habits like patting your hands dry instead of rubbing can reduce the risk of chipping.
Finally, if you notice small chips or wear at the edges, don’t panic. Gently touch up the area with a matching polish and seal it with a top coat. This not only restores your nails’ appearance but also reinforces their strength. By incorporating these easy maintenance habits, beginners can enjoy beautiful, long-lasting nails without frequent salon visits.
9: Easy Techniques for Removing Nail Polish Without Damage
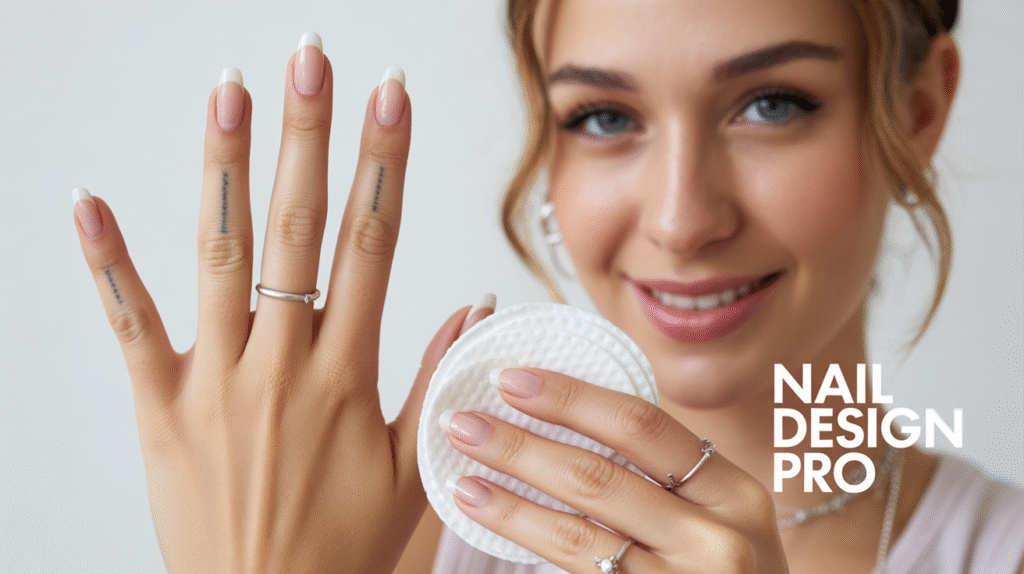
Removing nail polish properly is just as important as applying it, especially for beginners. Harsh or careless removal can weaken nails, causing peeling or breakage. Start by using an acetone-free nail polish remover for regular use, as it is gentler on nails. Soak a cotton pad with the remover and gently press it onto the nail for a few seconds before wiping away the polish. Avoid vigorous scrubbing, which can damage the nail surface.
For stubborn polish or glitter designs, the foil method works well. Wrap the soaked cotton pad around the nail and cover it with a small piece of aluminum foil for 5–10 minutes. This softens the polish and allows it to slide off easily without excessive rubbing. Beginners will find this method effective for removing layers of polish cleanly while protecting the natural nail underneath.
After removal, it’s important to nourish your nails and cuticles. Apply cuticle oil and a strengthening base or moisturizer to restore hydration. This step ensures nails remain healthy, strong, and ready for the next manicure. By following gentle removal techniques, beginners can maintain healthy nails and enjoy beautiful manicures repeatedly without causing damage.
10: Tips for Creating a Relaxing At-Home Manicure Routine
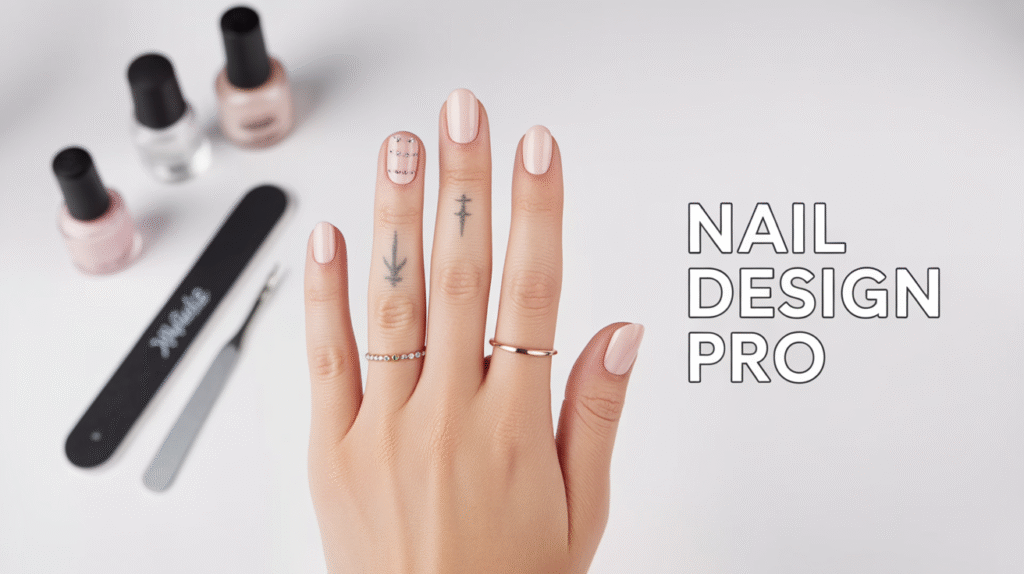
Creating a relaxing at-home manicure routine is a great way for beginners to enjoy nail care while reducing stress. Set up a clean, well-lit space with all your tools organized—nail file, buffer, cuticle pusher, base coat, polish, and top coat. Playing soft music or lighting a scented candle can enhance the experience, making it feel like a mini self-care session rather than a chore.
Start your routine by soaking your nails in warm water to soften cuticles, then gently push them back and lightly buff the nail surface. Take your time applying base coat, color, and top coat, following the step-by-step techniques learned earlier. Avoid rushing through each step, as patience ensures smooth polish, even coverage, and long-lasting results. This slow, mindful approach makes the process enjoyable and therapeutic.
Finally, finish your routine with moisturizing your hands and cuticles to keep them healthy and supple. Maintain your nails between sessions by applying a thin layer of top coat or cuticle oil as needed. Over time, establishing a consistent at-home manicure routine helps beginners gain confidence, improve their skills, and enjoy beautiful nails without frequent salon visits.
Final Thoughts
Mastering the art of a beautiful at-home manicure doesn’t have to be intimidating for beginners. By focusing on the basics—proper nail prep, smooth polish application, simple nail art, and proper maintenance—you can achieve a professional-looking manicure without ever stepping into a salon. Each step, from prepping and shaping to applying base coat, color, and top coat, contributes to nails that are glossy, healthy, and long-lasting.
The key to success is patience and practice. Take your time with each layer, learn to fix small mistakes, and experiment with beginner-friendly designs to build confidence. Even small daily habits, like applying a thin top coat or moisturizing your cuticles, can dramatically improve the longevity and appearance of your manicure.
Finally, remember that nail care is also a form of self-care. Setting aside time for a calm, mindful at-home manicure routine can be both relaxing and rewarding. Over time, these simple tips and step-by-step techniques will empower beginners to enjoy beautiful nails, explore creative designs, and feel confident showing off their hands every day.